
9 min read
How to Create a Website to Offer Online Nail Courses with Certificates


Selling nail art courses online with a certificate at the end is a WordPress project you can finish in a weekend if you pick the right pieces up front. You need a host, a learning management plugin that issues certificates automatically, a way to take payment, and a theme that looks good on a phone, because that is where most of your students will watch. Below is the stack we would use, the setup order, and the details that usually go wrong.
What a nail course site has to do
Nail education has a few specifics that shape the build. Lessons are video-heavy (close-up hand work does not translate to text). Students want to show proof of completion to salon owners or clients, so the certificate has to look professional and carry a verifiable ID. Many tutors sell a ladder of courses (beginner gel, advanced sculpting, nail art) and want to bundle them. And a lot of students are on mobile, often in the salon between clients.
So the requirements are: hosted video that does not eat your bandwidth, an LMS with a certificate builder and quiz gating, a checkout that handles one-off purchases and bundles, and a mobile-first theme. Everything else is optional.
Choosing domain and hosting
Pick a domain that says what you do. “gelmasterclass.com” beats “jennasnails.com” if you plan to sell to strangers, and a .com is still the safest choice for a paid product. Register it through your host or a registrar like Cloudflare, and turn on auto-renew.
For hosting, video courses are not heavy on the server itself if you host video elsewhere (see below), but LMS plugins do run a lot of database queries. We would go for managed WordPress hosting with at least 2 GB of PHP memory available, PHP 8.2 or later, and object caching (Redis). Budget $25 to $50 a month. Shared hosting at $5 a month will run the site, but course pages will feel slow once you have a few hundred students logging in.
Install WordPress, set a strong admin password, and install an SSL certificate (every serious host does this free through Let’s Encrypt). Then move on to the LMS, because that decision drives everything else.
Choosing the LMS plugin
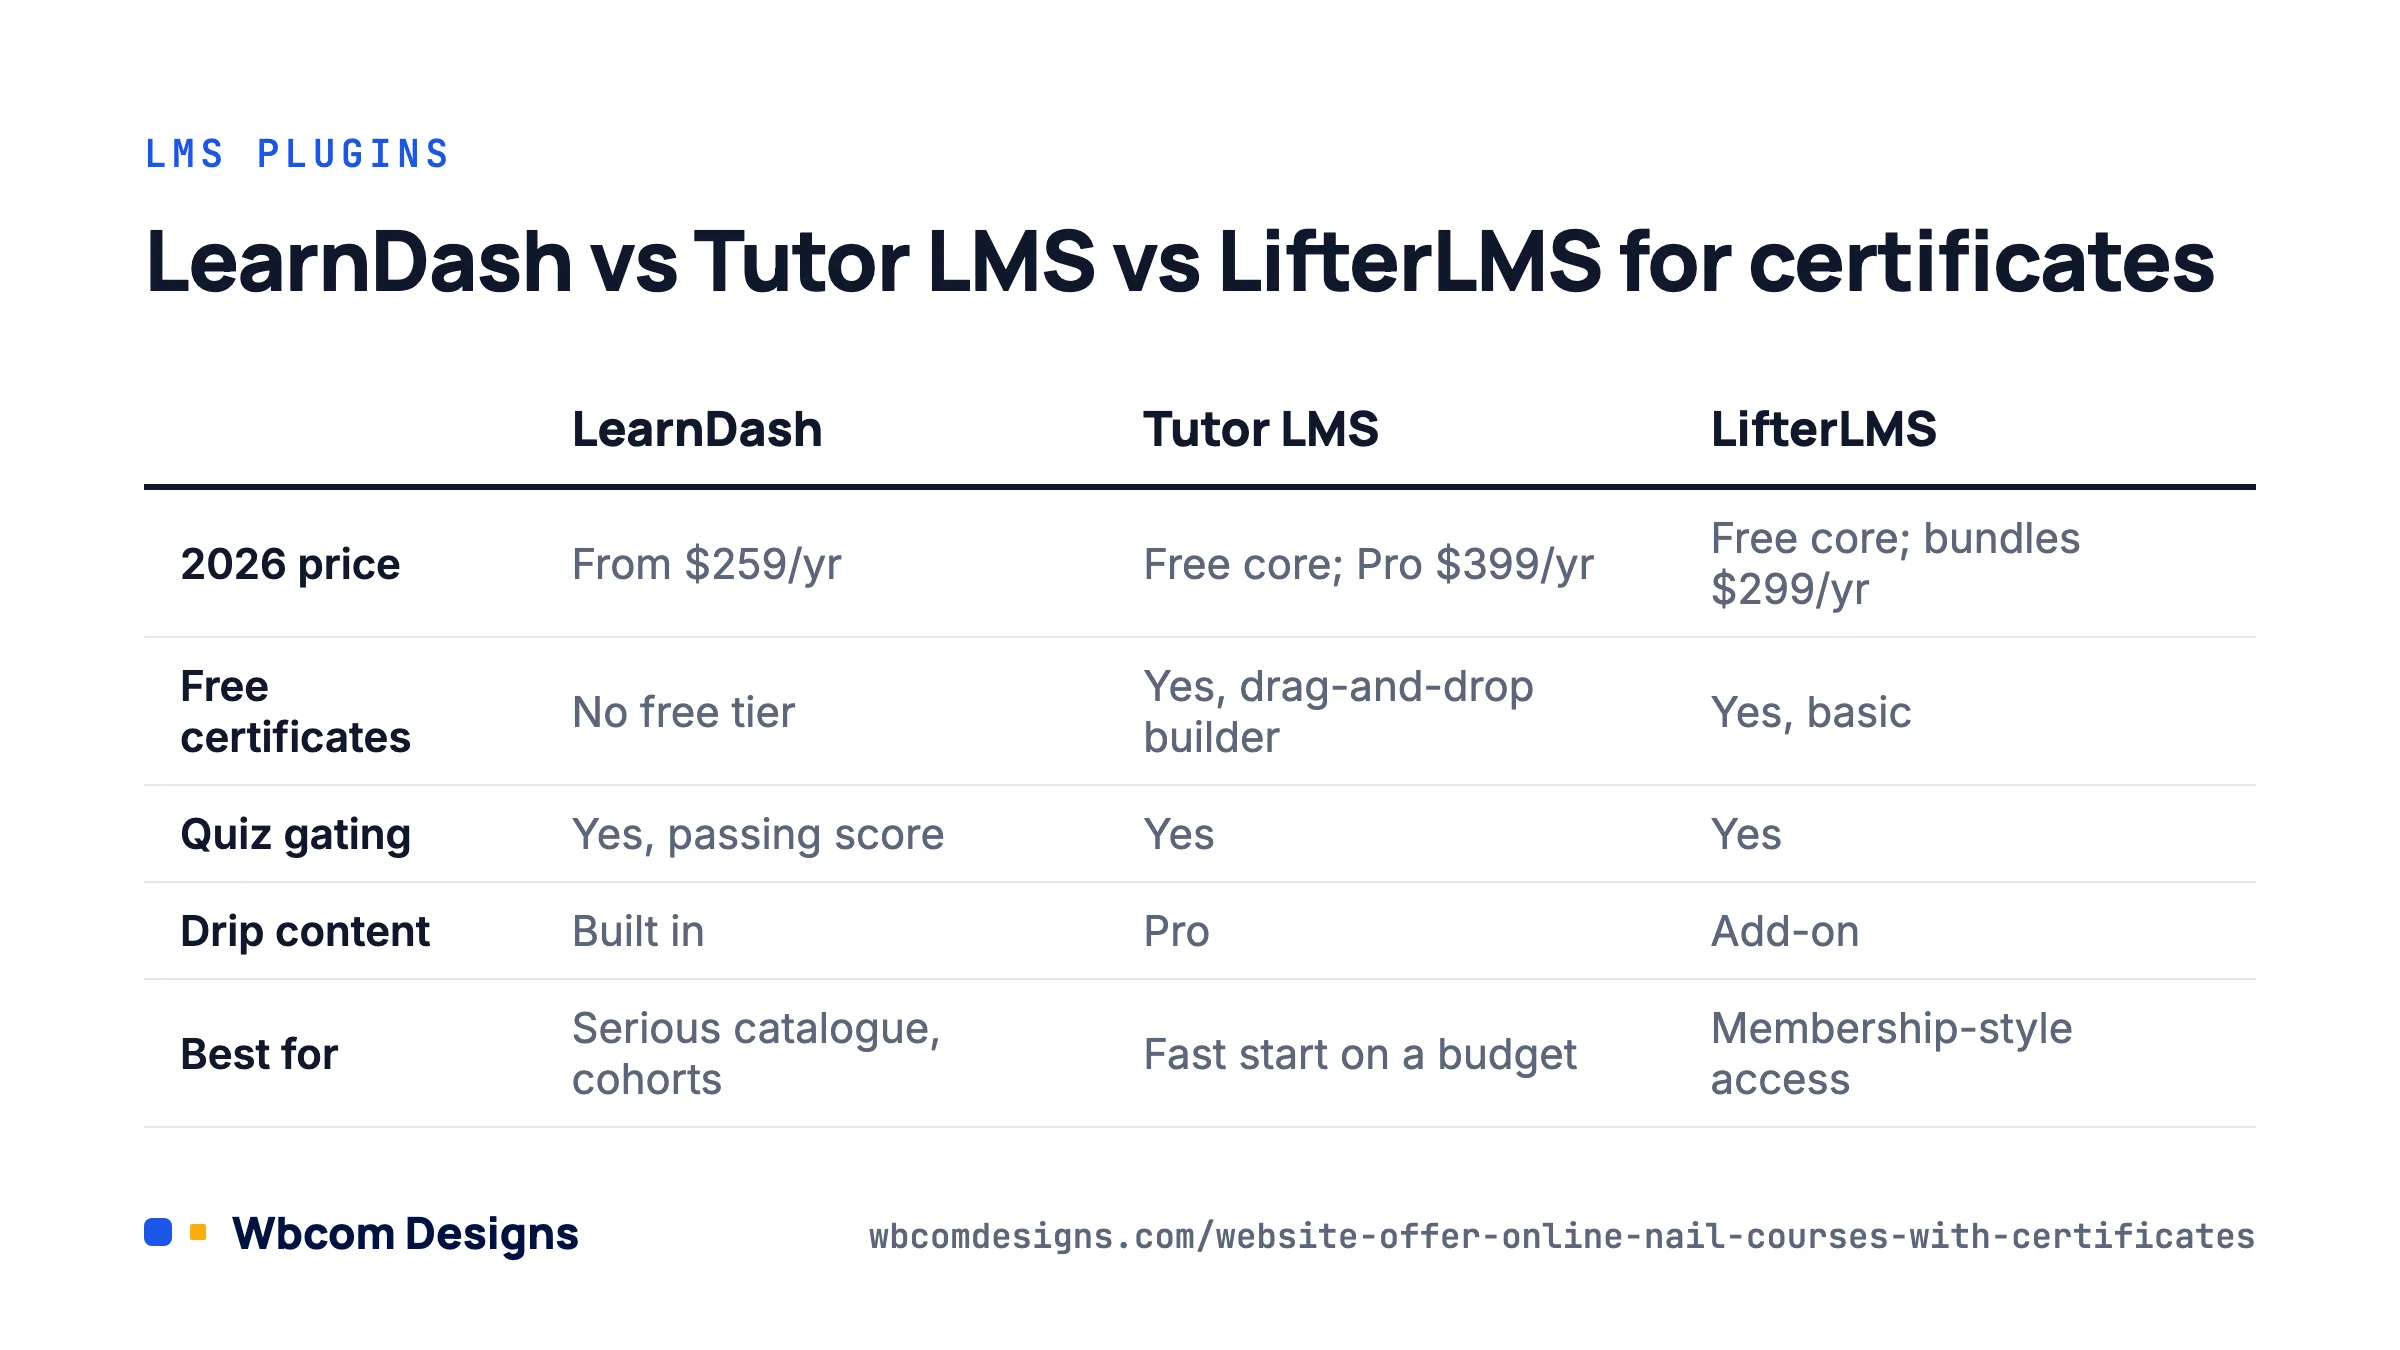
Three plugins cover almost every course site we build. All three issue certificates automatically on completion, and all three run on a standard WordPress install.
| LearnDash | Tutor LMS | LifterLMS | |
|---|---|---|---|
| Price (2026) | From $259/year (Essentials); Pro $399; Elite $599 | Free core; Pro from $399/year for 10 sites | Free core; add-ons from $120/year each or bundles from $299/year |
| Certificates in free tier | No free tier | Yes, drag-and-drop certificate builder in the free plugin | Yes, basic certificates in free plugin |
| Quiz gating before certificate | Yes, with passing score | Yes | Yes |
| Drip content | Built in | Pro | Add-on |
| Best for | Serious catalogue, cohorts, reporting | Fast start on a budget, front-end course builder | Membership-style access |
Our opinion: if you have one or two courses and want to test the market, start with the free Tutor LMS. It includes the certificate builder, quizzes and WooCommerce checkout without spending anything. If you are building a school with multiple instructors, cohorts and detailed reporting, LearnDash is worth the $259. LearnDash moved under Liquid Web’s ownership and its pricing is now a flat three-tier model with no per-site pricing, which is simpler than it used to be. Check the current LearnDash pricing before buying, because it has shifted a couple of times since 2024.
Setting up courses, lessons and quizzes
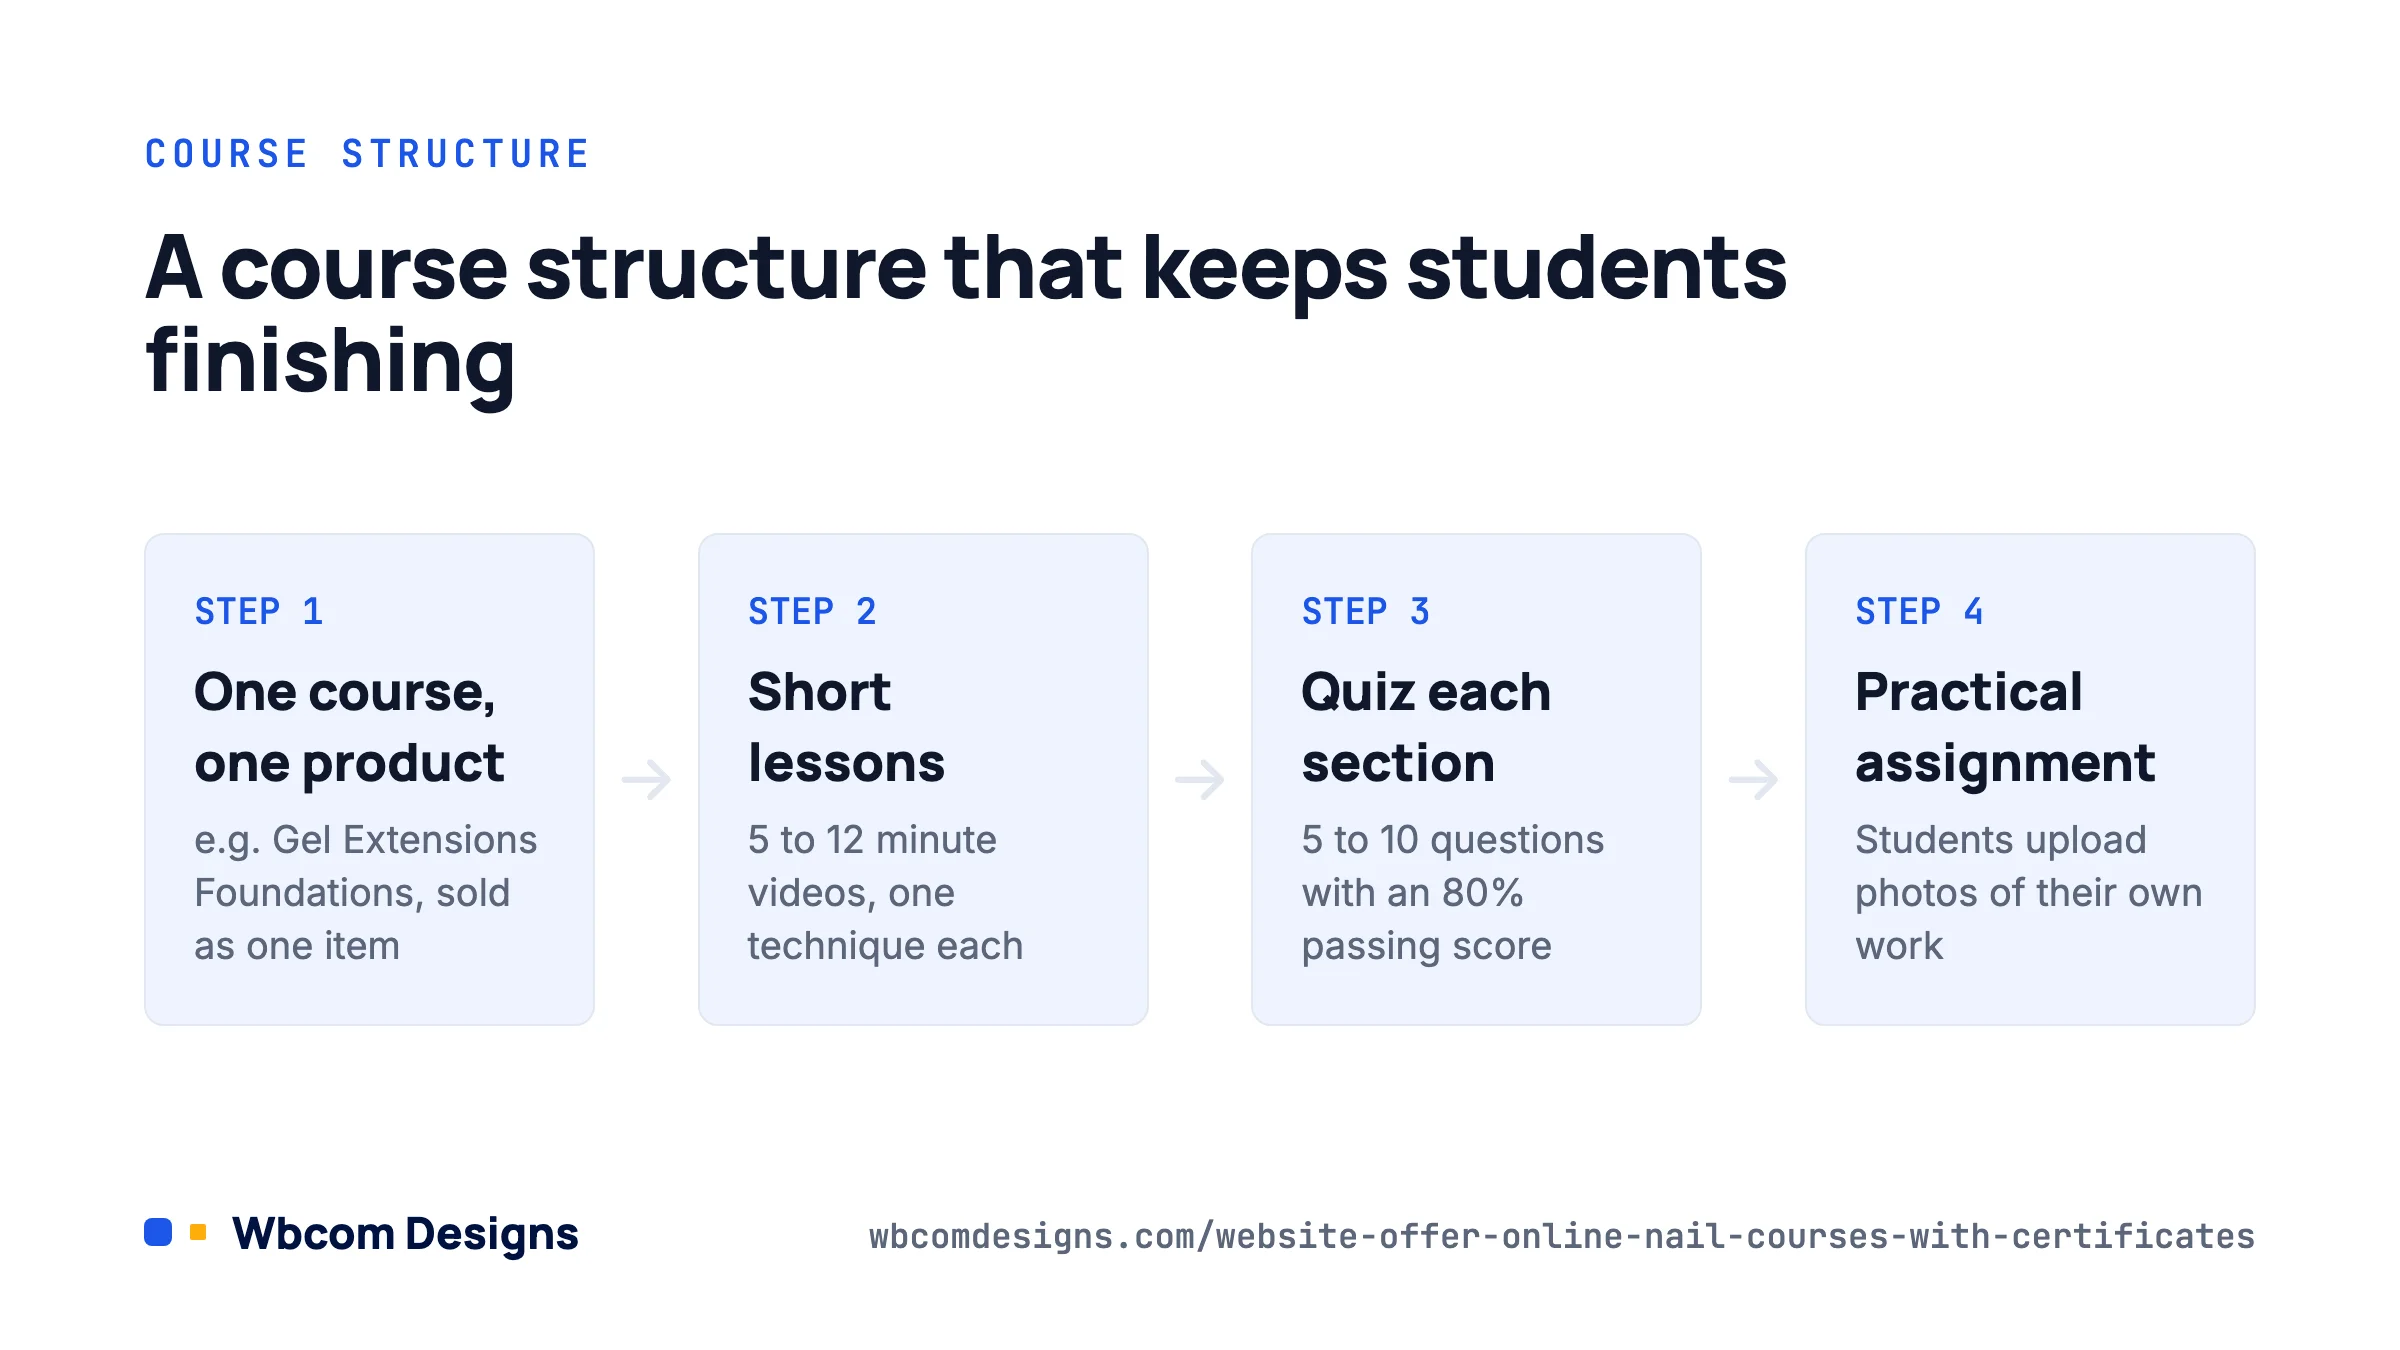
The structure matters more than the plugin. A pattern that works for hands-on skills like nails:
- Course: “Gel Extensions Foundations”. Sold as one product.
- Sections (or topics): Prep and sanitation, Form fitting, Application, Shaping and finishing, Removal.
- Lessons: 5 to 12 minute videos, one technique each. Shorter lessons get higher completion rates and let students rewatch a single step in the salon.
- Quiz after each section: 5 to 10 questions, multiple choice plus image-based questions (“Which of these is a correctly fitted form?”). Set a passing score of 80%.
- Practical assignment: students upload photos of their own work. Tutor LMS and LearnDash both support assignment uploads with manual grading. This is what makes your certificate mean something.
- Final quiz: required for the certificate.
In Tutor LMS you build this from Tutor LMS → Courses → Add New, using the course builder to add topics, lessons and quizzes in order. In LearnDash it is LearnDash LMS → Courses → Add New → Builder tab, then drag lessons, topics and quizzes into place.
Where to host the video
Do not upload course videos to the WordPress media library. They will bloat backups, stream badly and be trivially downloadable. Use Vimeo (Starter plan, about $12 a month, with domain-level privacy so the embed only plays on your site), Bunny Stream (pay-as-you-go, very cheap for small libraries), or unlisted YouTube if you are not worried about sharing. Paste the embed or URL into the lesson; all three LMS plugins handle video embeds natively and can require the video to finish before marking the lesson complete.
Building the certificate
This is the feature students pay for, so spend an hour on it.
In Tutor LMS: go to Tutor LMS → Certificates → Add New. The builder lets you start from a template or a blank canvas, set orientation, upload your logo and a signature image, and place dynamic fields: student name, course name, completion date and a unique certificate ID. Save it, then open the course, go to the Certificate tab, and pick the template. Tutor generates a shareable link per certificate so a student can send a salon owner a URL that proves it is genuine.
In LearnDash: LearnDash LMS → Certificates → Add New opens the visual certificate builder (block-based since LearnDash 4.x). Add the background image, then drop in the Student Name, Course Title, Completion Date and Certificate ID blocks. Assign it under the course’s Settings → Course Certificate, and optionally under a quiz so it is awarded only after passing.
A few details that make certificates look credible:
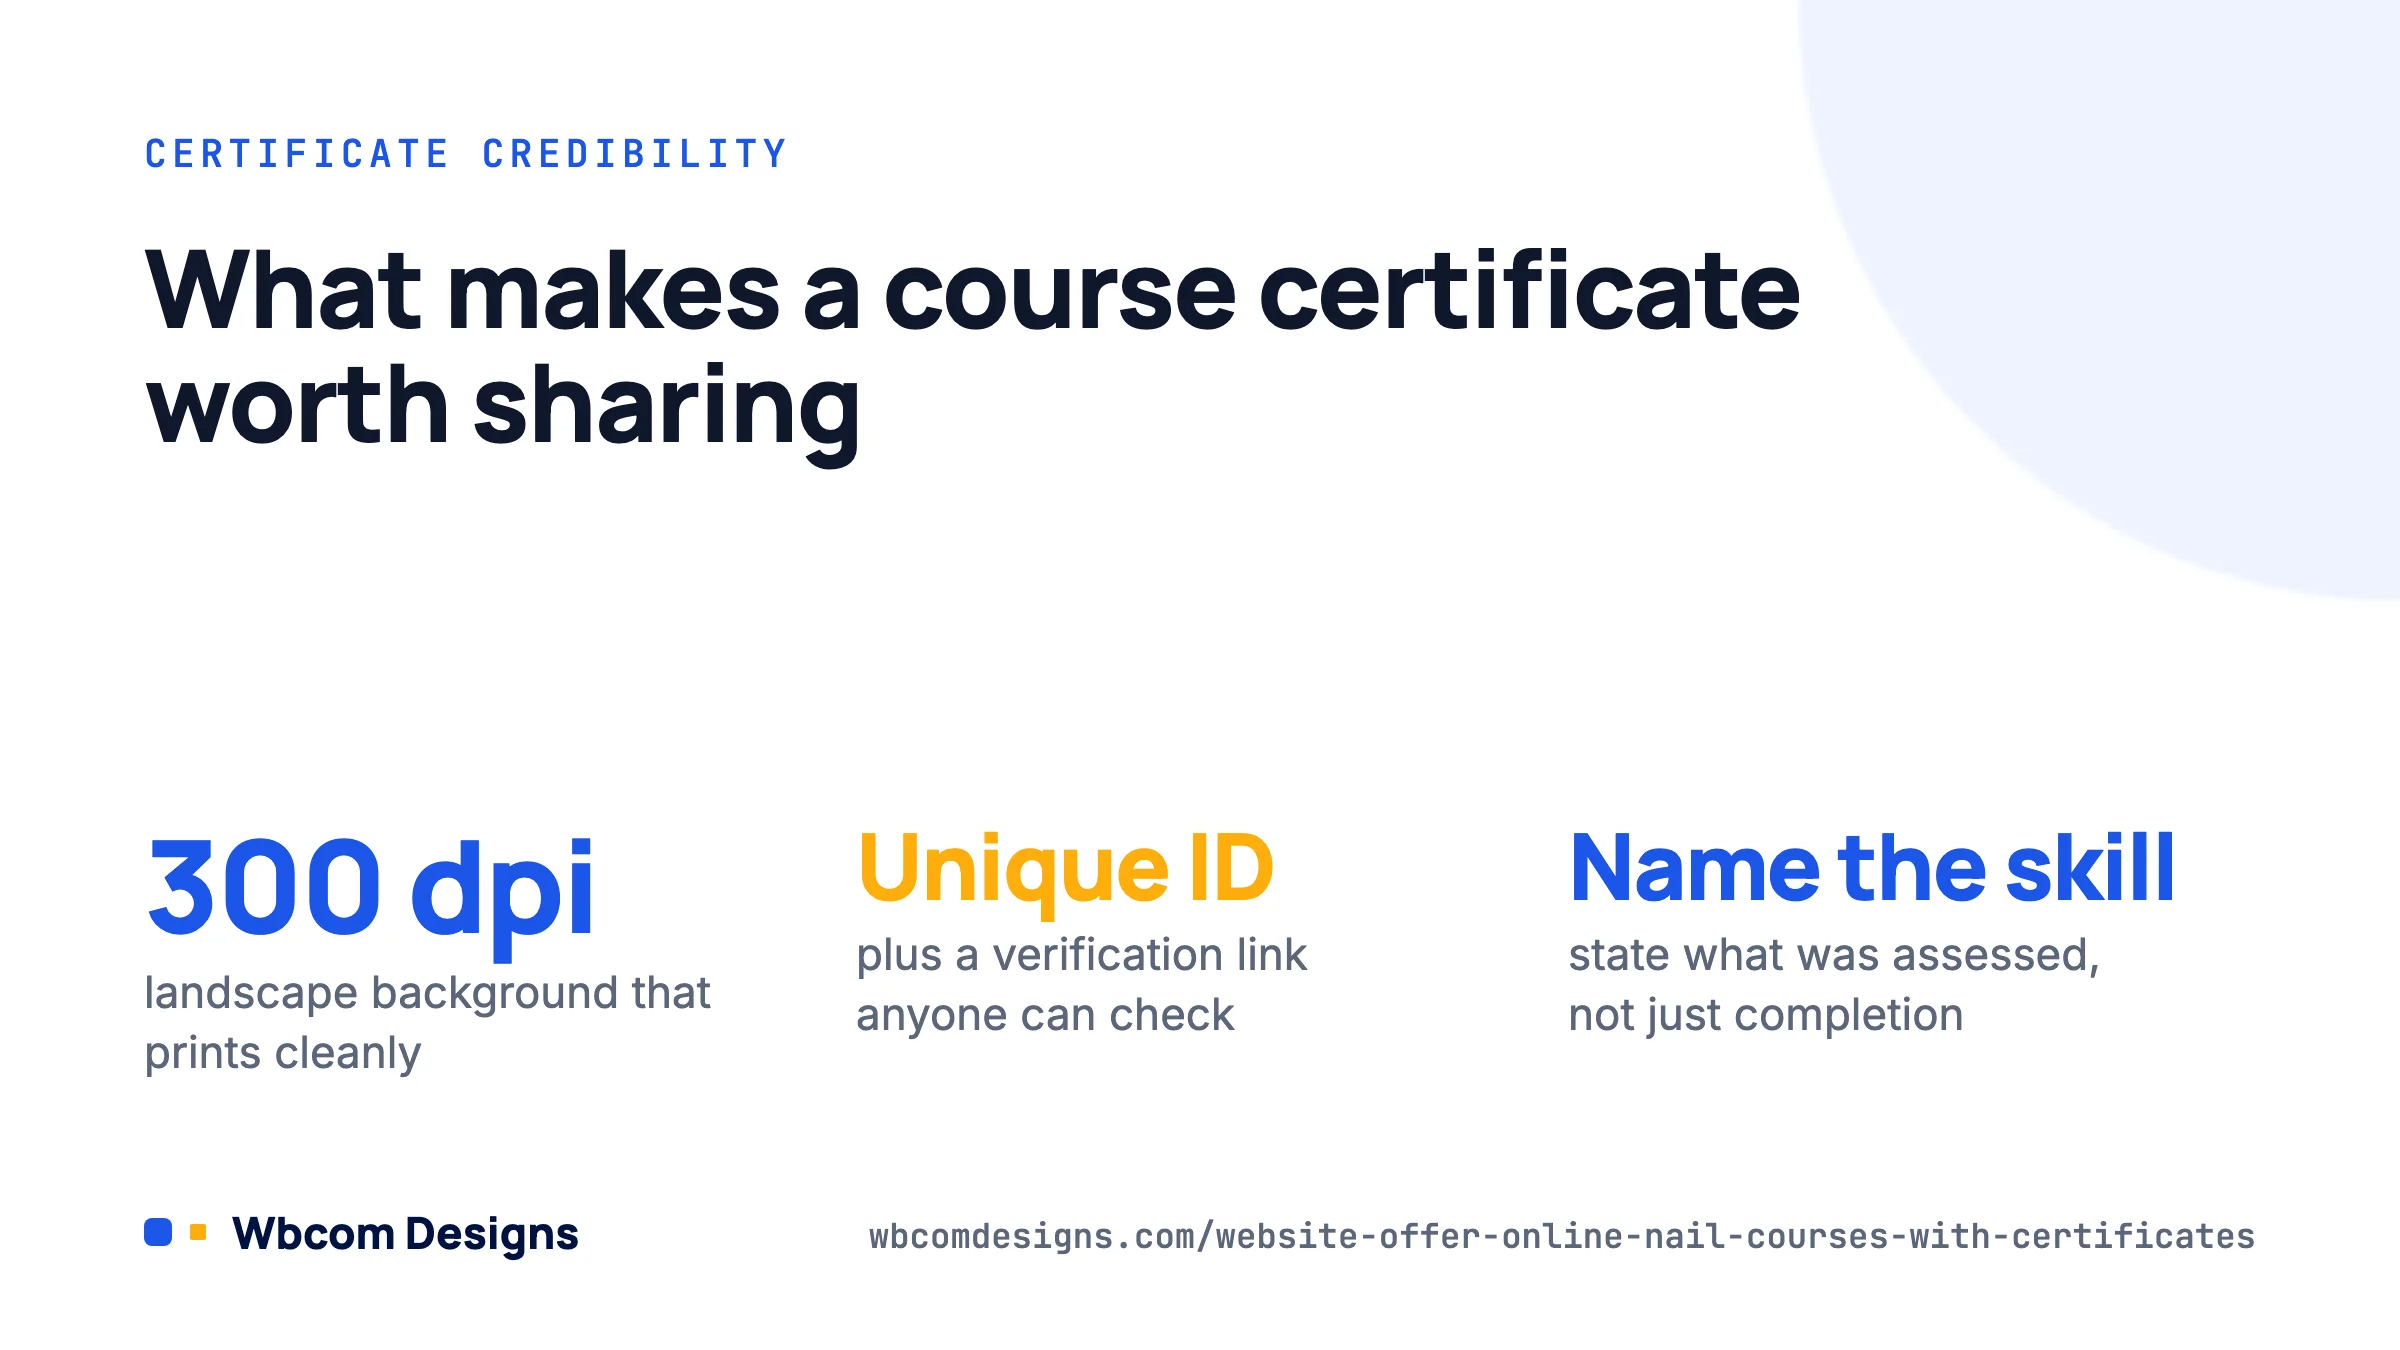
- Use a landscape A4 or US Letter background exported at 300 dpi. Low-resolution backgrounds print badly.
- Include a certificate ID and a verification line (“Verify at yoursite.com/verify”). Both plugins generate unique IDs.
- State what was assessed: “Completed 12 hours of instruction and passed a practical assessment in gel extension application.” A certificate that names the skill is worth more than “Certificate of Completion”.
- Add your business name and a real signature. Students share these on Instagram; it is free marketing, so make it look like yours.
Be honest about what the certificate is. Unless you hold accreditation from a recognised awarding body, it is a certificate of completion from your school, not a licence. In many places (most US states, for instance) a licence to work on clients requires state-approved training and an exam. Say so clearly on the sales page. It protects you and it builds trust with students who have been burned by vague promises elsewhere.
Taking payment and selling bundles
All three LMS plugins integrate with WooCommerce, and that is the route we recommend over built-in checkouts. WooCommerce gives you coupons, bundles, gift purchases, tax handling and every payment gateway you will ever need.
- Install WooCommerce and run the setup wizard (WooCommerce → Home). Connect Stripe or WooPayments; fees are around 2.9% plus 30 cents per card transaction.
- In Tutor LMS, go to Tutor LMS → Settings → Monetization and select WooCommerce. In LearnDash, install the free WooCommerce for LearnDash add-on.
- Create a WooCommerce product per course. Mark it virtual (no shipping). Link it to the course in the product’s sidebar.
- For a bundle (all three nail courses at a discount), create one product and link it to all three courses. LearnDash also has a native Course Grid and bundles feature in Pro.
- Enable guest checkout off and account creation on, so a buyer always gets a login to reach the course.
Price with a ladder in mind. A $49 beginner course that converts well feeds a $199 advanced course and a $349 bundle. The beginner course does not need to be the profit centre.
Theme and student experience
Default themes make LMS pages look like a blog. You want a course catalogue on the home page, a clean lesson layout with the video front and centre, and a student dashboard that shows progress and certificates. Our Reign theme with the Tutor LMS add-on or the Reign LearnDash add-on ships with those layouts ready, and the free BuddyX theme works well if you want a community area where students post their work and get feedback. That community element, even a single activity feed, is what keeps people finishing courses rather than dropping off after lesson three.
Test the lesson page on a phone before launch. Check the video scales, the Mark Complete button is reachable without scrolling past the sidebar, and the certificate downloads as a PDF that opens in the mobile browser.
Launch checklist
- Refund policy, terms and privacy pages published and linked in the footer.
- One course fully built and tested end to end with a test purchase (WooCommerce → Settings → Payments → enable a test mode first).
- Certificate generated for a test student and checked for spelling, layout and the verification link.
- Automatic emails set: purchase receipt, course enrolment, certificate awarded. Both LMSs have these under their Email settings.
- Daily off-site backups enabled on the host.
- Google Search Console connected and the sitemap submitted.
- A free preview lesson set to public so visitors can judge your teaching before paying.
Frequently asked questions
Can I issue certificates with a free plugin?
Yes. Tutor LMS free includes the certificate builder with templates, dynamic fields and shareable verification links. LifterLMS free includes basic certificates. You only pay when you need drip content, advanced reporting or multi-instructor features.
How do I stop students sharing their login?
Hosting video on Vimeo with domain restriction stops direct downloads. For login sharing, both LearnDash and Tutor have settings or add-ons to limit concurrent sessions, and WooCommerce can require email verification on signup. Accept that you cannot stop a determined pirate; focus on making the paid experience better than the copied one.
Should I use LearnDash Cloud or self-host?
LearnDash Cloud bundles hosting for around $24 a month, which is fine for a single tutor. Self-hosting gives you full control of theme, plugins and data, and becomes cheaper once you are paying for hosting anyway. Most nail schools we have worked with self-host because they also want a blog, a booking page and a shop on the same site.
How long does the build take?
With content ready, a competent WordPress user can have hosting, LMS, payments and a certificate working in a day. Filming and editing the lessons is the real timeline; plan four to six weeks for a 12-lesson course.
What we would do
Start with managed hosting, the free Tutor LMS, WooCommerce with Stripe, and a theme built for LMS pages. Build one course completely, including the practical assignment and certificate, and sell it to ten people before you build the second. Their questions will tell you what the next course should be, and whether you need LearnDash’s reporting or can stay on the free stack for another year. If you would rather hand the setup off, our LMS development team does this kind of build regularly and can have you teaching within a week.
Related reading