7 min read
How to Setup your own WooCommerce store
Are you planning to start your own WooCommerce store? As you all know everything is online in today’s world. If you want to start your own shop - well I think that is a fantastic idea! Creating your own shop is simple but to keeping run well it’s quite difficult. But don’t need to worry about anything. After helping hundreds of users start their online store, I’m here to give brief information. In this tutorial, I’ll teach you how to set up your own WooCommerce store where you can list and sell physical products. Excited to know-
So, let’s dive in
How to set up your own WooCommerce store
These Steps will simply help you to create your own shop quite easily. Now that you have a website up and running and now you want to start building your online store and adding your products for sale. While there are premium storefront options, I highly recommend the free, popular and powerful WooCommerce e-commerce plugin.
WooCommerce is easy to use and quick to set up and there is a wide variety of optional premium add-ons that you can purchase to add more functionality to your online store. I personally use WooCommerce for my online store. It is just an amazing plugin.
Make sure you have a standard managed WordPress WooCommerce Hosting service to experience the true power of WooCommerce.
Install and set up WooCommerce
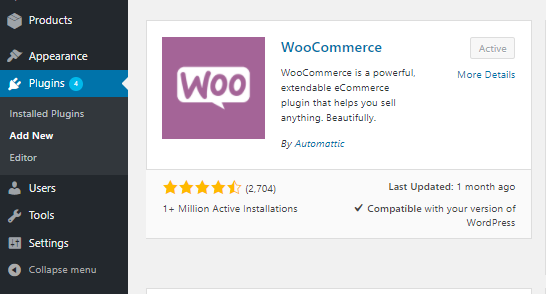
The first and foremost step is to install the WooCommerce plugin. Since it is easy enough and readily available from the WordPress.org free plugin repository which you can access right from your WordPress dashboard.
Simply go to your dashboard >Plugin section > click on Add New > Search for “WooCommerce” and the WooCommerce plugin should show up as the first result. Click the Install Now button. This will automatically download and install the plugin files and should only take a minute. Now activate the plugin. Go ahead and click it.
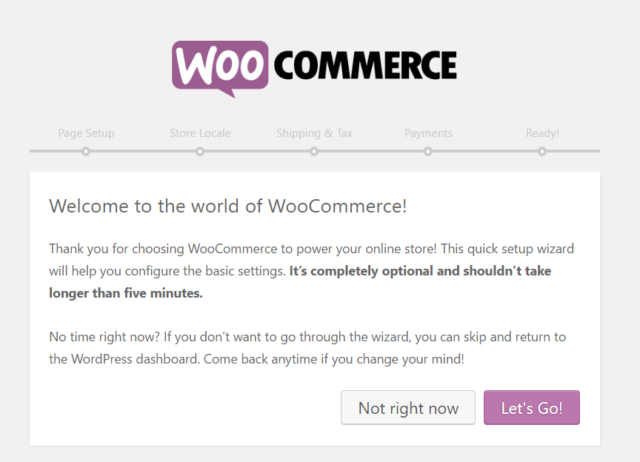
Now next stage, you’ll see WooCommerce’s on-screen launch/setup wizard. This thing makes the process uber-easy and takes you by the hand through everything. To begin, click “Let’s Go!”
To set up a WooCommerce store you need to go through a total 6 steps-
- Page Setup
- Store locale
- Shipping & Tax
- Payments
- Ready
Page Setup Created
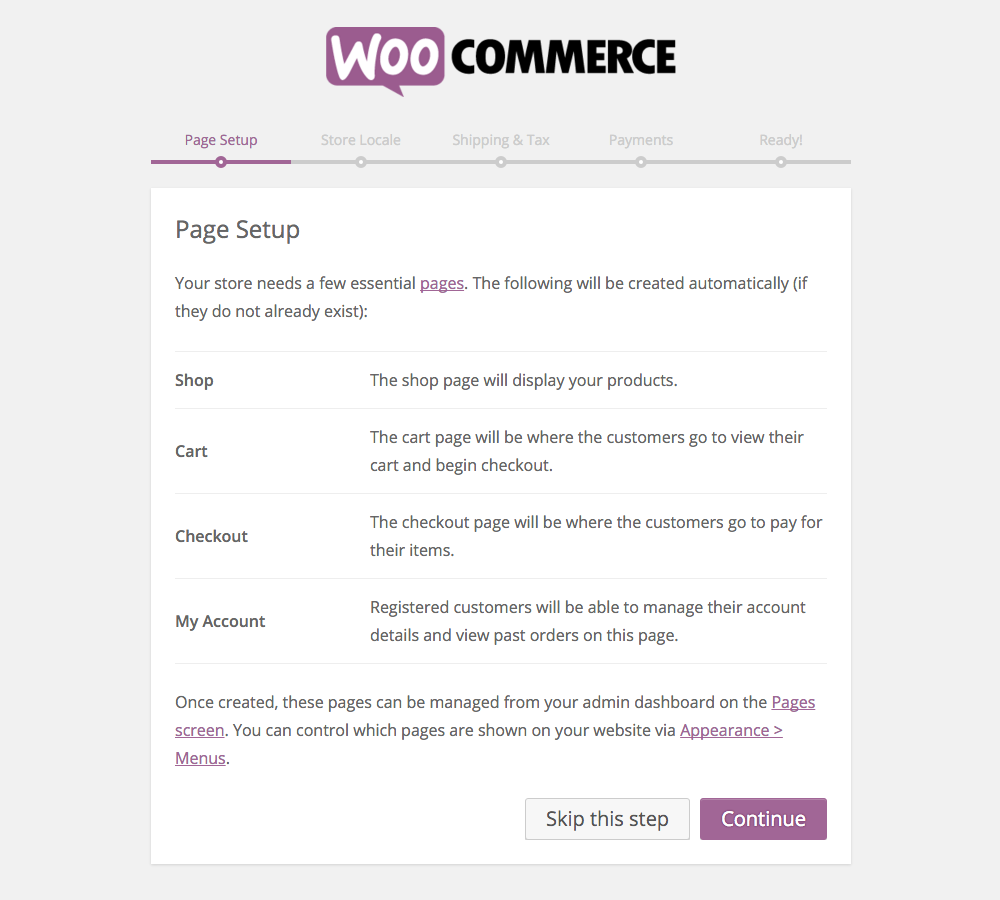
The first step in the WooCommerce wizard is about creating these pages for you:
- “Shop” - This is where your products are going to be displayed.
- “Cart” - This is the shopping cart where your customers can go to adjust their order before proceeding to checkout.
- “Checkout” - This is where the customers get to pick the shipping/delivery method and pay for whatever they’ve bought.
- “My Account” - It is a kind of profile page for registered customers
All you need to do at this stage of the WooCommerce wizard is click the “Continue” button. WooCommerce will set up those pages for you. How simple it is.
Setting up Store locale
Now next step is store locale. You need to set up your location, currency format, and units of measure. This is important so your customers know how much you’re charging and what they are getting for their money. So make your selections and then click Continue.
Shipping and Tax Option
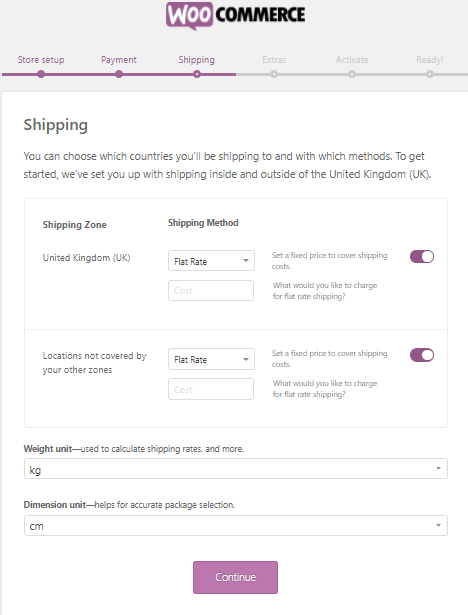
In this step, you need to fill in all the requirements related to shipping charges.
WooCommerce can be used to sell both digital downloads and physical goods that need shipping. All You need to do is check the box if you will be shipping goods, or you can leave it unchecked if you will only be selling digital goods.
Next, you need to answer the tax question. WooCommerce can help you automatically calculate and add taxes to your prices. If you are not sure, then you can leave it unchecked. You can always add tax information later from WooCommerce settings.
All done, click on move on the button to process further.
Payment option
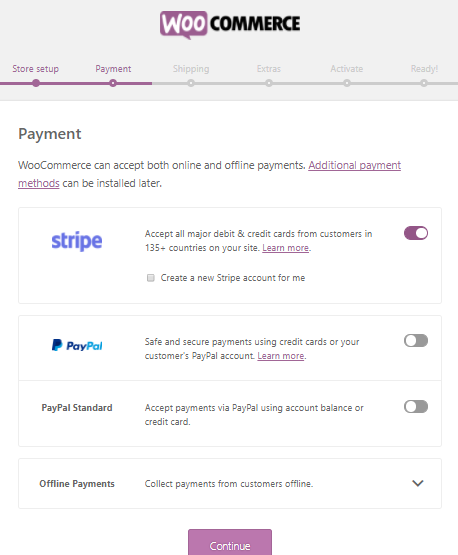
This option is quite essential when you are planning for an online store. The payment option step will let you choose what type of payment you want to choose from your customers. On the other hand, it should be safe from your customer’s point of view. On your screen, you’ll see two of the most popular payment options at the very top - PayPal, and Stripe - and it’s highly recommended that you integrate your site with both. Just click their corresponding checkboxes.
You can also select other payment methods that seem to make sense, plus there are going to be even more options available later on in your WooCommerce settings panel. After clicking on your suitable option
Once you’ve finished enabling your payment method click Continue to finish setup.
Please Note - Once you are done with these settings. You’ll see the option of theme, WooCommerce gives you a default storefront. It is your choice you can go with this theme or else can choose the other theme also.
Add your first Product
Congratulations! You are done with the WooCommerce installation. You can see a separate WooCommerce section on your dashboard. Your next step is to add a product to your shop.
Go to Dashboard and then go to Products / Add a new Product:
After that, you’ll get to see a classic mode screen where you need to write -
- A product name
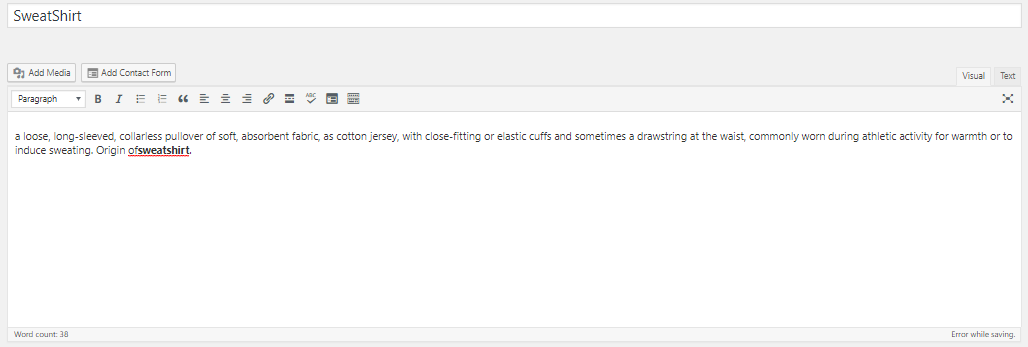
Product Description - You need to add a Product description. It lets you add as much information about the product as you want. And since this is WordPress, you can put not only simple text there but also images, columns, headings, even videos, and other media. Basically, whatever you see fit.
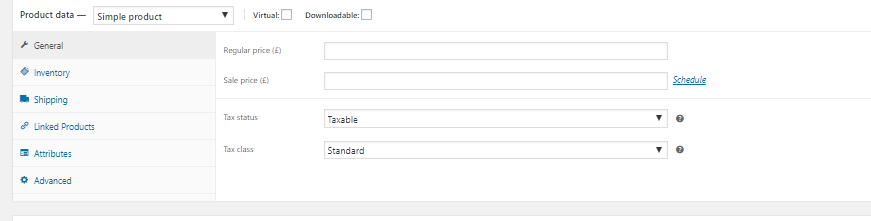
The central product data section. This one is where you get to set the type of product that you’re adding, and whether it’s a downloadable or virtual product (services are considered virtual products too). As part of this central section, you also get tabs for various parameters of the product:
- General: This is where you get to set the pricing and taxes.
- Inventory: WooCommerce allows you to manage stock levels.
- Shipping: Set the weight, dimensions, and cost of shipping.
- Linked Products: Great for setting things like upsells and cross-sales.
- Attributes: Set custom product attributes here. E.g., if you’re selling shirts, you can set alternative colours here.
- Advanced: Additional settings. Non-essential
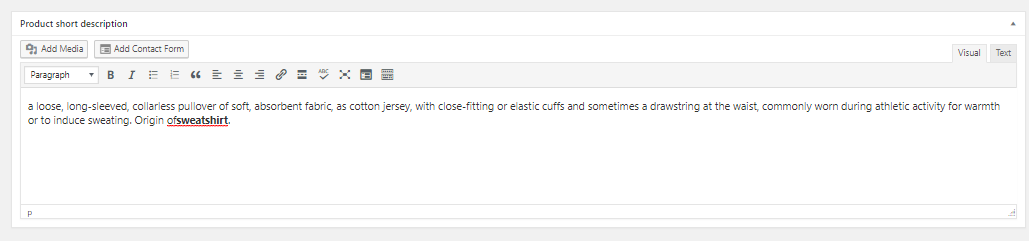
 Short Description. This is the text that gets displayed on the product page under the name. Works best as a short summary of what the product is.
- Product Categories: Set those to group similar products together.
- Product Tags: An additional way to help you organize your database of products. Works just like standard WordPress tags.
- Product Image: The main product image.
- Product Gallery: Additional product images to showcase its awesomeness.
Now on the right-hand column, you will see the ‘Product Categories’ box. Click on the ‘+Add New Product Category’ to create a category for this product. This allows you and your customers to sort and browse products easily.
Now you are all set to add a new product to your store.
To know more about the types of products required for your store, Checkout this link.
How to manage your orders
Developing an online store it is necessary for you to manage your orders for your customer’s convenience. For managing your orders you first need to go to WooCommerce > Orders in the left-hand admin menu.
Each order row displays useful details, such as the customer address, email, telephone number, and order status. Click the order number or the View Order button to see the single order page.
You can see the orders various options over there- Viewing single order, Oder data, Order items, Order totals, Order notes, and pay for an order. Choose accordingly your requirements.
How you can Refund Orders
This step is necessary as daily there are lots of customers who want to refund their products, to satisfy your customers you to do what they want.
First, you need to go - WooCommerce > orders. Select the orders you want to refund. Then click on the refund option. Click the grey Refund button to start. Specify the quantity of the products to be refunded in the text boxes that appear for each line item. The refund amount will automatically adjust based on the products refunded.
Your Own Shop Page
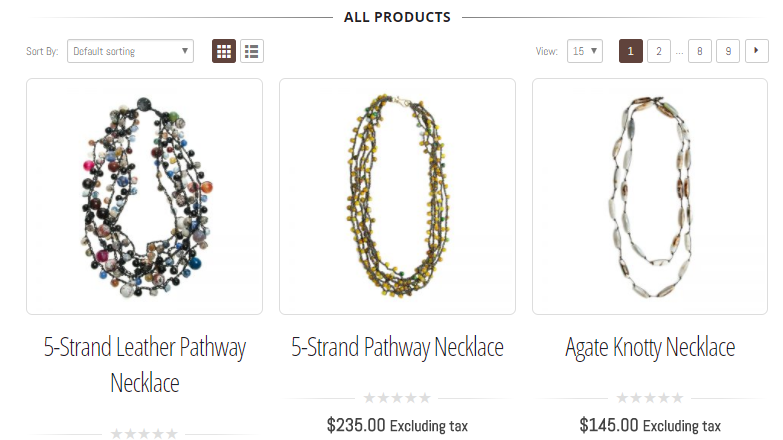
After going through such long process you are all set to have a look at your own Shop page.
If you’ve gone through the WooCommerce setup wizard then this page can be found at
YOURDOMAIN.com/shop
This is a standard WordPress page - you can edit it via WordPress dashboard / Pages.
How are you feeling now?
Having your own online shop page and sitting as boss. How are you feeling now? isn’t it an untold feeling for you? As an online business owner, there are tons of other things you need to stay on top of to keep your business running smoothly, including managing your own website. Setting up Woocommerce is a quite long process but it will help you a lot.
I hope that I’m clear with you. Setup WooCommerce on your website. For any query please feel free to comment below section. Thanks for reading.
Interesting Reads:
Top Free WooCommerce Plugins for Stores
Related reading