10 min read
Create Social Membership Website With Paid Membership Pro

The idea of launching a membership website can be an excellent part and one of the top ideas for online businesses that you can come up with. It offers you the ability to earn income recurring as well as the ability to produce the amount or quantity of content as you wish and your loyal customers and readers will be thrilled by it. Indeed, membership sites are an excellent method to reward customers who have been loyal to you from the beginning.
With WordPress CMS, creating an online membership site is simple. There are many WordPress members plugins to pick from, with varying prices and features. There are plenty of tools available to help you succeed after your membership site is live.
What happens after you’ve chosen the best membership plugin? What’s coming up?
In an attempt to answer that question, I will demonstrate how to create an effective WordPress social membership website. And hopefully, I can make the often difficult job of creating a WordPress membership site into a much simpler task.
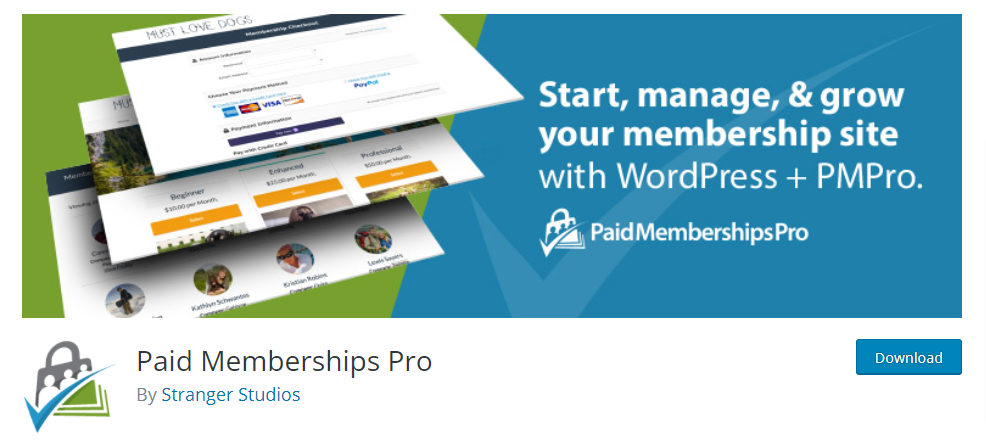
In this article, I am using this plugin, the Paid Memberships Pro WordPress plugin. It is flexible enough to adapt to any kind of membership site and is also completely free. It is therefore cost-effective for anyone interested in creating a membership website.
So, let’s get started.
Traits of a Typical Membership Site
Selecting the best WordPress member-based plugins to choose is among the most difficult choices you can make following the decision to earn money from your blog. While I am focused specifically on Paid Memberships Pro today, according to analytics, several individual factors influence the decision to use a plugin.
However, many membership sites are similar in their functionality. Let’s have a look:
- Delivery of content: Delivers premium educational materials in the form of online video tutorials, or e-books.
- The hierarchy of membership: The creation of membership levels helps boost the revenue.
- Front-end registration: Members are registered on the front-end and collect basic data about them.
- Profiling creation: Provides access to profiles to edit.
- Emails sent out: Delivers specific emails to new members and members who are already members.
- Options for payment: Offers secure payment methods.
- Communication: It allows members to connect with one.
Naturally, based on the kind of membership website you’re developing, you might require more features. Or a different plugin. That’s fine. It’s just a brief outline of what makes an excellent membership site.
What is Paid Memberships Pro?
Paid Memberships Pro is a WordPress membership plugin created to allow users to add a source of income to your WordPress website. Users of Paid Memberships Pro can manage thousands of members, offer digital courses, offer subscriptions to video content, set up private social communities, create directories or listings, provide subscriptions to products, and offer discounts for members only to earn revenue.
This plugin’s free edition includes a variety of features that will start your membership website However, we’d like to give you access to all the benefits, therefore we will concentrate specifically on the paid version, which includes features such as:
- Unlimited membership levels that are flexible with pricing and trial trials.
- Six included Payment gateways with 6 built-in ( e.g., Stripe, Authorize.net, and PayPal).
- Content restriction capability.
- Detailed reports for making better data-driven decisions.
- A vibrant community can be that is evident in the member forum.
- Customizable advertisements ( enable/disable for members).
- Notifications via email to welcome new members as well as invoicing and much more.
- 100 GPL, % equals unlimited site usage.
- SEO optimization settings to set the way your website appears in search results for non-members.
Steps to Create Social Membership Website
Now that you’ve learned something about what Paid Membership Pro can do for your business, let’s look at it step-by-step.
Step 1: Installation and Activation
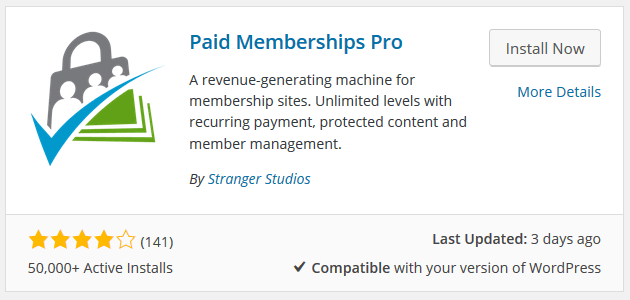
Go to Plugins > Add New in your WordPress dashboard and search for Paid Memberships Pro plugin.
Select Install Now and click to activate the plugin. Check out on your WordPress dashboard, the new menu item added memberships. Additionally, you will find tabs that connect you to your membership features.
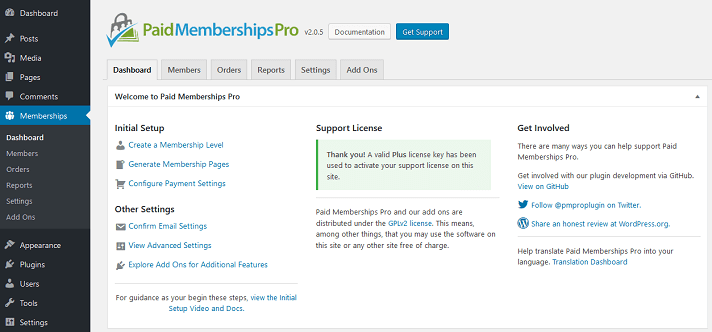
You’ll find several tabs that you can click:
- Dashboards: see quick links for managing your membership website. An overview of your member’s and order information as well as detailed reports produce when members sign up.
- Members: view every member’s information, which includes members who have been canceled as well as expired members, old members, and all users.
- Orders: access all membership orders, including information about the person who is using the account, the payment options, membership level and discounts, status, and more.
- Reports: view the following three reports including Views/Visits/Logins, Sales Revenue, as well as Membership Stats.
- Setting: configure settings related to discounts codes, membership levels pages and payment gateways, emails, and many more.
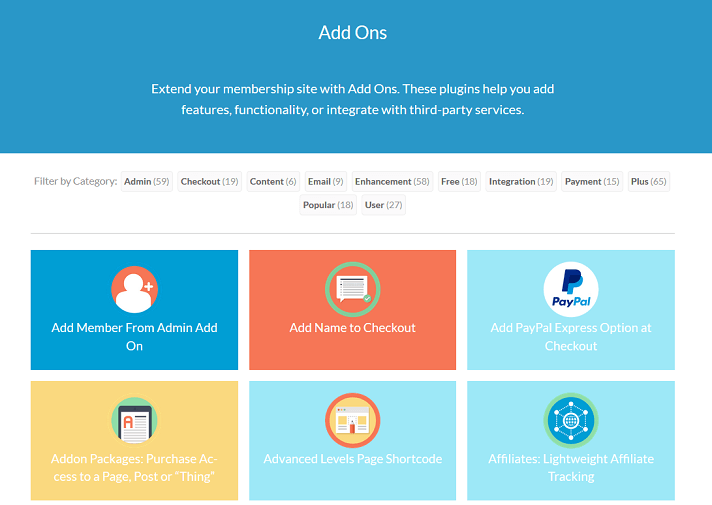
- Add-ons: activate any one of the Add-ons of 76 this powerful plugin has to enhance the design and functionality of your membership website.
Step 2: Add/Edit Membership Levels

Go to the Memberships > Membership Levels to add a new member or edit an existing membership.
Fill in the following details to edit or add the level of membership:
- Name: the name that represents membership.
- Description: The information about the level of membership will be displayed on the default “Membership Checkout” page.
- Confirmation Message: The confirmation message appears on the Membership Confirmation page following the registration has been successful.
- Billing Details: The initial payment, the recurring subscription details, billing amount, billing cycle limit, and custom trial period (if applicable).
- Other Settings: You can disable registrations for new members, and determine when the membership access expires.
- Content Settings: Select from the categories of Members Only or Other.
Click for the Save Level button when you’re done.
Step 3: Configure Page Settings
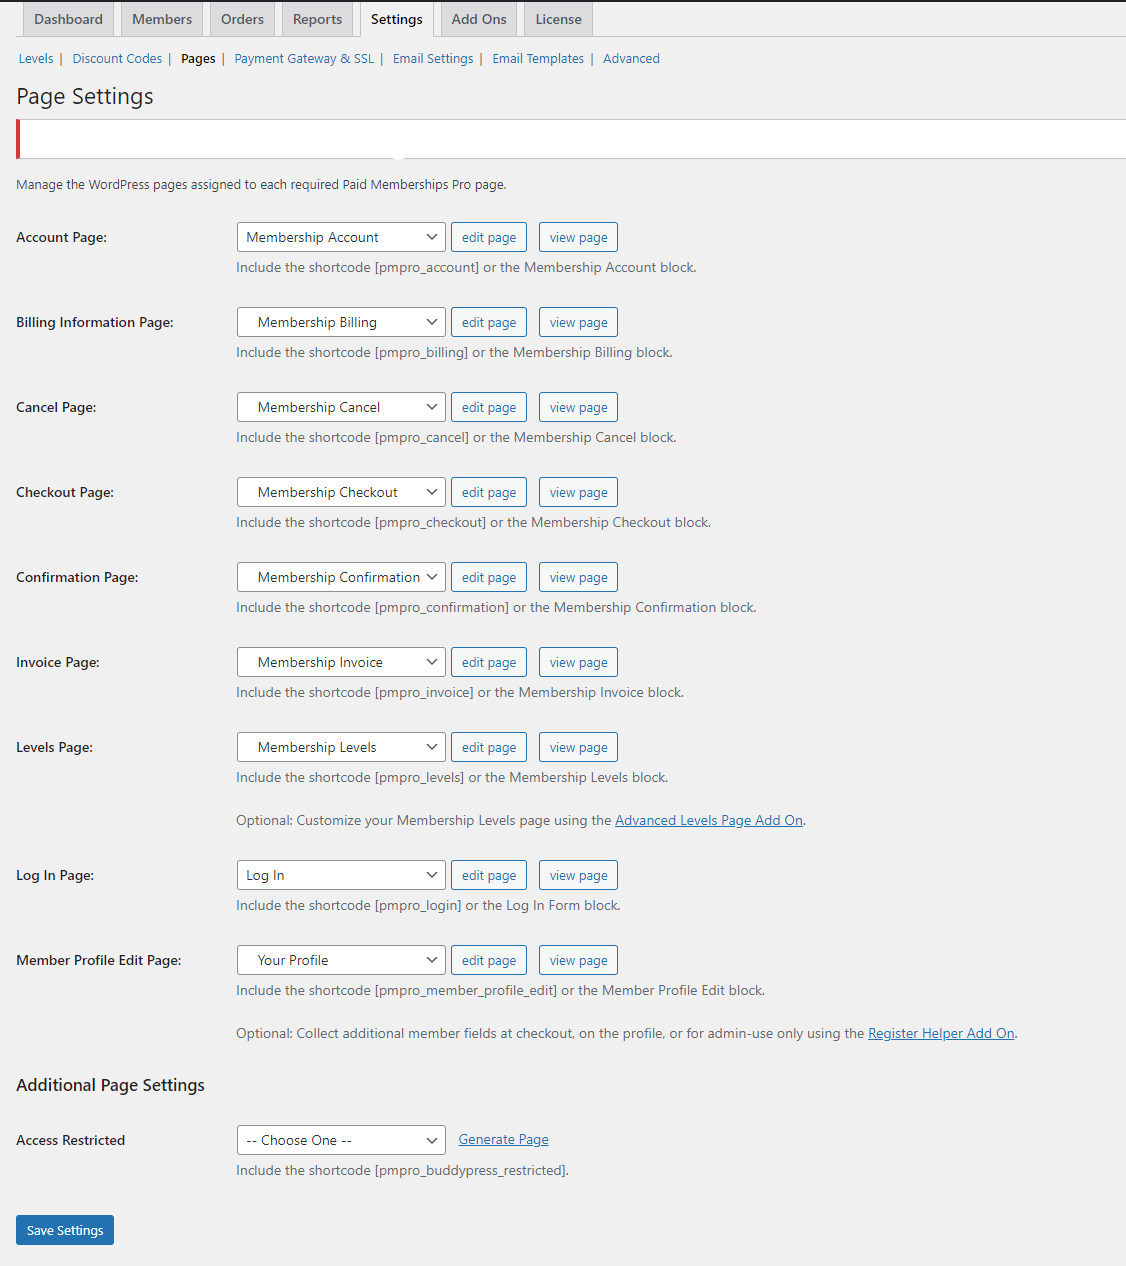
Manage the WordPress pages which can be assigned to each Paid Memberships Pro page. Click on the Memberships and then Pages and create these pages.
- Account Page
- Billing Information Page
- Cancel Page
- Checkout Page
- Confirmation Page
- Invoice Page
- Levels Page
- Log In Page
- Member Profile Edit Page
- Access Restricted
Step 4: Set Up Payment Gateways and Set Tax Rates
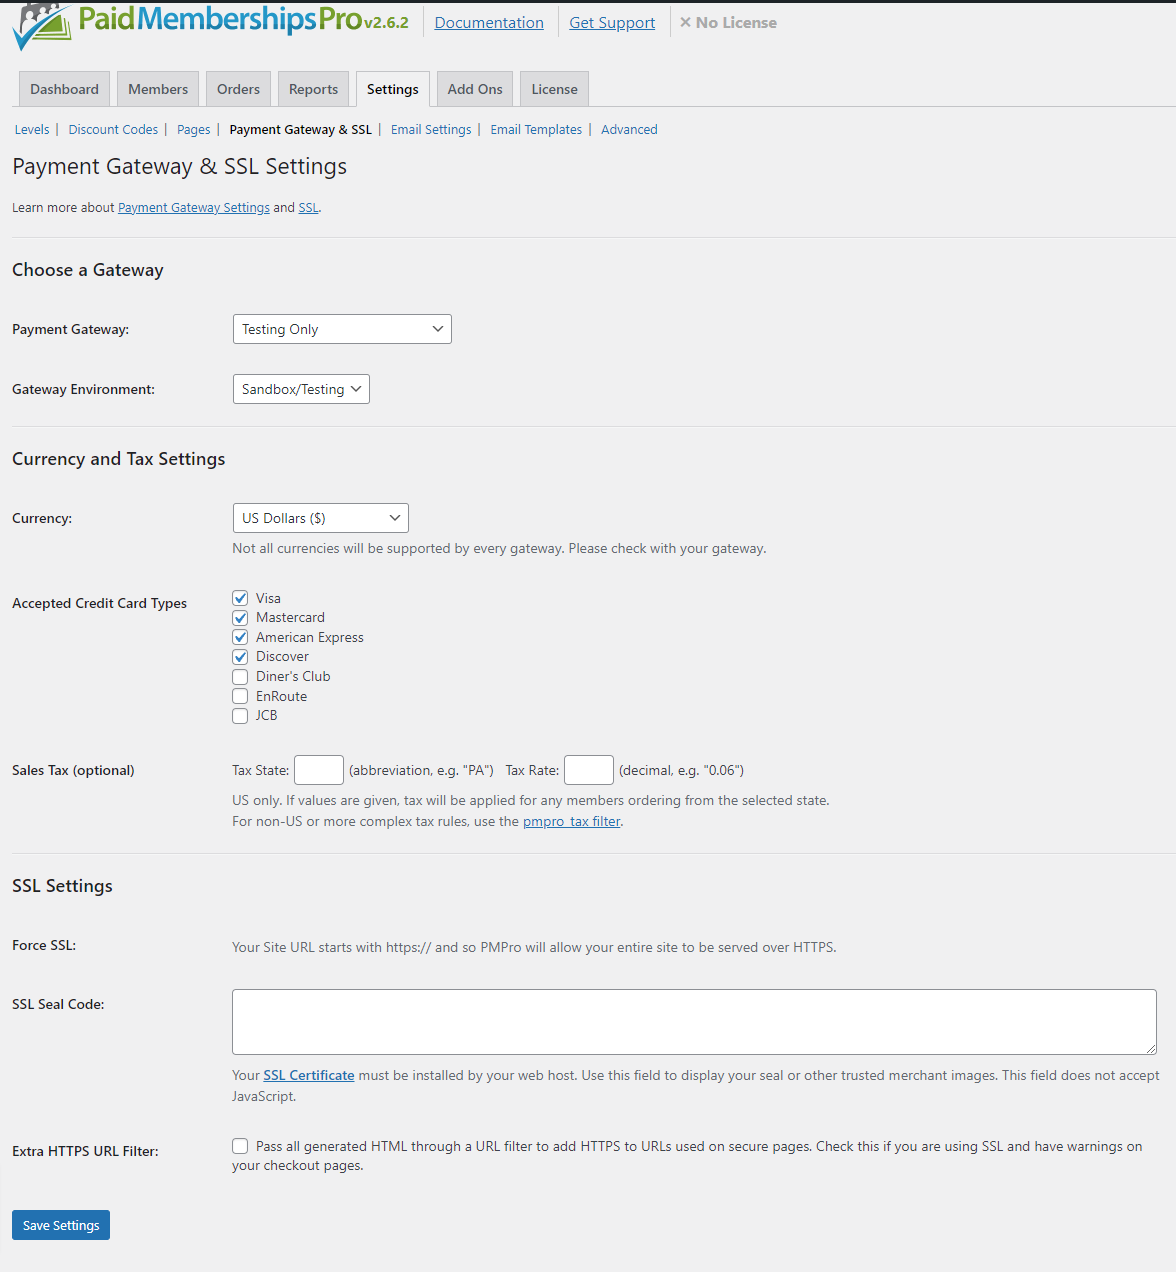
Choose a Gateway
First, select the payment method you would prefer to include on your membership website. Paid Memberships Pro does an excellent job of having the most well-known payment methods available. This makes the plugin adaptable for website owners of all kinds.
Then, fill in the fields for your preferred payment method. Each payment gateway has its set-up steps.
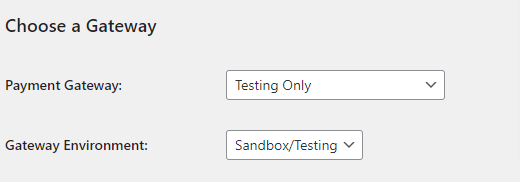
Currency and Tax Settings
The next step is to set up the taxes on sales and currency for the membership purchases.
First, select which currency you want to show on your membership site. Then, select the credit cards you’ll take from members. Finally, figure out the tax rate and sales tax rate.
Consult your tax accountant to find out whether tax-free memberships are necessary for your region.
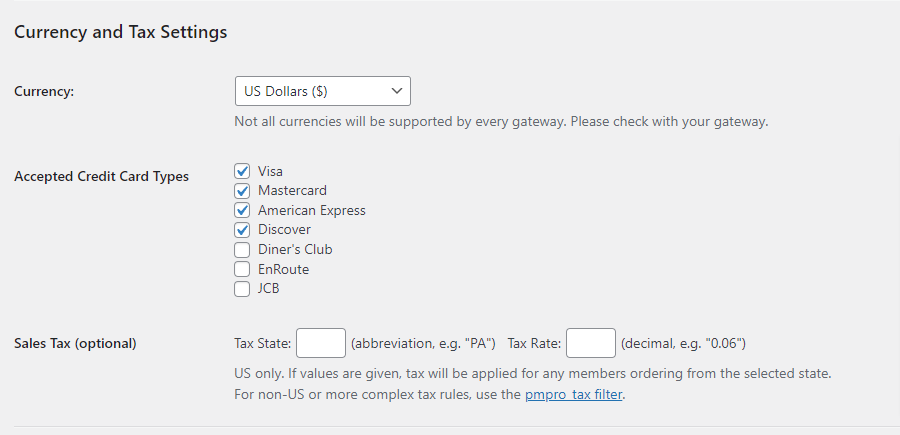
SSL Settings
Then, add the details concerning the SSL Certificate. It is an option to protect your members’ data. If you accept payments on your website for membership an SSL Certificate is required.
If you’re using an offsite payment processor like PayPal or Stripe An SSL certificate is not necessary. But, it’s advised to have one in place for extra security.
An SSL certificate is usually purchased by your WordPress web hosting provider however there are a variety of third-party options in addition.
Step 5: Configure Your Email Settings
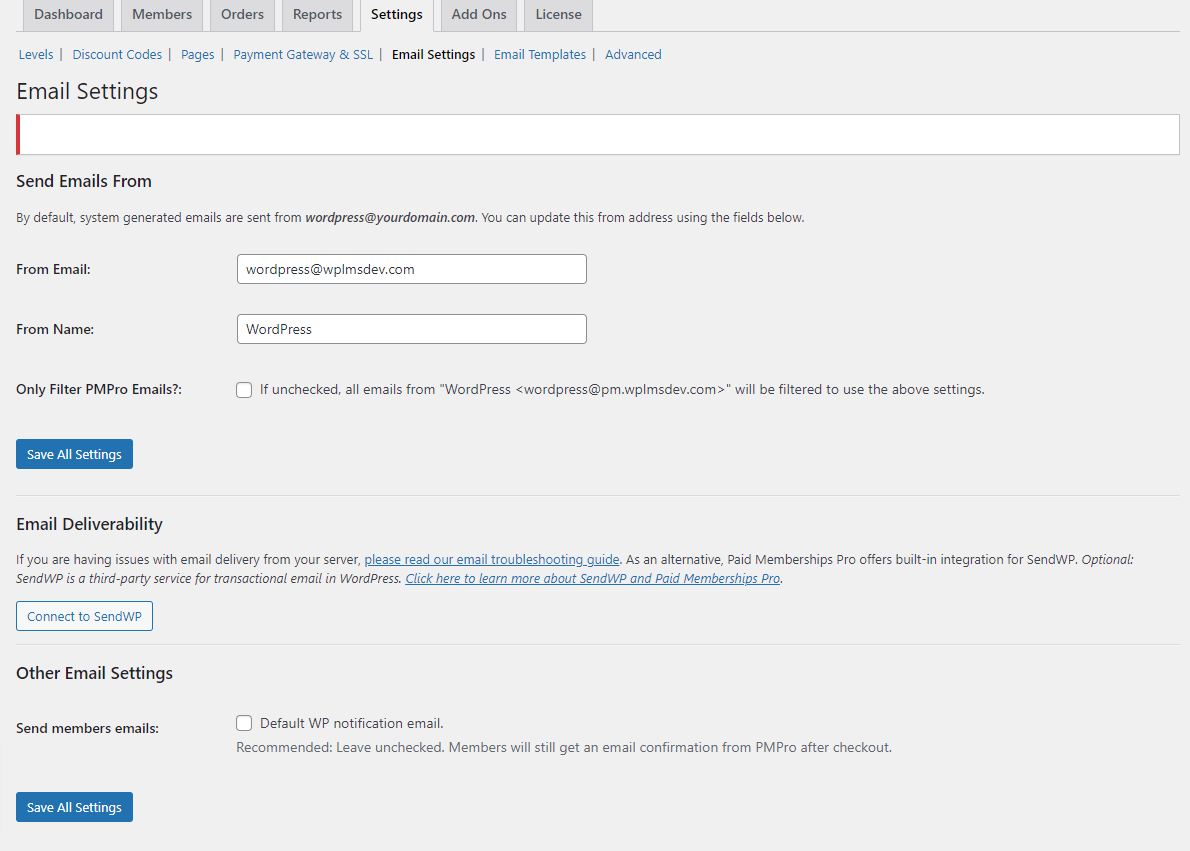
Send regular emails out to your members to show outstanding customer service. Keep your members up-to-date regardless of what stage of the membership process they’re in.
Go through Members and then Email and create these parameters.
- From email: Choose the default email address for your system or make the appropriate changes.
- From name: Choose which name to display when your members receive emails from you.
- Send your site admin emails: Set up the triggers for members that will notify you via email. For example, at checkout, the membership level changes when you cancel your membership, or the billing information has been changed.
- Send members emails: Determine if you want to notify new members via email. Be aware of the fact that Paid Memberships Pro automatically sends all new members an email with a confirmation after they have completed their payment.
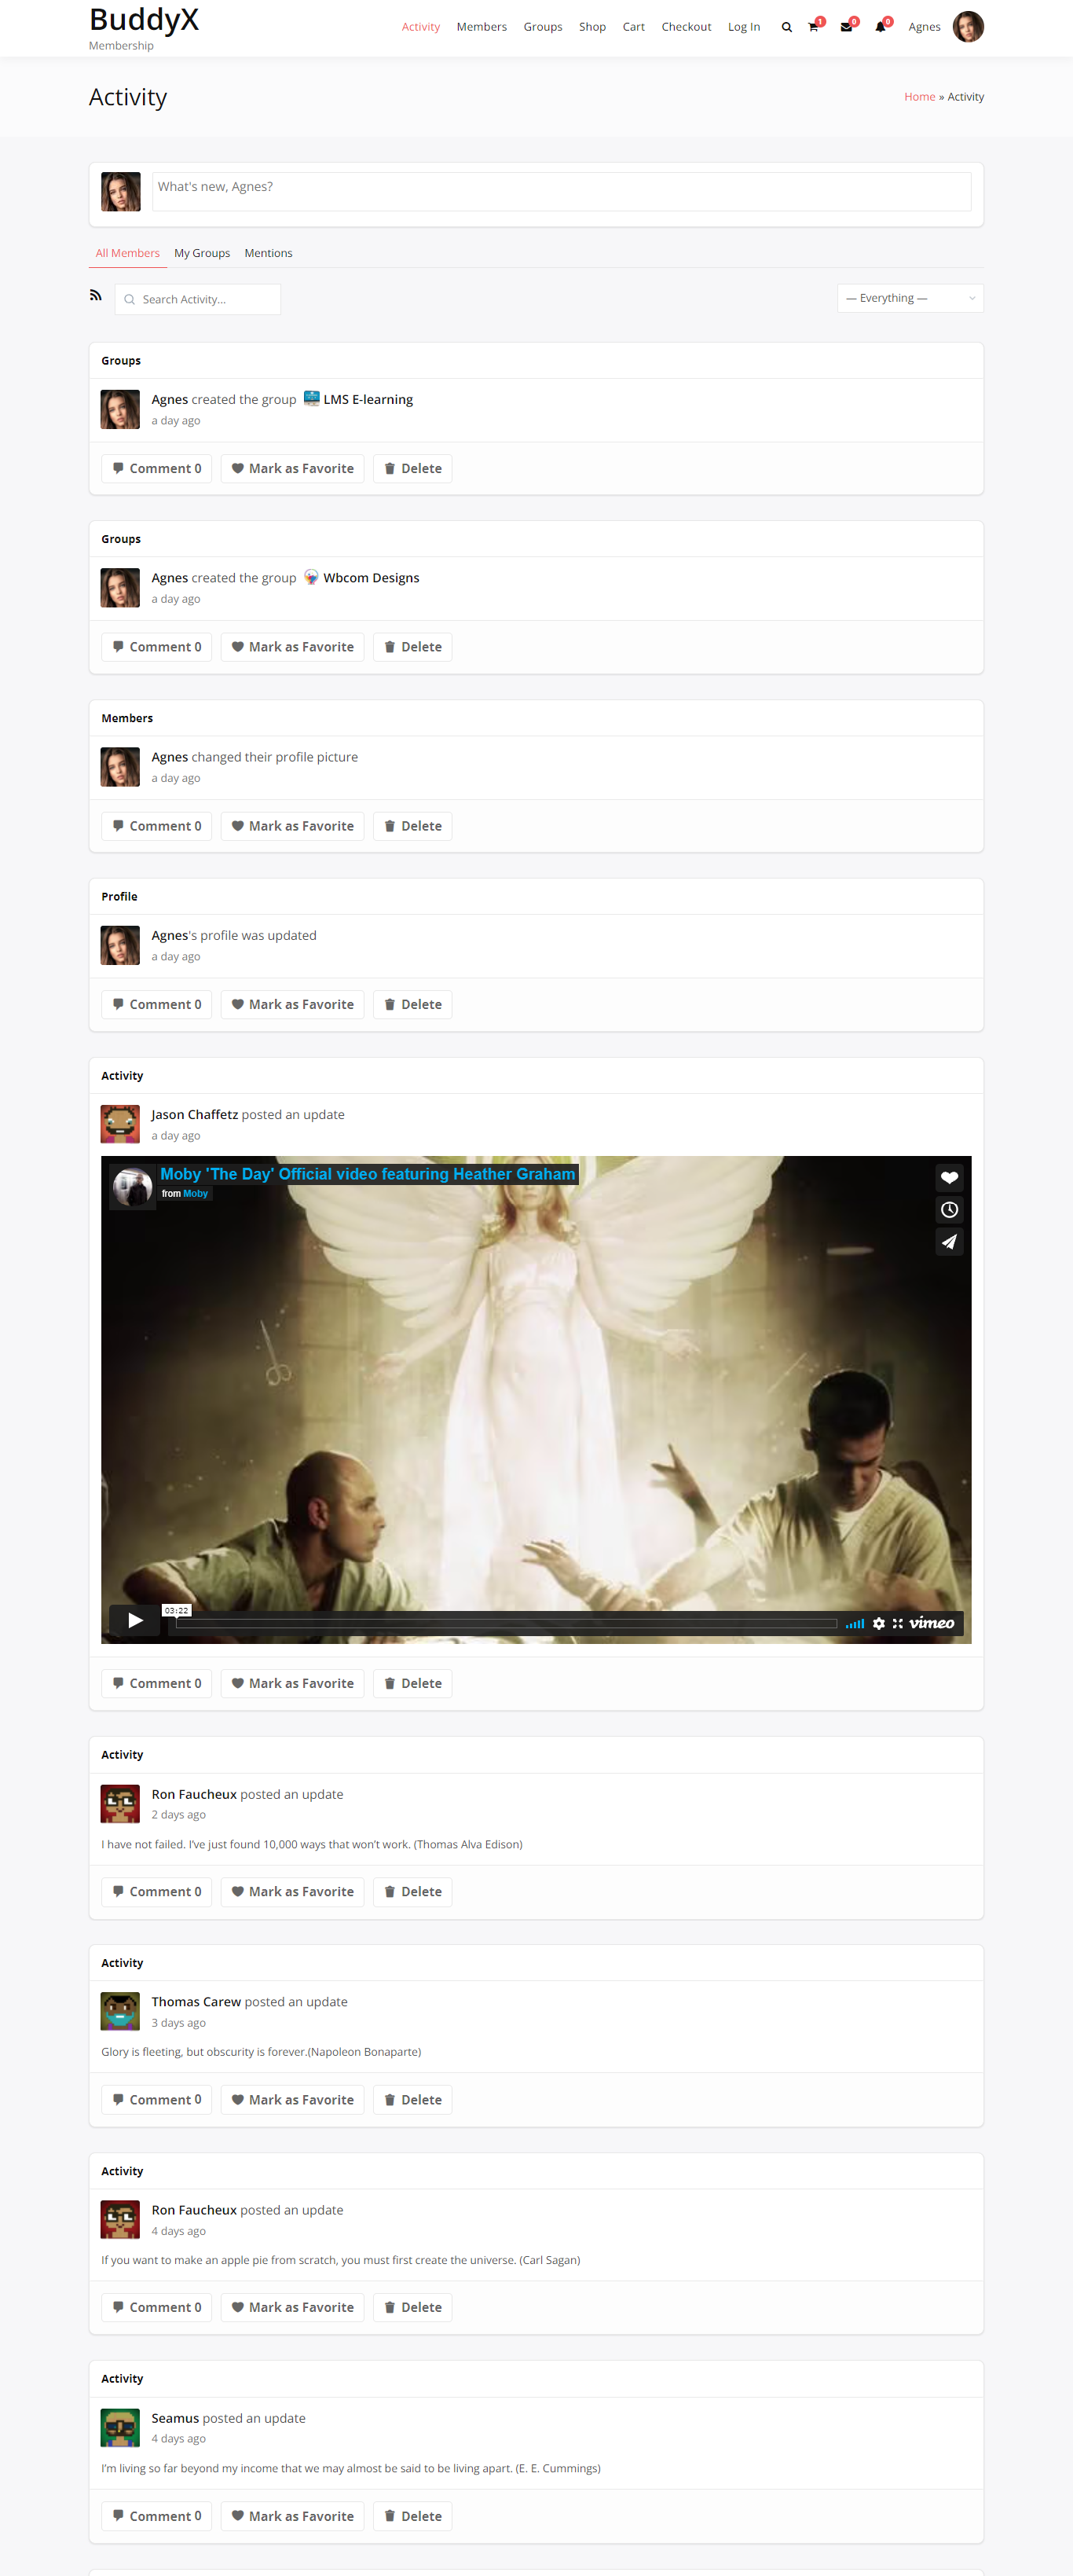
Front-end Layout
Activity Page
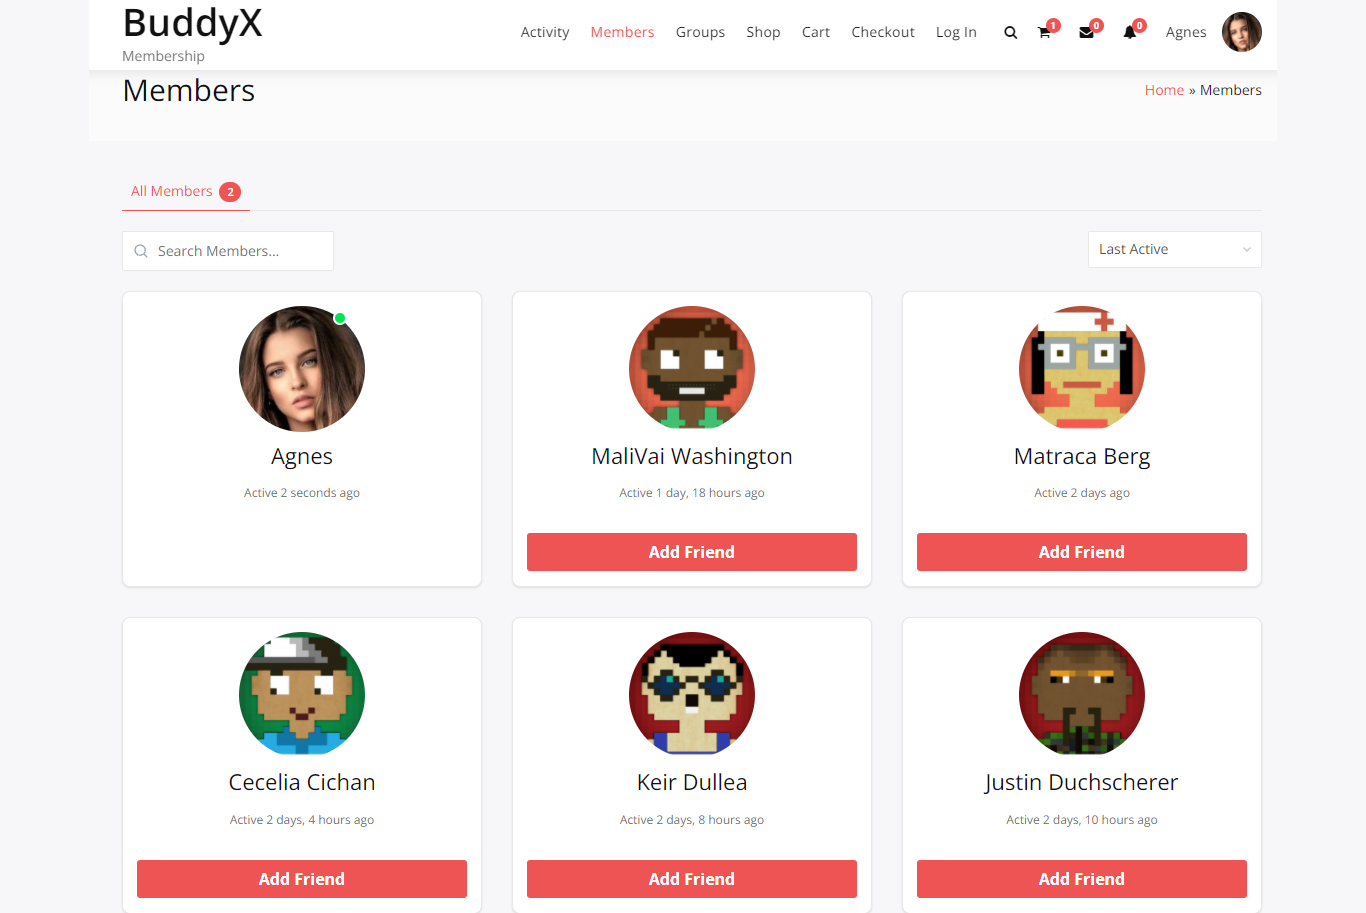
Members Page
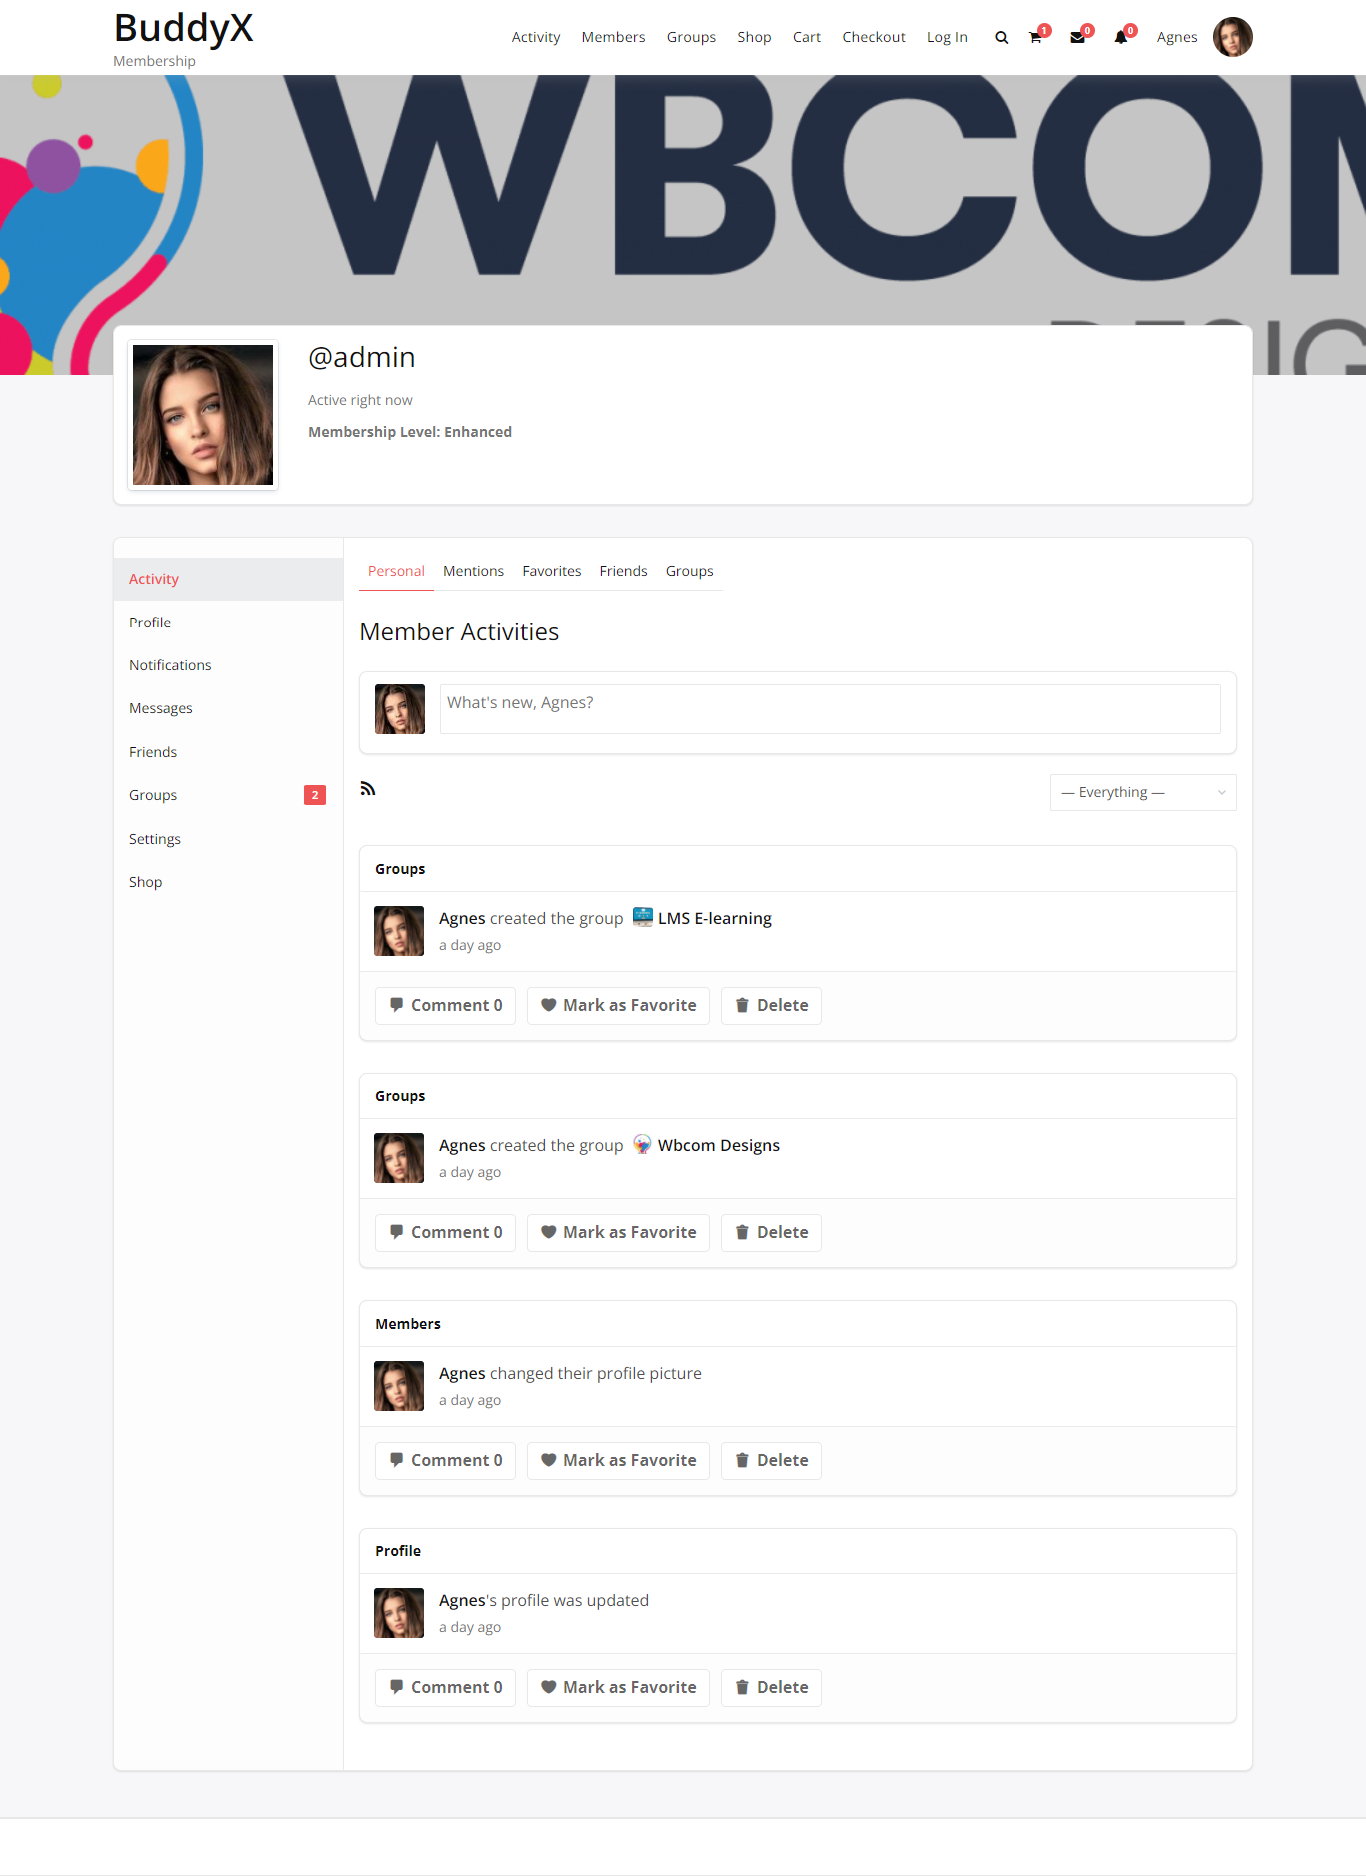
User Profile Page
Tons of Addons
Manage access to your BuddyPress Community using Paid Memberships Pro Plugin
BuddyPress gives community-based functions to WordPress including Profiles of Members, Activity streams messages, direct notifications, and more.
BuddyPress Integration with Paid Memberships Pro lets you limit access to certain aspects of your BuddyPress community based on membership levels which allows you to create a private, custom, and flexible community for members only.
Page Settings
This plugin redirects users to an alternative page when they attempt to access the restricted BuddyPress feature of the plugin. The user is redirected to the page assigned as the “Access Restricted” page under WordPress Memberships > Page Settings.
- Navigate to Memberships > ‘Page Settings’.
- In the section “Additional Page Settings”, create or select an existing page to be “Access Restricted” “Access Restricted” page.
- If you are using an existing page, make sure to include the [pmpro_buddypress_restricted] shortcode in the page content.
- Save Settings.

Membership Level Settings
Paid Membership Pro- Navigate to Memberships > Membership Levels.
- Pick a level you want to edit or create an entirely new level.
- Under the heading “BuddyPress Restrictions”, change “Unlock BuddyPress?” to the desired setting. You can decide to give users with the level they are at access to all functions of BuddyPress and thus prohibit everyone else from using BuddyPress options, or choose certain features that are limited to that particular level.
- Save Settings.

Particular sections of BuddyPress that are subject to restriction by membership level include:
- Group Creation
- Single Group Viewing
- Groups Page Viewing
- Joining Groups
- Public Messaging
- Private Messaging
- Send Friend Requests
- Include in Member Directory
WooCommerce Integration with Paid Memberships Pro Plugin
This Add On has multiple ways that can be integrated with WooCommerce. Check out the WooCommerce Integration features and details to explore more about the different ways to integrate this eCommerce plugin with Paid Memberships Pro.
Key Features of the Integration
- Sell a Membership in Paid Memberships Pro as a WooCommerce Product. WooCommerce subscriptions are required to process recurring subscriptions through the WooCommerce checkout procedure. PMPro’s checkout process incorporates the processing of recurring subscriptions.
- Customize Pricing of Products based on the Membership Level.
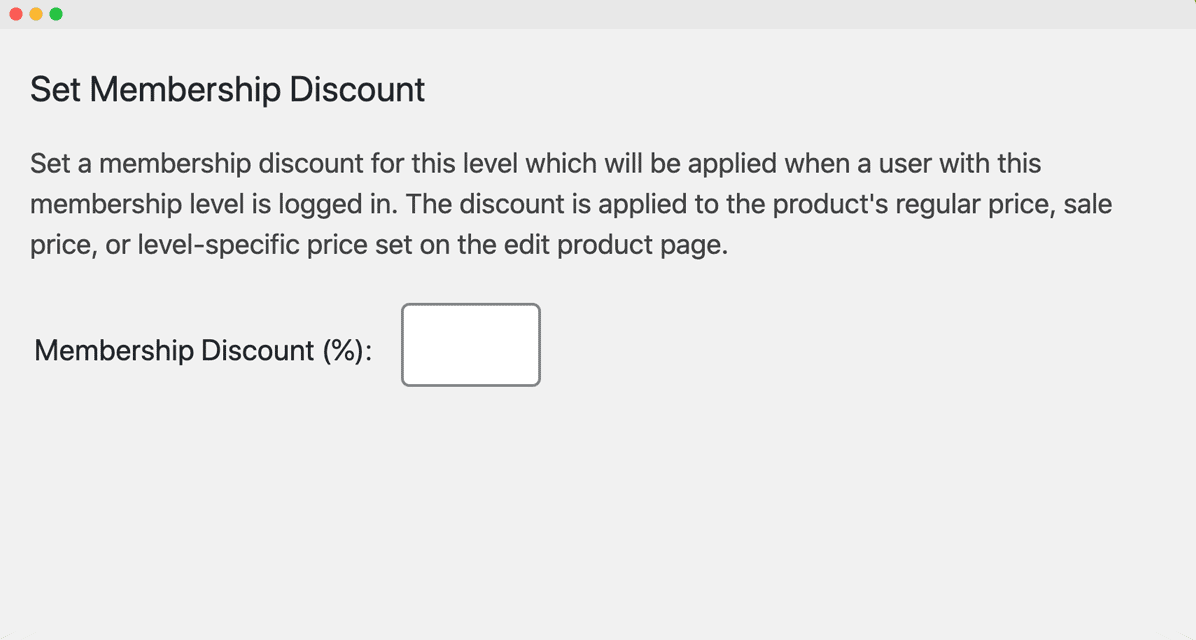
- Select a Global Percentage Discount for All Products Based on Membership Level.
- Works in conjunction with WooCommerce Subscriptions Premium Add-On for WooCommerce.
- Compatible when combined with the Multi-Memberships per User Add-On to Paid Memberships Pro.
- Synchronizes the Billing Address Fields Between WooCommerce and Paid Memberships Pro.
Membership Products and Per-Level Pricing
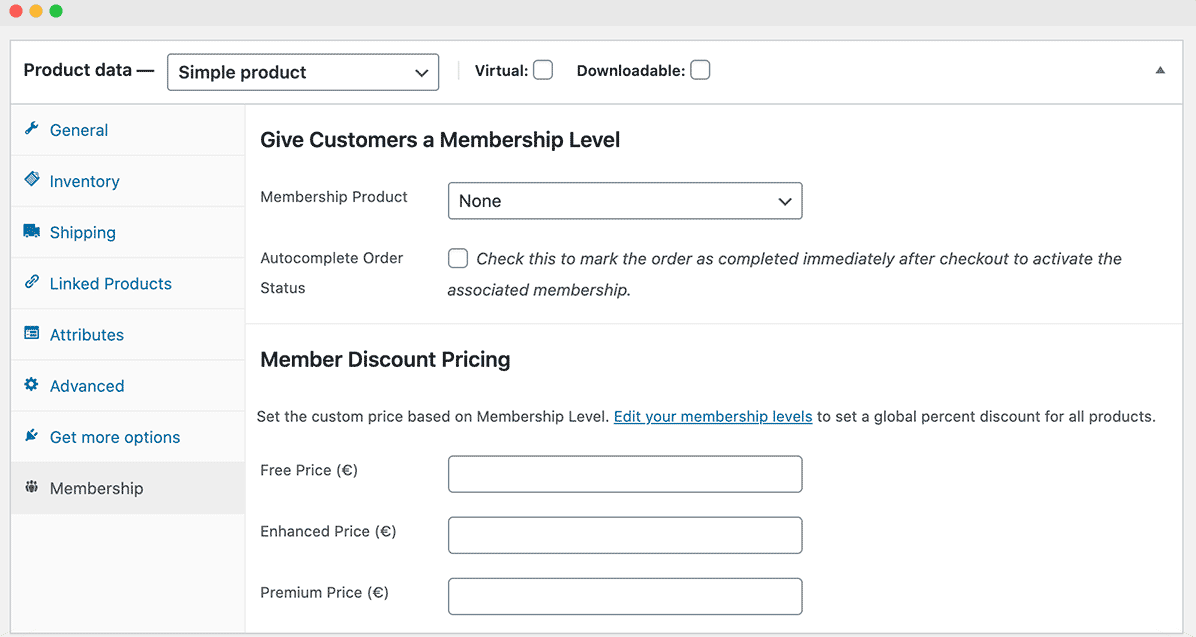
This plugin adds a “Membership” tab to the Product Data meta box on an individual page to edit the product. Within this tab, it is possible to choose to set an item to provide customers with an option to join or add specific pricing for the product according to the membership level.
Product Pricing by Membership Level
The Membership tab in the Product Data meta box also provides pricing fields for every member level on your website.
Using these fields, you can create pricing for users who have different levels of membership. If they do not have a membership, their price will not be affected.
Global Product Discounts based on Membership Level
Summary

There you are. You can create an active membership site using one of the more well-known and cost-effective WordPress member’s plugins. Plus, as a bonus, you can use another plugin to help people who are passionate about WooCommerce products.
The creation of a membership website is among the most efficient ways to earn money for your site and provide loyal users with special content for the price of an email or paid membership. Additionally, they establish your authority, establish connections with your followers, and do not require the exchange of time for cash.
If you’re looking to maximize the possibility of increasing your income by providing high-quality content to your website users, think about creating a WordPress membership site now.
Interesting Read:
10 Best WooCommerce Dropshipping Plugins 2021
Related reading