7 min read
Best WordPress Plugins To Help You Optimize For Google Core Web Vitals 2026

Google Core Web Vitals are established ranking factors that measure real-world user experience on your website. Sites that score well on Core Web Vitals gain an advantage in search rankings. 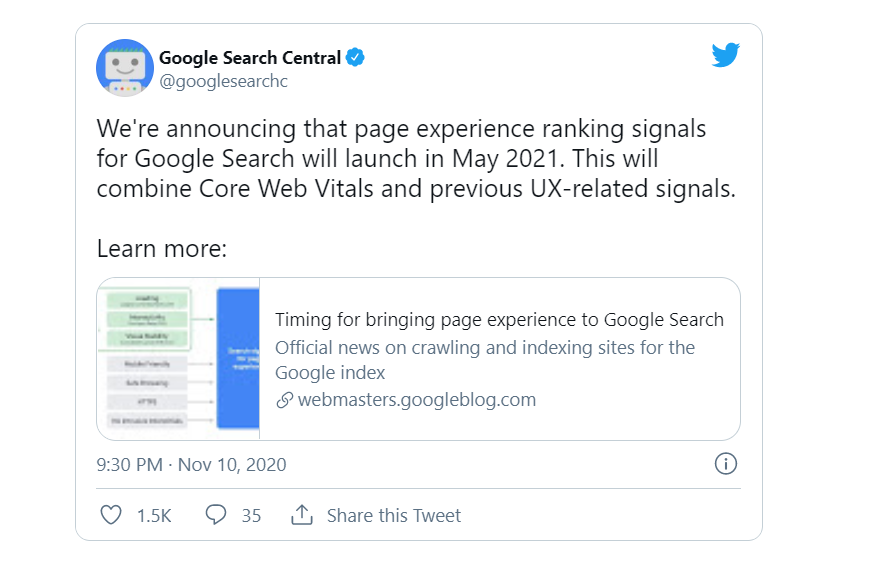
What are Google web core vitals?
Google web core vitals are the performance signals that give google an idea about the User experience of the website.
These performance signals include:
- Mobile-friendliness.
- Safe browsing.
- HTTP.
- Intrusive interstitial guidelines.
- Loading.
- Interactivity.
- Visual Stability.
What are the factors of Core web vitals?
It is defined by three factors:
1. Largest Contentful Paint
Also known as LCP. This factor measures the time a website takes to load its main content. The ideal time is 2.5 seconds.
2. First Input Delay
The time a page takes to become interactive. The ideal time is less than 100ms. This factor is based on users and how they interact with the website. This factor is considered as the user clicks the website link.
3. Cumulative Layout Shift
This factor measures the total of individual layout shift scores for every unexpected layout shift that occurs during the total period of the page. The score ranges from zero to any positive number. Larger the number, the more layout shifts of the page. This is the worst because the CLS score should be close to zero. This is the actual data that shows the user experience. If the website elements shift while the user interacts with the website, then it will count as a bad user experience because these element shifts obstruct users’ interaction.
Why are Core web vitals important?

Core Web Vitals are one of the ranking factors in Google. Google considers them important for user experience, and they have a direct effect on search visibility.
As mentioned above this will not be the only factor to consider as a ranking factor. Content relevancy is still a top-notch ranking factor. Content that resolves the user query will always be ranked first in google.
How to measure Core web vitals?
There is no particular tool to measure core web vitals. To measure Core web vitals, data is divided into various categories which when compiled help to measure core web vitals accurately and precisely.
It is categorized into the following types:
- Real User Monitoring (RUM) data.
- Lab data.
Measure Core web vitals using RUM data (Real user Monitoring)
This is the same data Google uses to measure core web vitals. It is also known as field data. This data is the real-time data that the user experiences.
To set up RUM, you will need the following tools for your website.
1. Google PageSpeed Insights: It is a google owned tool, which gives you full core web vital data of your website in a real-time setting. The tool creates reports based on aggregate page-level and origin-level performance over the past 28 days. This tool also suggests improvements. You can use the tool from here.
2. Google search console: This tool creates reports on a per-page basis. It also considers historical data. You can use this tool after you own or have full ownership. You can do this, by integrating your WordPress site with GSC step by step using Yoast Plugin.
3. CrUX dashboard: CrUX means Chrome UX Report. It enables you to track user experience and performance metrics for millions of origins. This tool creates a custom site performance report. You can also compare your website performance with a competitor’s website. The CrUX dashboard is built on a data studio. To create one for your website, you can follow the steps from here.
The details of CrUX vary with the other two because the CrUX report is broken down in calendar month performance, while the other two create reports for the past 28 days.
Measure Core web vitals using Lab data
Lab data is also known as synthetic data as the data is recorded under a controlled environment. This data is collected under a pre-production environment and then integrated into developer workflows and continuous processes. Examples are Lighthouse and WebPage tests.
1. Web vital chrome extension: You can install this chrome extension in your chrome and measure the core web vitals of a page. This extension gives real-time performance suggestions to developers which helps to make changes in the code.
2. Lighthouse: This tool measures LCP, CLS, and TBT and also highlights performance improvements. You can use this tool as a chrome extension, install the extension from here.
3. WebPage Test: This tool gives the standard reporting. This tool generates core web vitals reports under the certain device or network conditions. You can generate your core web vital report from here.
What are the top WordPress plugins to optimize google core web vitals?

Here is the list of the most recommended WordPress plugins you should use to optimize core web vitals :
1. Jetpack Boost
This WordPress plugin provides one-click optimizations. Currently, it has three modules available
- Optimize CSS Loading.
- Defer Non-Essential Javascript.
- Lazy Image Loading.
How to set up Jetpack Boost Plugin in WordPress?
- Install the plugin from here.
- Activate the plugin from the Jetpack Boost section of your WordPress admin.
- Turn on the performance modules and observe the scores.
2. Autoptimize
This plugin optimizes the core web vitals of the WordPress website easily. This plugin aggregates, minifies, and cache scripts. It also injects CSS in the page head by default. It optimizes lazy load images and Google fonts. Download the plugin from here.
How to set up the Autoptimize plugin in WordPress?
- Install the plugin, upload the zip file and unzip it in the /wp-content/plugins/ directory.
- Go to the menu bar in WP admin and click on “plugins” and activate it.
- Go to the settings and then go to Autoptimize and enable the options of your choice.
3. Hummingbird
This plugin is developed by WordPress speed specialists. This plugin optimizes website speed, enhances website performance, active cache, promotes lazy load integration, asset optimization, built-in Cloudflare integration and performs an excellent file compression function. You can install the plugin from here.
How to set up the Hummingbird plugin in WordPress?
- Go to the Plugins section in WordPress admin.
- Go to Add new option and type “Hummingbird”.
- Click on it and install.
- After installing it, click on the Activate button.
- The plugin is successfully installed.
4. WP-Optimize
This plugin is all one plugin for WordPress websites. You can download the plugin from here.
Features:
- It keeps the database optimized and clean.
- It helps in compressing the images.
- For the super-fast loading experience, it allows caching pages.
- It also allows the minification of asynchronous CSS and JavaScript.
How to set up the WP-Optimize plugin in WordPress?
- Go to the Plugins section of your WordPress Admin.
- Search for the WP-Optimize plugin.
- Click on download and install.
- Activate the plugin from the plugin dashboard.
5. Smush
This plugin helps to optimize images, improve your google page speed, compress and optimize websites for core web vitals. You can install the plugin from here.
How to set up a Smush plugin in WordPress?
- Enter Smush in the search section of the plugin section of WordPress Admin.
- Click on install.
- When the plugin is installed then click on the activate button.
6. ShortPixel Image Optimizer
A premium plugin that is available free on wordpress.org. You can download the plugin from here. This plugin is lightweight that compresses all the past images in a single click. This plugin also optimizes the latest images in the background.
How to set up a ShortPixel Image Optimizer plugin in WordPress?
- Sign up on this using your email Id.
- By email, you will receive an API key.
- Upload the plugin to the /wp-content/plugins/ directory.
- Go to the plugin section of your WordPress admin. Activate the plugin by entering the same API key.
- The uploaded images in WordPress will be automatically optimized.
Summary
So, these are the few recommended plugins which you can install in your WordPress website and optimize the website for Core web vitals. People usually ask: When can they see the changes? To which google answers that these changes are not sudden but you can see the changes on SERP, mostly within 6 months. Using these plugins to optimize Core web vitals is one of the ways to get solid positions on SERP. For long-lasting visibility on the golden positions of SERP, you need to deeply optimize the website. Let us know in the comments if you need the full in-depth guidelines on the Guide on core web vitals optimization.
Interested Read:
12 Tools For Choosing Website Color Scheme
Design Principles for Creating a Great Website
Free Photoshop Alternatives for Creative Designers
Updated on March 14, 2026
Related reading