In the realm of Google Forms, customization is key. This guide explores the art of creating ideal header images, perfectly aligned with your branding. Unveil the steps to transform mundane forms into branded experiences, all within the familiar landscape of Google Forms.
Table of Contents
ToggleStep 1: Design Your Header Image
Dimensions and Orientation:
Start with a landscape-oriented image, aiming for dimensions around 1600 x 400 pixels.
Content Creation:
Utilize graphic design tools like Canva or Photoshop to incorporate a logo, relevant information, and a visually appealing design.
Save Your Design:
Save the finalized image in a web-friendly format, such as JPEG or PNG.
Also Read: Explore the10 Best WordPress File Upload Plugins for 2024 [Free + Paid]
Step 2: Upload Image to WordPress
Access WordPress Dashboard:
Log in to your WordPress site.
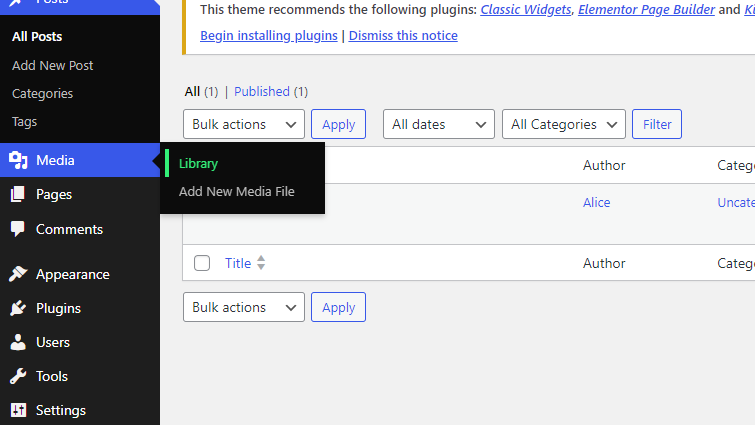
Navigate to Media Library:
Head to “Media” and “Library” to upload your header image.
Also Read: 4 Best Membership Site Platforms and Tools Builders
Step 3: Copy the Image URL
Locate Your Image:
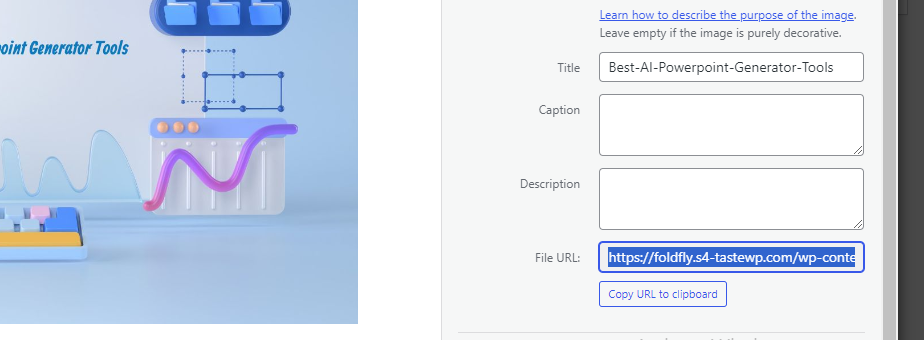
Click on the uploaded image in the Media Library to find its details.
Copy Image URL:
Copy the image URL for later use.
Also Read; 5+ Best Behavior Tracking Apps In 2024
Step 4: Insert Header Image into Google Form
Open Google Form:
Access the Google Form you want to customize.

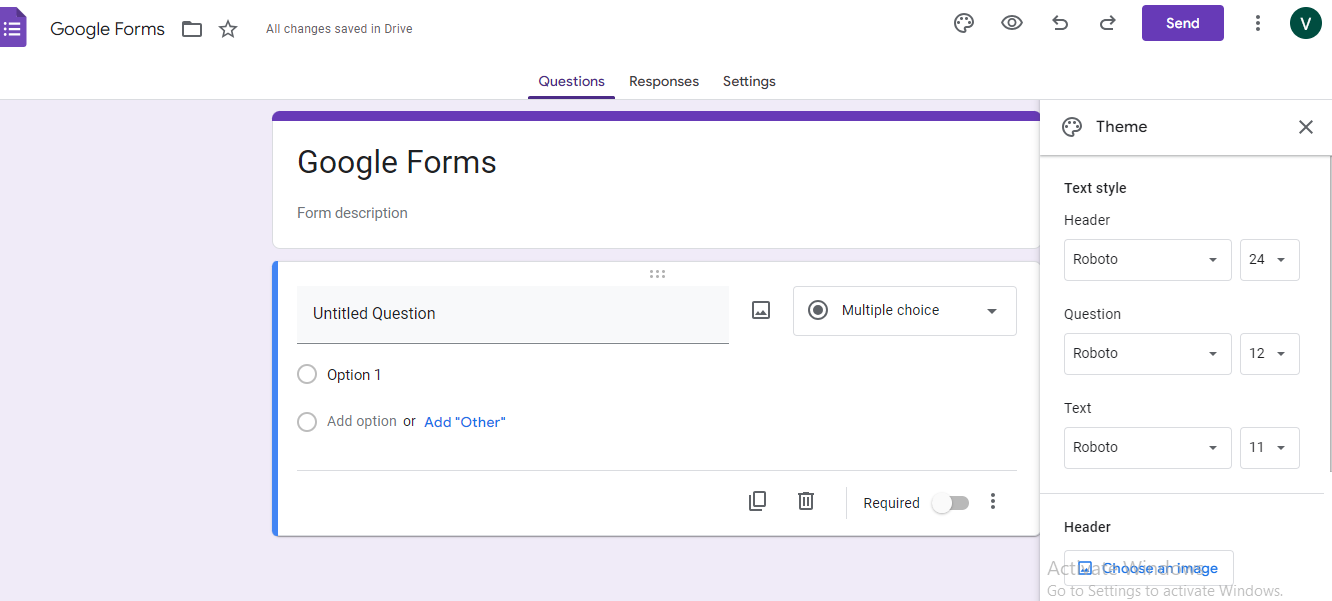
Customize Theme:
Click on the Customize Theme icon resembling a paint palette.
Also Read: 5+ Best Free Calendar Software In 2024
Choose Image:
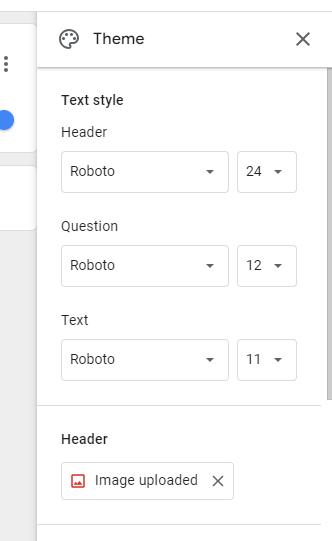
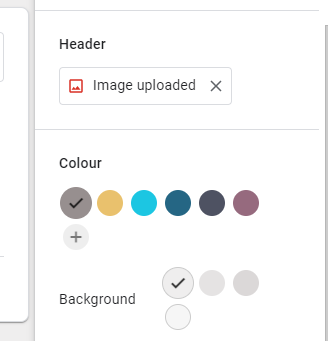
Under the Header section in the Theme window, click “Choose image.”
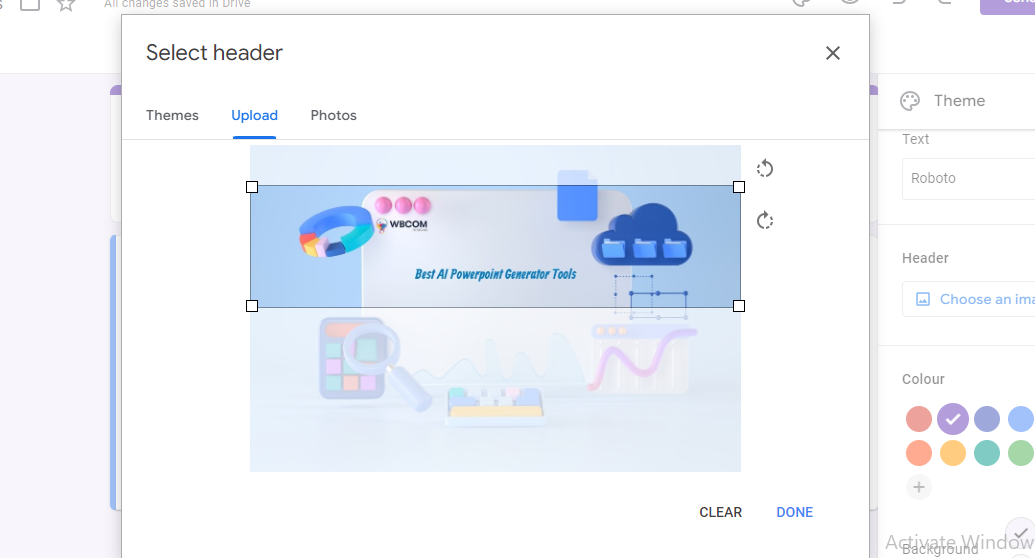
Paste Image URL:
Paste the copied image URL in the Select Header window.
Also Read: 8+ Best WordPress Rental Plugins In 2024
Edit and Save:
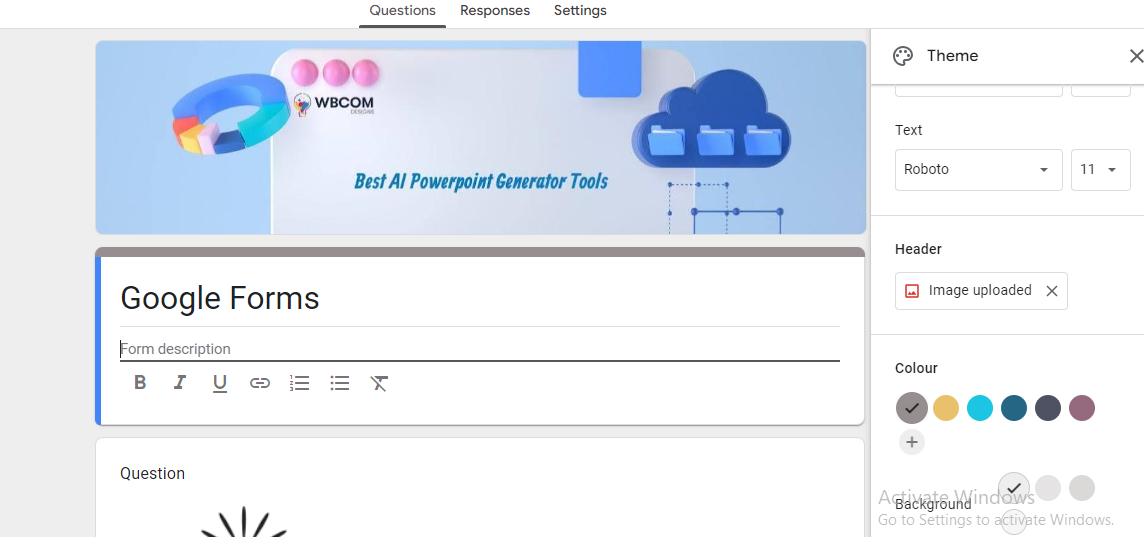
Adjust the size and position as needed, then save your changes.
Also Read: Crafting Tailored Solutions for Irish Businesses with Expert WordPress Mastery
Step 5: Preview and Test
Preview Your Form:
Click the eye icon to preview the form and ensure the header looks as intended.
Test Responsiveness:
Check the form on various devices to ensure the header image is responsive.
Congratulations! You’ve successfully created and added a personalized header image to your Google Form, making it visually appealing and aligned with your brand.
Conclusion
In wrapping up, crafting perfect Google Forms header images with branding is a transformative process. From design to integration, these steps empower you to make a lasting impression. Your customized headers not only enhance visual appeal but also establish a distinct brand identity. As you apply these insights, let your forms become more than just tools—they become unique expressions of your brand, leaving a memorable impact on your audience.
Interesting Reads:
How to Enhance Your WordPress Affiliate Site with AI-Powered Plugins

