8 min read
Create LearnDash Course

LearnDash is a WordPress Learning Management System plugin that allows users to create online courses on WordPress. If you are considering creating an e-learning website with WordPress, then this plugin proves to be the best for you. In this article, get ready to create an online LearnDash course.
LearnDash enables users to create and sell online courses, lessons, topics and much more.
In this article, we will discuss why LearnDash is the best and what all this plugin has to offer to help you create an amazing Learning Management System on WordPress.

LearnDash? What is it?
LearnDash is the most popular premium plugin for creating a learning management system on WordPress. This plugin works with any WordPress theme and supports multisite too. You can use this plugin to create responsive online courses in different styles. This makes the course simple and interesting and makes learning fun.
What are the features of LearnDash?
This plugin is loaded with features. Let us give a look at each one by one:
Create Courses:
LearnDash gives a user an option to create an unlimited number of courses. This plugin offers dynamic and engaging courses for members. Multi-tier courses allow admin yo break courses into lessons, topics, quizzes etc so that it becomes easy for the students. An admin can create quizzes, grade books, lesson timers with eight question types, question banks and a lot more. You can also grant certificates and badges to those students who have completed their courses.
Sell Courses:
LearnDash gives a user the option to sell courses in an easy and efficient manner. You can easily set your own price for courses, set up a payment method, schedule and sell your courses directly from the website. You can choose a payment gateway of your choice, create membership plans, sell in bundles, etc. this plugin is also compatible with WooCommerce with the help of WooCommerce LearnDash Integration.
Administration Options
This plugin provides an admin complete control over all the courses and other material. This plugin gives options for front-end user profiles where students can track their activities online. Admin can also send email notifications to students, approve their content, award them points and a lot more.
Let’s Get started with LearnDash
LearnDash installation is very easy and fast. Since its a premium plugin, you will be required to purchase it.
After you have purchased the plugin, upload it to your website. To know how to upload a plugin, Check here.
After activation, a LearnDash menu will be added to your dashboard.
Go to Dashboard> LearnDash

How to create a new course on LearnDash?
Let’s go through each step one by one to help you create a course
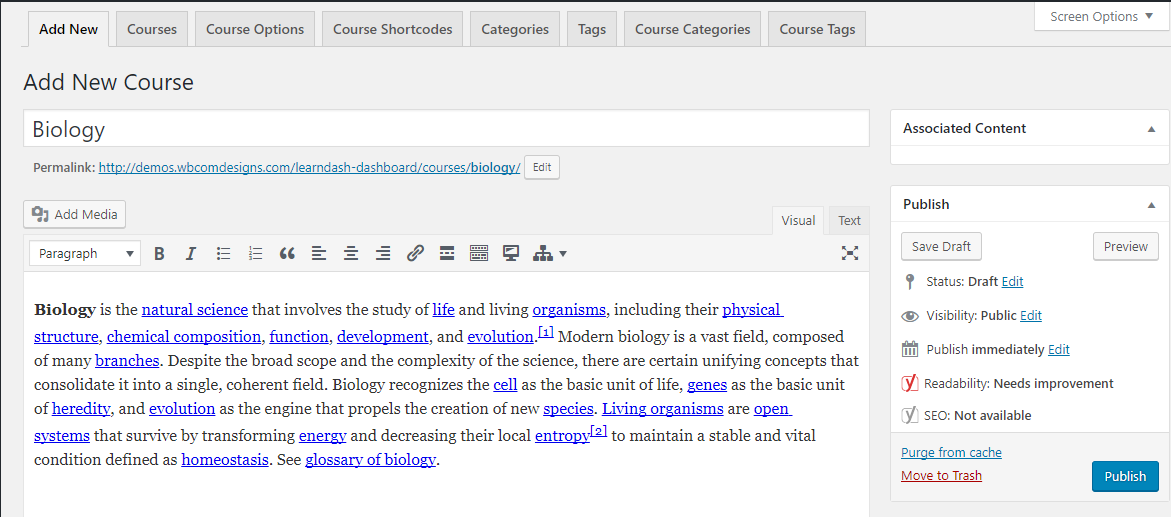
To add a new course, Go to LearnDash LMS> Courses> Add New from your WordPress menu.
Add your title and description, of course, you wish to create.
Add the main image to your course by uploading an image under the Featured image option.
If you wish to add your course in a particular category, simply create a category and checkmark it.
Course Settings

You can customize course settings on the same page. There are various options available such as adding course material, course price, managing lessons, adding the certificate and much more.
Course Type can be Open - available to all
Free - free but users will need to register
Buy Now - a paid course
Recurring - a recurring payment for access to the course.
After choosing the price option, add a price for the course.
Under Sort Lesson by the option, select the option, “Menu Order” and “Ascending” under Sort Lesson Direction. The lessons will be sorted accordingly.
Course Shortcodes
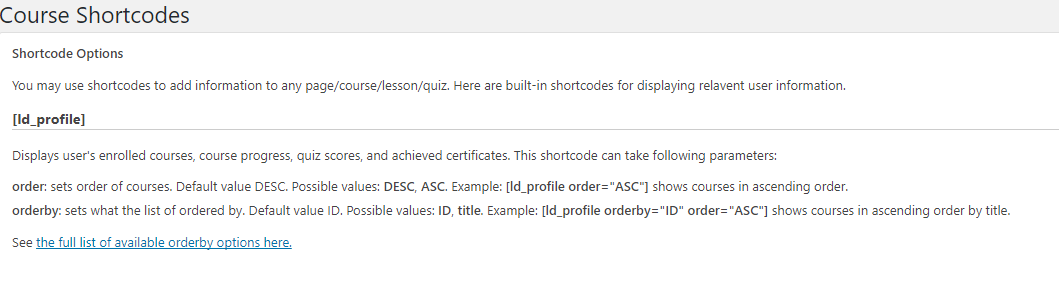
This option displays a list of various shortcodes that you can use to add extra information to your courses, lessons, topics, etc.
Now save all the settings and once you are done Select Publish.
You can also allow front-end course creation by users. LearnDash also has various extensions that add some amazing functionality to the course creation process.
Creating Lesson in LearnDash
 Creating a lesson with LearnDash is quite simple as Creating a course. For that, you need to follow the steps one by one-
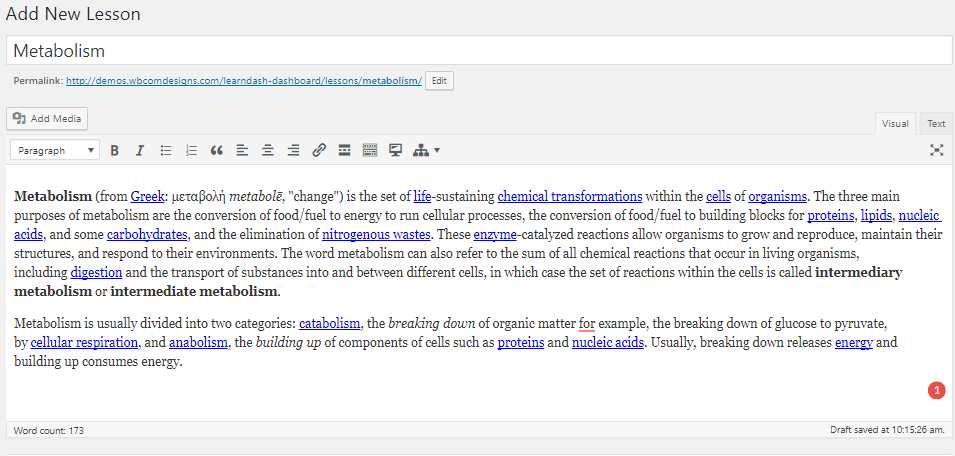
Go to Dashboard>Select LearnDash LMS > Lessons.
Then click on the button, After that enter the title of the lesson and add the lesson content in the editor just as you would any other post or page in WordPress. Then select the appropriate course for your lesson. Set the Settings for the lesson.
Now, If you selected Menu Order as the setting for Sort Lesson By when you originally created the course, then make sure to set the order of this lesson in the Attributes section on the right sidebar.
After all, this process clicks on the publish button. This is how you can easily create a lesson for your course.
To add another lesson you have to go through a similar process. For the Associated Course setting, choose the same course title as the first one.
Lesson Settings
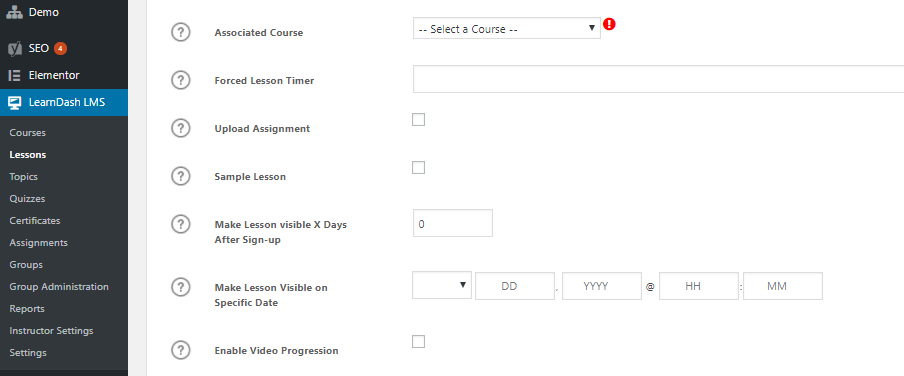
If you created your new lesson course, you need to go through the settings of a lesson. As you scroll down the page of a lesson you’ll get to see the settings, and you can easily customize the settings.
Here you need to select the course the lesson is associated with. After that, You can then choose to add a lesson timer or make it mandatory for students to upload an assignment as part of the lesson. It’s up to you. You can also choose to drip feed the content by making it visible on a set date or after a certain time period from when a user signs up for the course. If you feel it is good to go then only click on publish.
Creating Topics in LearnDash
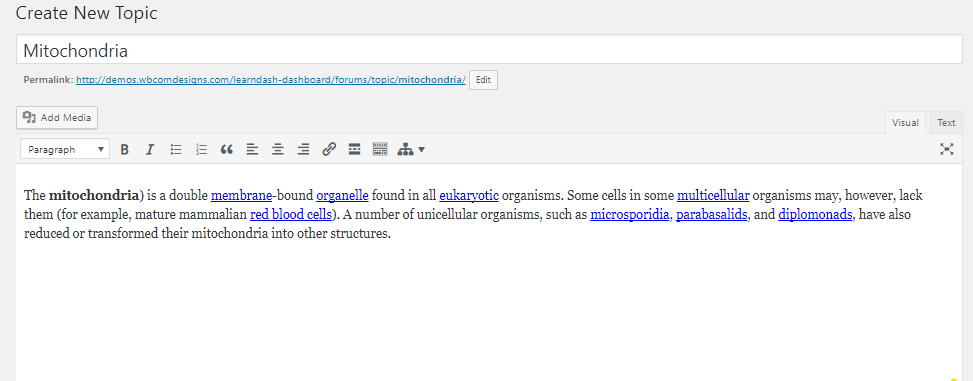
After creating lessons for your course it now turns to create Topics for your course. Let us follow the step by step process-
Go to Dashborad> Select the LearnDash LMS> Topics. Then, click on the add new button. After that enter the topic title and then add the content which you need to write in your topic. Add the appropriate course and the lesson. scroll down to the topic page set the settings for the topic as per your requirement, At last click on the Publish button.
For adding multiple topics for your course you can simply repeat the process. Choose the same course in the Associated Course setting. If required, set the Attributes Order according to the order of your topics.
Setting of Topics

To set the settings of Topics just simply scroll on the topic section and go to the settings and set the settings accordingly-
Choose the Associated course option to select the course associated which you choose for your topic. Then in the associated lesson set the lesson that will be associated with the topic. Then select the time that allows you to force the student to remain on that topic for a specific time before marking it complete. You may set it in seconds, minutes, or hours designating it as ##sec, ##min or #h, for example, 40sec, 40min, 1h.
After that Upload Assignment, you may require students to upload an assignment as part of completing a topic. After enabling the uploaded assignment you’ll get to see two new options under this option, Auto approve assignment and award points for the assignment. It’s up to you choose as per your requirements.
Adding a Quiz to LearnDash
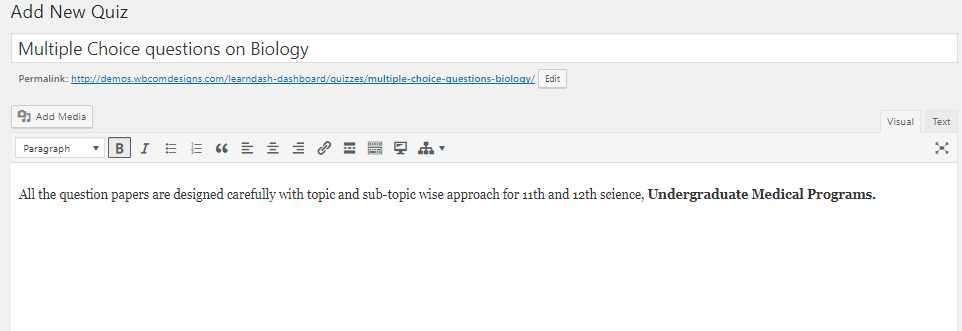
Adding a quiz is the most important thing you can do to make your course engaging for your students. To create a quiz in LearnDash is a simple one. Let us understand is steps one by one-
To create a quiz Go to Dashboard> Click on LearnDash LMS > Quizzes > click on Add New button. After that give your quiz a title, and if you want to write an introduction to your quiz, add it to the post editor. Though these simple steps, you can create your own Quiz.
Setting of Quiz
 Scroll down, you’ll see the option associate course and lesson from there you can simply associate your new quiz with the appropriate course and lesson. If you are creating a serious pass or fail a test, you can enter the number of times your students will be allowed to repeat the questions, as well as set a pass mark. This makes your course more interesting.
There are numerous other settings to choose from, including adding a timer to your quiz, enabling an auto start as soon as the quiz page loads, displaying a leaderboard so students can compare their scores, or by activating an automatic email notification to inform users of their results.
You can also add additional text to be displayed to your students at the end of the quiz. Once you have modified your quizzes settings to suit your course’s needs, select ‘Publish’.
How to add Questions to quiz
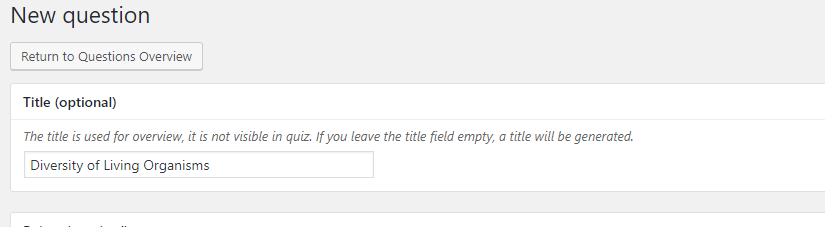
After creating the quiz to your course, now you can add questions, for you need to first go the quiz which you just created. After that, You will see that extra tabs have now been added to the top of the page. To create the questions for your quiz, select Questions > Add Question.
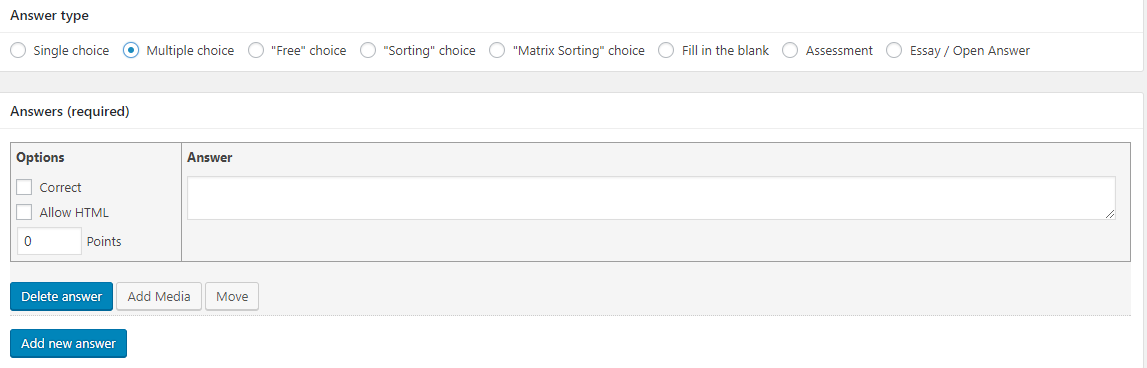 From here you can create each question and answer, as well as choose from different styles of questioning, including multiple-choice, filling in the blanks, and sorting answers into the correct order. You can also include a Hint to help your students if they get stuck.
Isn’t it is easy? I think pretty much interesting too.

Congratulations! you are all set to create your and sell your online course.
I have covered all the basics of creating an online learning course. It is now your turn to have a go at designing your own course and producing the appropriate lessons, quizzes, and further content. Is the quite ae simple process you can do it on your own. LearnDash is a powerful Learning Management System available for WordPress. It gives you plenty of amazing things related to e-learning courses you can simply visit and read out there. I hope this article is quite informative for you. Now you try to figure and steps for any query please feel free to comment below section. I’ll be happy to help you. Thanks for reading.
Interesting Reads:
How to Create Course with LearnDash Course Builder
Why Choose LearnDash Over Multiple LMS Platforms
Top LearnDash Add-ons To Give Your E-Learning Website New Heights
Related reading