6 min read
Create Multivendor E-Commerce Store in 5 Minutes By Using WordPress

Creating Multivendor eCommerce Store using WordPress? WordPress makes it simple to make an online store like Etsy, eBay, or Amazon. An online Multivendor eCommerce Store also called an online marketplace website, allows clients to purchase and sell things by setting up their own mini-stores than normal stores inside your eCommerce platform with simple and easy steps with WordPress.
In this article, we will tell you the best steps to create a multivendor eCommerce store using WordPress without going to spend much money.
What Do You Need to Start a Multivendor eCommerce store using WordPress?
There are two kinds of WordPress accessible: WordPress.com and WordPress.org. One is a restricted blog hosting service while the other is known as the self-hosted WordPress which you’ve probably heard tons about.
We suggest you using WordPress.org because it gives you the opportunity and access to all WordPress features out of the box. You will require the following things to create a multivendor eCommerce site like Etsy or eBay.
- A domain name.
- Web hosting account.
- SSL Certificate.
- WooCommerce.
- Online marketplace addon.
The whole setup can require as long as 45 minutes, and we will walk you through each step individually.
Stage 1. Setting up Your Ecommerce store
The first step is to purchase a domain name and a web hosting account. You don’t simply require web hosting, however, you will require a service that specializes in WooCommerce hosting because this is the product that we will use as our eCommerce store. You would now have a WordPress site with WooCommerce installed on it.
In any case, of course, WooCommerce accepts that your site isn’t multivendor, so other users can’t add their own items and services to your site like you can on eBay or Etsy.
Also Read:How to Create a Dating Website Using WordPress Plugins
Stage 2. Change Your WooCommerce Site into an Online Marketplace
In the first place, you need to install and activate the WC Vendors plugin. WC Vendor is a multivendor marketplace solution for WooCommerce. It’s simple but a marketplace website by transforming WooCommerce into a multivendor site.
Every vendor can sell their items while you keep full control of the website as the marketplace owner. You can pick your own plan of action, installment techniques, payment methods, product types, and more.
Upon activation, head over to WC Vendors » Settings page to design marketplace settings.
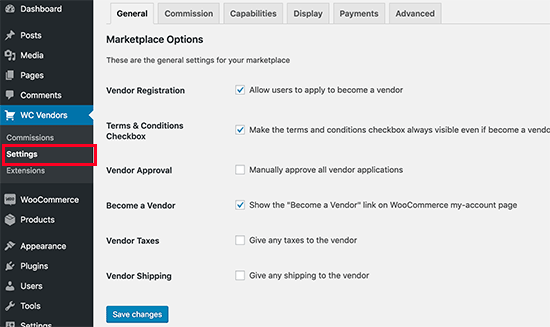
To begin with, you will see the overall things. You need to ensure that the ‘Vendor Registration’ box is checked to permit clients to join as Vendors on your site.
You can review different things on the page and click on the ‘Save Changes’ button to store your settings.
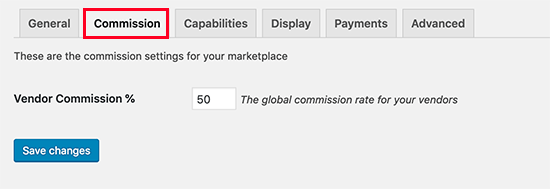
Then, you need to click on the ‘Commission’ tab to set a commission amount for vendors across your site. This is the sum you’ll pay to the vendor for every deal.
Then, you need to click on the ‘Capabilities’ tab to set sitewide rules for vendors. This piece of the setting accompanies three areas.
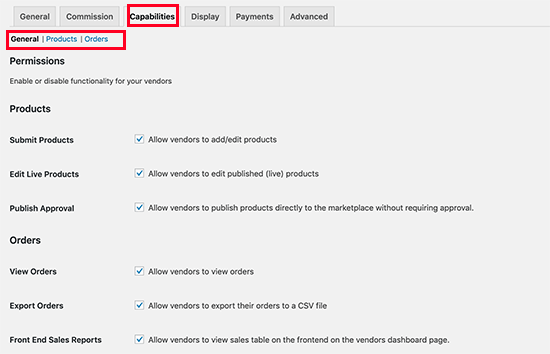
The overall capabilities include permitting vendors to see and edit items and orders. The default alternatives would work for most sites.
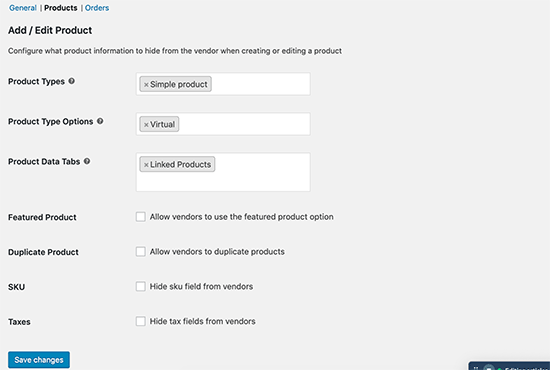
Then, change to the ‘Products’ segment and from here you can choose which type of products the vendor can add. For example, you can restrict vendors to just add advanced downloads or a physical product.
You can also choose which information Vendors can see and use on the ‘Add Products’ page.
Also Read: Benefits of Building an Open-Source Knowledge Base
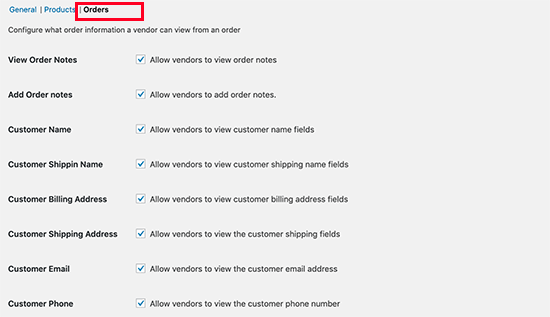
Finally, switch to the ‘Orders’ segment under ‘Capabilities’ to choose what data vendors can see about the orders.
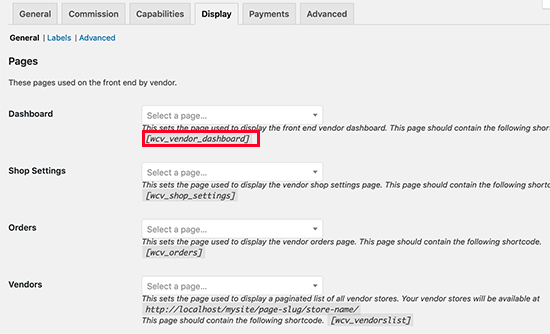
After setting up the capabilities, the time has come to set up marketplace-related pages on your website.
Change to the ‘Display’ tab under plugin settings to set up pages. You can simply go to Pages » Add New to make another page for each item and add the shortcode showed in the settings to the page’s content area.
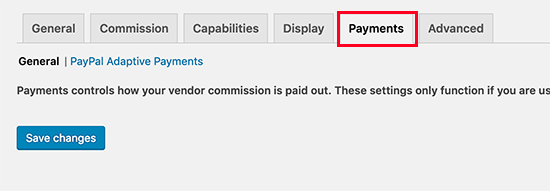
The following stage is to set up payment for your vendors. Most multivendor websites set a base limit for their vendors and pay them on a month-to-month or week-by-week basis.
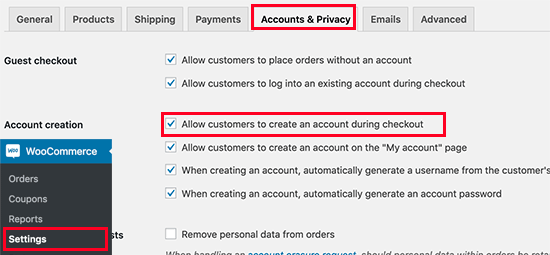
Stage 3. Enable Account Management in WooCommerce
To start with, you need to visit WooCommerce » Settings page and click on the ‘Accounts’ tab. From here you need to check the cases next to the client registration option.
Stage 4. Setting Up Navigation Menus
Presently that your multivendor marketplace setup is done. The time has come to make it simple for your clients to discover their way around your website.
On that point, go to the Appearance » Menus page. From here you need to add your client record and checkout pages to the navigation menu.
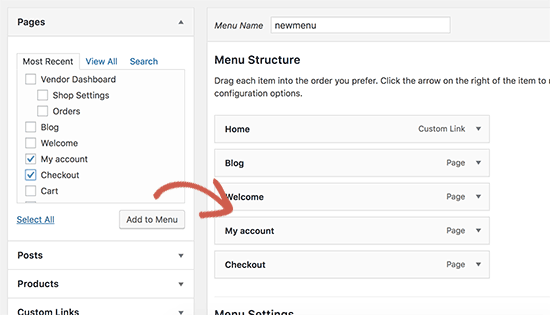
Assuming you don’t have a My Account page, create a new page in WordPress and add the WooCommerce shortcode in the post editor.
[woocommerce_my_account]
Step 5. Test Your Marketplace Website
Your multivendor marketplace website is currently prepared for testing. You can visit your site in another window and make another record by clicking on the My Account link.
Stage 6. Developing your Multivendor Marketplace Website
To start with, you might need to pick a plan for your marketplace site. WordPress comes with a huge number of free and paid themes yet not every one of them is an eCommerce site.
After that, you need the best Woocommerce theme and plugin for your multivendor marketplace website.
Here are some Woocommerce plugins for your multivendor website.
1. Dokan

By using the Dokan plugin you can make an incredible multivendor marketplace website like Amazon or eBay. The Dokan plugin depends on the WooCommerce plugin. Vendors can assign a service request to a particular agent from the Vendors dashboard. With this feature, a vendor presently can remember another client for a specific order request without giving access to all service orders.
Also Read: What is WordPress? An Overview of the World’s most popular CMS
Important features of Dokan
- Commission Type.
- Set commission.
- Shipping Fees.
- Tax fee.
- Withdraw method.
- Minimum withdrawal Limit.
- Able to set commission.
- Add different attributes.
- Frontend tax support.
- SEO of Page.
2.WCFM Marketplace
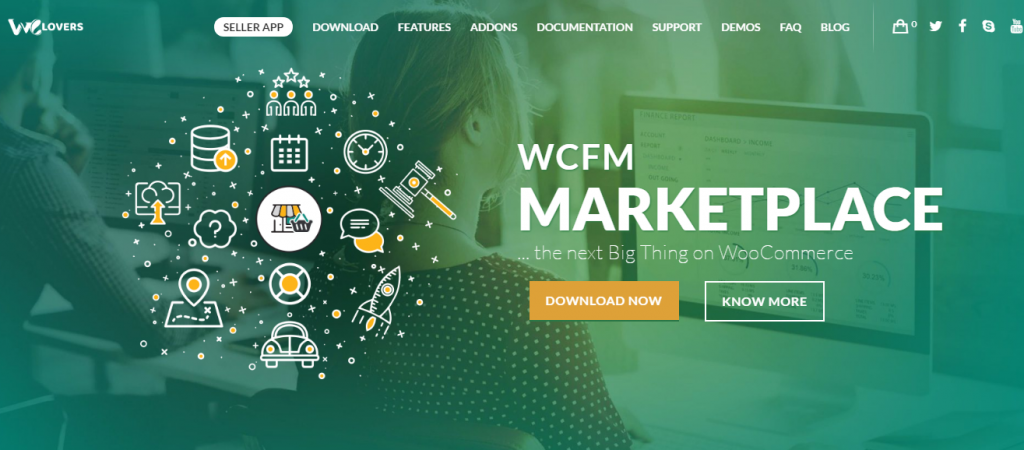
WCFM Marketplace Plugin was created by WC Lovers. WCFM Marketplace is a WooCommerce based Frontend Manager for making a multivendor marketplace with huge features that will help you set up a multivendor eCommerce platform without having a lot of problems. Some of WCFM Marketplace features are:
- Seller verification
- Easy Refund process
- Easy Invoicing system
- Discounts and coupons management
- Shipment tracking
- Wholesale and bulk stock management
Best Multivendor eCommerce Themes
1.BuddyX Theme
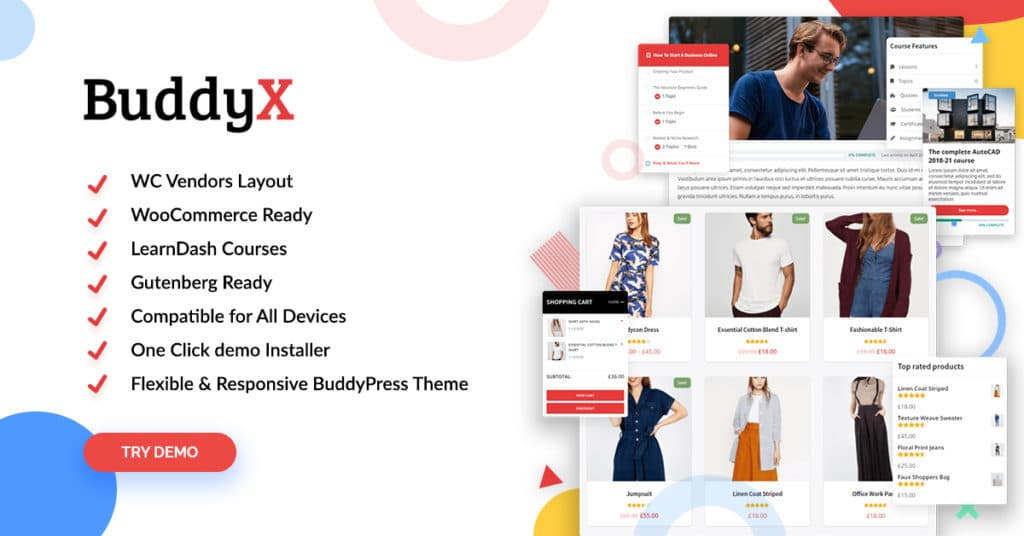
BuddyX is a multipurpose WordPress theme that looks extraordinary and performs well. The advanced, clean theme is simple according to vendor and buyers the same. BuddyX observes WordPress configuration coding guidelines which makes it simple to customize. It comes with a completely responsive and Retina-prepared plan, shoppers and vendors will have a smooth experience on desktop and mobile.
It also supports WooCommerce and allows you to sell your products online to your community members.
2.Reign Theme

Reign is a premium WordPress theme that will permit your vendors to sell their own products. Its interpretation is prepared and gives unlimited color, Frontend structure support alternatives, and more. Reign Theme support Easy Digital Downloads to add social multivendor store features. This theme rapidly imports the whole demo content that includes every one of the settings, required plugin, customizer choices, and widgets with only a single tick.
Summary
With the help of these simple WooCommerce setup steps, all these multivendor themes and plugins are very flexible to create a multivendor marketplace website. I hope that this article helped you to Create a Multivendor eCommerce Store in 5 Minutes with WordPress for your website. So, For any query feel free to comment below. Thanks for reading.
Interesting Reads:
Related reading