7 min read
Make Marketing and Social Media graphics much easier with DesignCap
Creating professional-quality graphics for marketing campaigns and social media channels used to require either expensive design software or a dedicated graphic designer. For WordPress site owners, freelancers, and small business operators who manage their own online presence, finding the time and budget for professional design work often feels impossible. Between updating website content, responding to customer inquiries, and managing social media accounts, graphic design becomes yet another task competing for limited resources.
Online graphic design tools have changed this dynamic entirely, making it possible for anyone to produce polished marketing materials without formal design training. Among these tools, DesignCap stands out as a browser-based graphic editor that prioritizes speed and simplicity without sacrificing visual quality. This review examines what DesignCap offers, how it works, and whether it deserves a spot in your WordPress marketing toolkit.
What Makes DesignCap Different from Other Design Tools
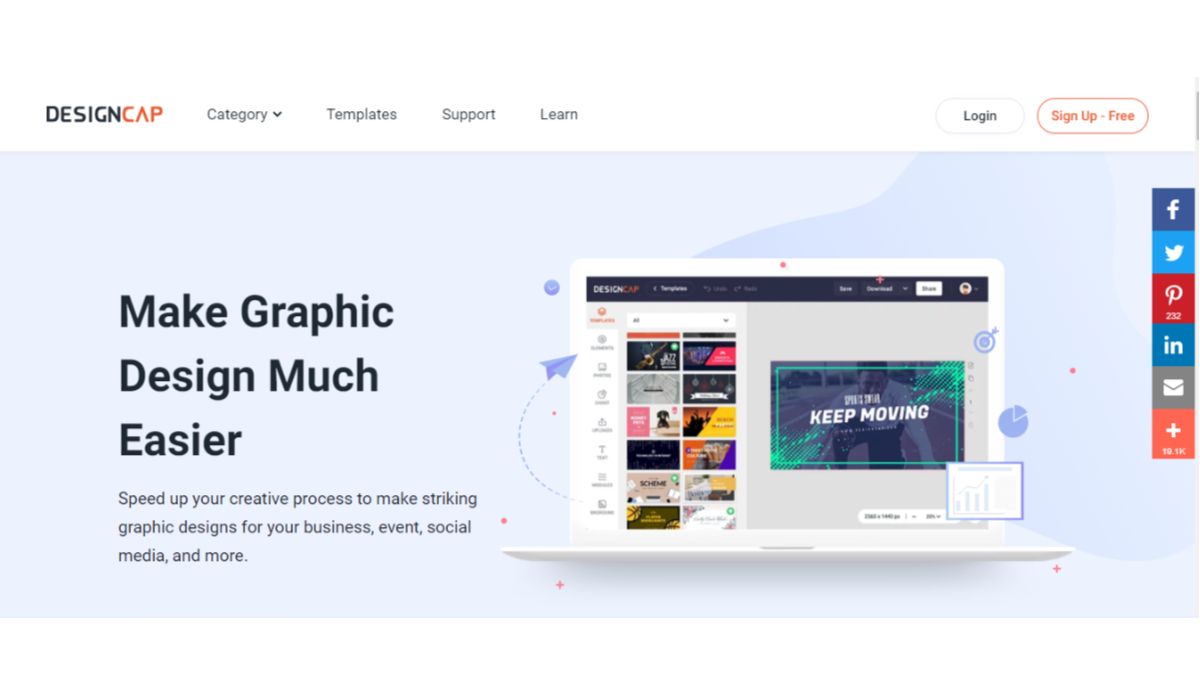
The online design tool market has become crowded, with options ranging from Canva to Adobe Express competing for user attention. DesignCap differentiates itself through an interface that emphasizes clarity and reduces the learning curve to near zero. While other platforms pack their editors with features that can overwhelm beginners, DesignCap presents a clean workspace where every function is visible and intuitive.
The platform offers thousands of professionally designed templates organized by purpose: marketing materials, presentation slides, reports, resumes, social media graphics, invitations, and infographics. Each template serves as a starting point that you can customize extensively, changing colors, fonts, images, layouts, and text until the design matches your brand identity. For freelancers managing multiple client brands, this template-first approach dramatically reduces the time spent on each design project.
One feature that sets DesignCap apart is its built-in chart tool. You can add line graphs, bar charts, histograms, and pie charts directly within your designs, making it particularly useful for creating data-driven marketing materials, reports, and presentations. This eliminates the need to create charts in a separate application and import them, streamlining a workflow that typically requires multiple tools.
Getting Started with DesignCap: A Step-by-Step Walkthrough
Step 1: Choose Your Template
Opening DesignCap’s editor begins with selecting a template category that matches your project. The homepage organizes templates into sections like Popular, Marketing, Documents, Social Media, and Activities. Hovering over any template shows a preview, and clicking “Customize” opens it in the full editor. This initial selection step takes seconds, not minutes, and immediately provides a professional foundation for your design.
For WordPress bloggers who regularly need featured images, social sharing graphics, or Instagram marketing visuals, the social media template category offers pre-sized designs for every major platform. No more guessing dimensions or cropping images to fit.
Step 2: Navigate the Editor
The DesignCap editor divides the workspace into two main areas. The left panel houses the creative tools: templates, elements, photos, charts, text layouts, modules, and backgrounds. The right side displays your design canvas, where every visible element can be clicked, moved, resized, or replaced. This dual-panel layout keeps tools accessible without cluttering the design space itself.
The principle is simple: if you can see it, you can change it. Click any text to edit the content. Click any image to swap it for another. Click any element to adjust its size, position, rotation, or color. The editor responds immediately to every change, providing real-time feedback that makes the design process feel natural and responsive.
Step 3: Work with Photos and Backgrounds
DesignCap includes a built-in stock photo library that you can search by keyword or browse by category. This integrated gallery eliminates the need to source images from external stock photo sites, download them, and upload them to the editor. Simply search for a relevant image, drag it onto your canvas, and adjust the size and position.
When swapping backgrounds or layering images, the Layer function in the upper right corner of the editor controls which elements appear in front of or behind others. This familiar layer-based system, common in professional design software, gives you precise control over how images and text interact within your composition. For WordPress users who need optimized images for their sites, DesignCap produces graphics that are web-ready without additional processing.
Step 4: Customize Text and Typography
Typography can make or break a design, and DesignCap offers extensive text customization options. Beyond basic font selection and sizing, the editor includes pre-designed text layout modules that combine multiple text elements into visually balanced compositions. Clicking any text layout immediately applies it to your design, where you can then edit the content while preserving the professional arrangement.
The text toolbar provides controls for font family, size, color, weight, alignment, spacing, and effects. For brands that rely on consistent typography across all marketing materials, these controls ensure that every design maintains the same visual identity. This consistency is especially important for businesses that use their WordPress site as the hub of their branding strategy.
Step 5: Add Charts and Data Visualizations
DesignCap’s chart tool is a genuine differentiator for anyone who creates data-driven content. You can insert line charts, bar graphs, pie charts, and other visualization types directly into your designs. Each chart is fully editable: change the data values, adjust colors, modify labels, and resize the chart to fit your layout.
This feature is particularly valuable for creating marketing reports, pitch decks, infographics, and social media posts that present statistics or performance data. Rather than screenshotting charts from spreadsheet applications, you can build professional visualizations within the same editor where you create the rest of your design.
The element library also includes decorative elements like shapes, arrows, icons, dialog boxes, and dividers that help structure your designs and guide the viewer’s attention through your content hierarchy.
Step 6: Export and Save Your Designs
Completed designs can be saved to your DesignCap account or downloaded for immediate use. Free users can save up to five designs and export in JPG format at standard resolution. This is sufficient for most social media applications and web use. Paid plans unlock PNG and PDF export options, higher resolution downloads, and unlimited storage for your design projects.
For WordPress site owners who maintain active social networking presences, the ability to quickly create, save, and download graphics in the correct dimensions for each platform eliminates one of the most time-consuming aspects of social media management.
Pricing and Plans
DesignCap operates on a freemium model that allows you to test the platform thoroughly before committing financially:
- Free Plan: Access to limited templates, stock photos, and text modules. You can save up to five designs and export in JPG format only. This tier is sufficient for occasional use or for evaluating whether the platform meets your needs.
- Basic Plan: Starting at $4.99 per month when paid annually, this plan unlocks a significantly larger library of templates and stock photos, unlimited design saves, and PNG export capability.
- Plus Plan: The premium tier adds the ability to upload custom fonts, access the complete template and photo library, export in all formats including PDF, and download in high resolution. This plan is ideal for businesses with established brand guidelines that require specific typography.
For WordPress professionals who create marketing materials regularly, the paid plans represent excellent value compared to hiring a designer or subscribing to professional design software. The key question is whether the template-based approach fits your creative needs and brand requirements.
Who Should Use DesignCap
DesignCap serves several WordPress-adjacent use cases exceptionally well:
- WordPress bloggers who need consistent featured images, social sharing graphics, and Pinterest pins without spending hours on each piece
- Small business owners managing their own content promotion who lack design skills but need professional-quality visuals
- Freelancers and agencies producing marketing materials for multiple clients who need a fast, affordable design workflow
- Online course creators building presentation slides, course materials, and promotional graphics
- eCommerce store owners creating product announcement graphics, sale banners, and social media ads
The platform is less suitable for complex illustration work, multi-page document design, or projects requiring precise brand asset management at enterprise scale. For those needs, dedicated design software remains the better choice.
Two Key Reasons to Try DesignCap
- Speed without sacrifice: The combination of professional templates, an integrated stock photo library, and an intuitive editor means you can produce publication-quality graphics in minutes rather than hours. For WordPress site owners who wear multiple hats, this time savings compounds into significant productivity gains over weeks and months.
- Zero learning curve: Unlike professional design software that requires weeks of training to use effectively, DesignCap’s point-and-click interface is immediately accessible. If you can use a word processor, you can use DesignCap. This accessibility removes the design bottleneck from your content marketing workflow entirely.
For WordPress professionals looking to elevate their visual content without expanding their team or learning complex software, DesignCap offers a practical, affordable solution that delivers results from the first session.
Points to be Kept in Mind While Creating Social Media Images
Related reading