Creating an image gallery in WordPress is a great way to showcase multiple images in an organized and visually appealing manner. Here’s a step-by-step guide:
Table of Contents
ToggleUsing the WordPress Block Editor (Gutenberg):
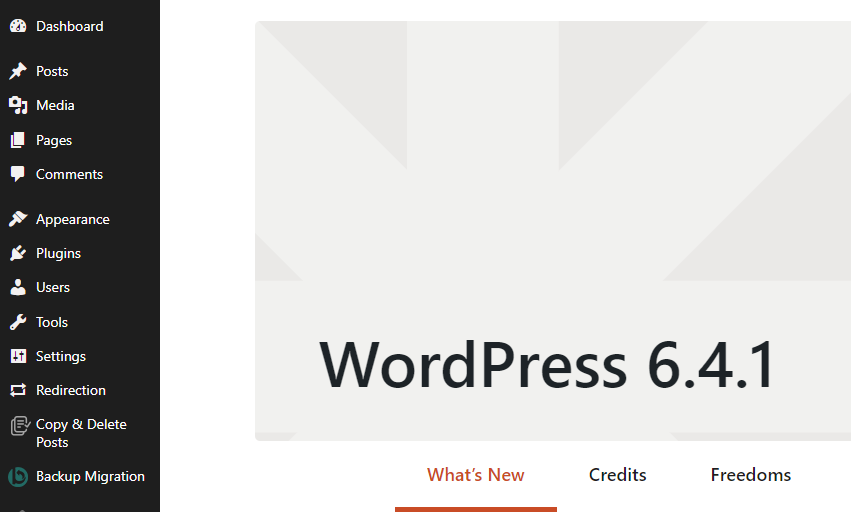
Step 1: Log in to Your WordPress Dashboard
Access your WordPress admin dashboard.
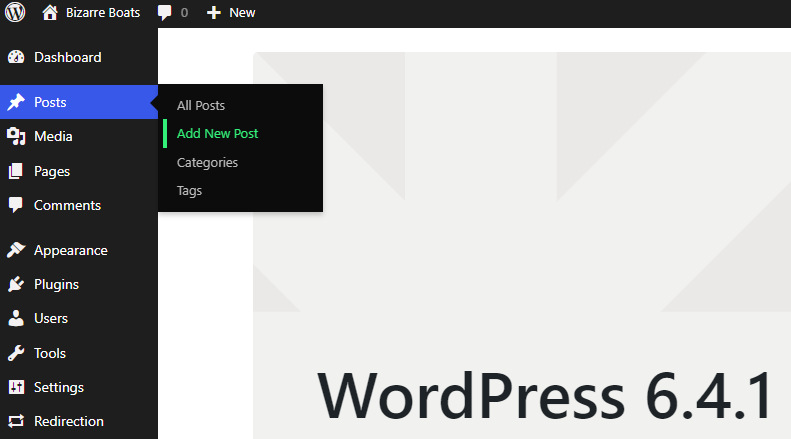
Step 2: Create a New Post or Page
Start a new post or edit an existing one.
Also Read: How To Do Content Marketing To Grow Your Online Store
Step 3: Add a Gallery Block
Click on the (+) icon or the “Add Block” button.
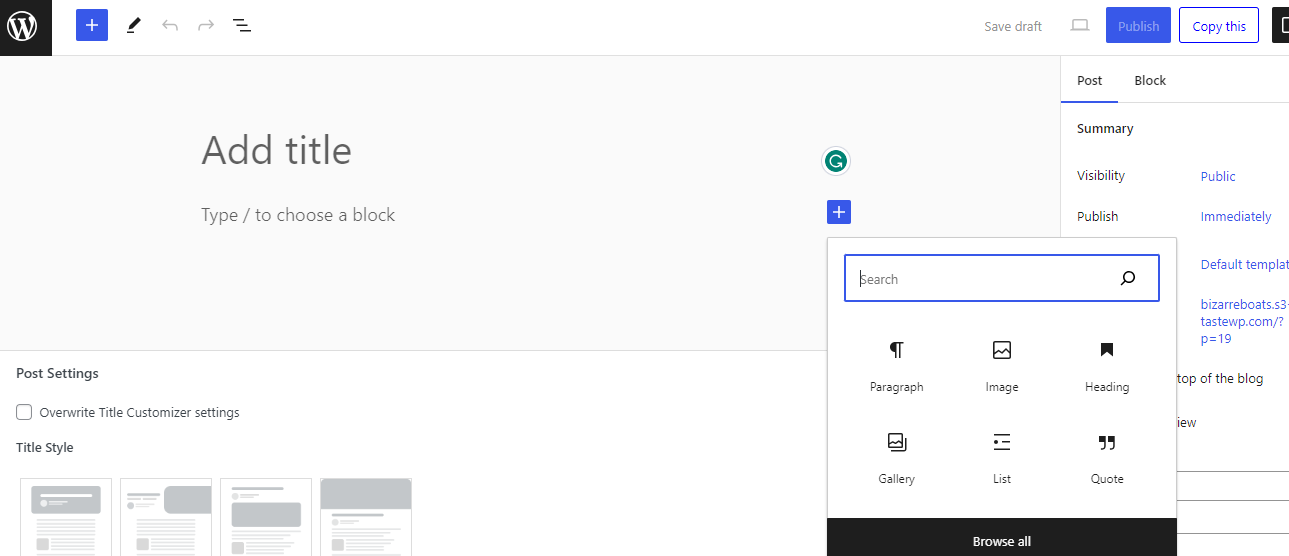
Search for the “Gallery” block or find it under the “Common Blocks” section.
Step 4: Upload Images to the Gallery
Click on the “Upload” button within the Gallery block.
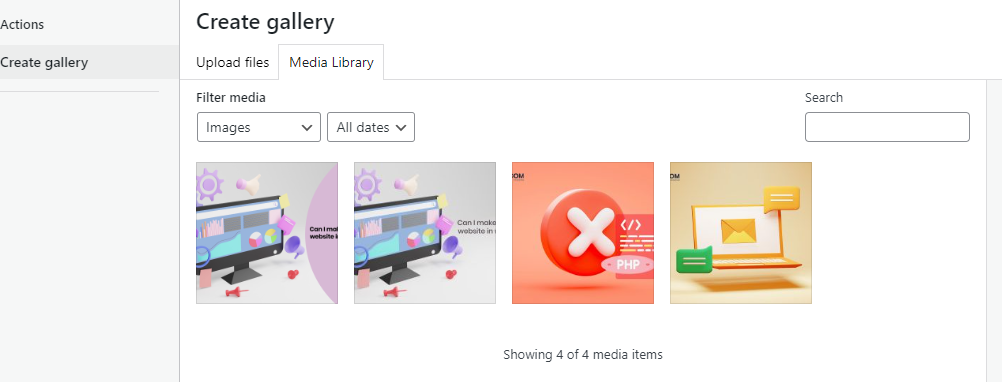
Select multiple images from your computer or media library and click “Create a new gallery.”
Also Read: How to Embed Videos and Multimedia Content in WordPress Posts?
Step 5: Customize Gallery Settings
Arrange Images: Drag and drop to reorder images.
Image Settings: Click on each image to add captions, alt text, or customize individual settings.
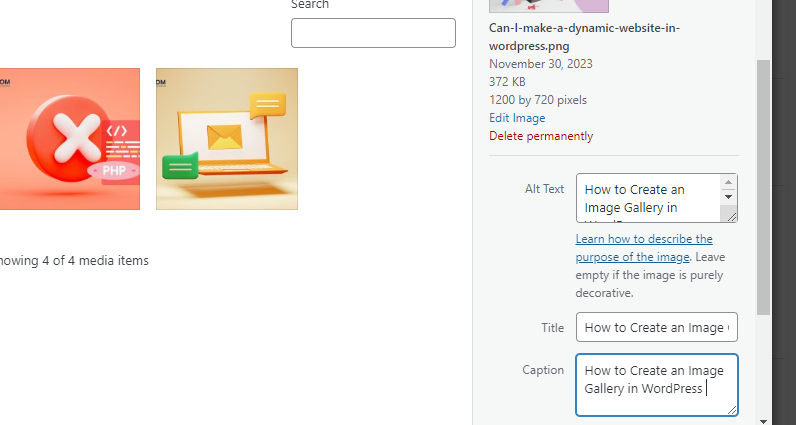
Block Settings: Adjust the number of columns, crop images, and toggle settings as per your preference.
Step 6: Preview and Publish
Preview the gallery to see how it looks.
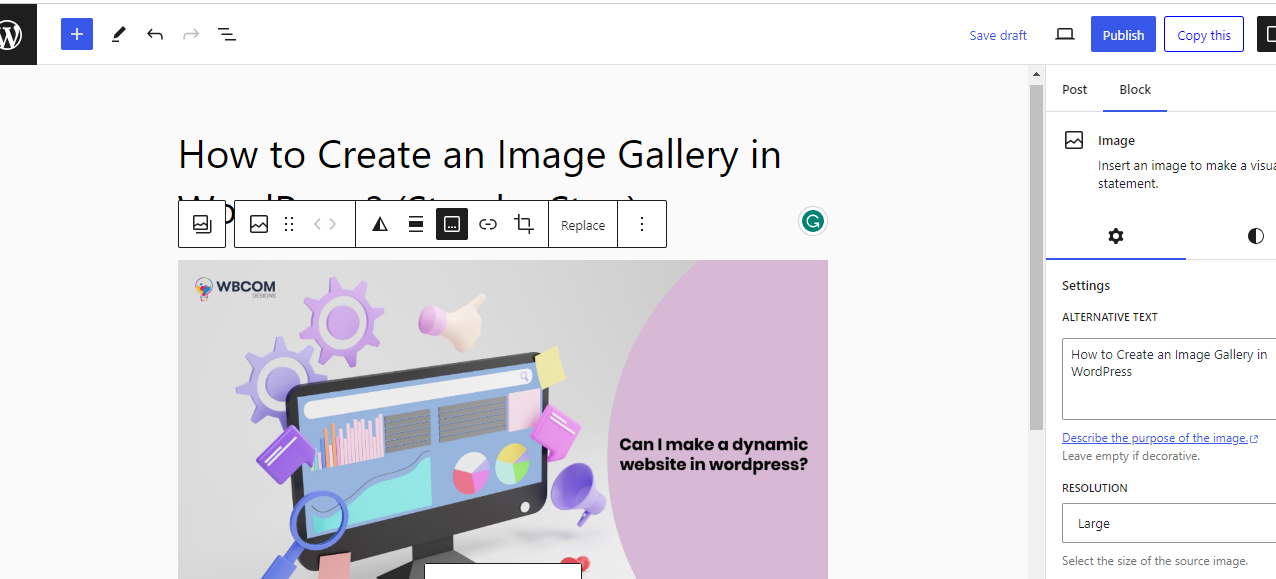
Click “Publish” or “Update” to make the gallery live on your website.
Also Read: How to Create Temporary Login for WordPress (No Passwords)
Using the Classic Editor:
Step 1: Log in to Your WordPress Dashboard
Access your WordPress admin dashboard.
Step 2: Create or Edit a Post/Page
Start a new post or edit an existing one.
Step 3: Click on the “Add Media” Button
Place your cursor where you want the gallery to appear.
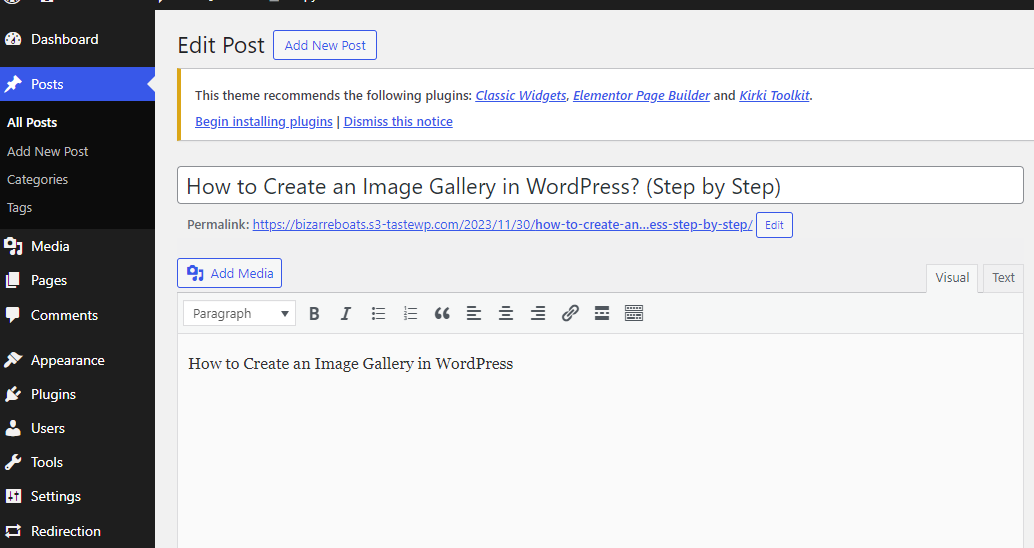
Click on the “Add Media” button above the editor.
Step 4: Upload Images and Create Gallery
Click on the “Create Gallery” option on the left-hand side.
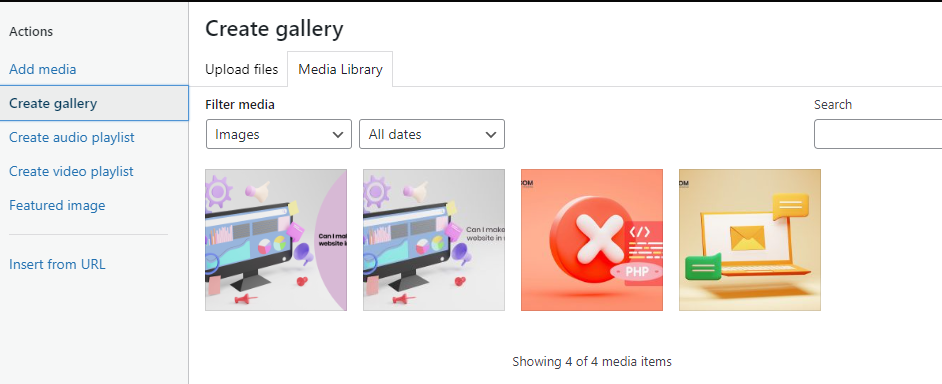
Upload/select multiple images and click “Create a new gallery.”
Also Read: How to Backup and Restore Your WordPress Website Data?
Step 5: Customize Gallery Settings
Add captions, and alt text, and choose the number of columns.
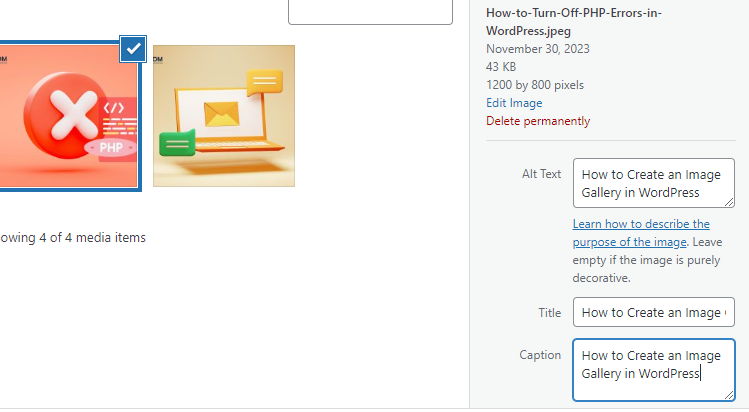
Click “Insert gallery” to add it to your post/page.
Step 6: Preview and Publish
Preview your post/page to view the gallery.
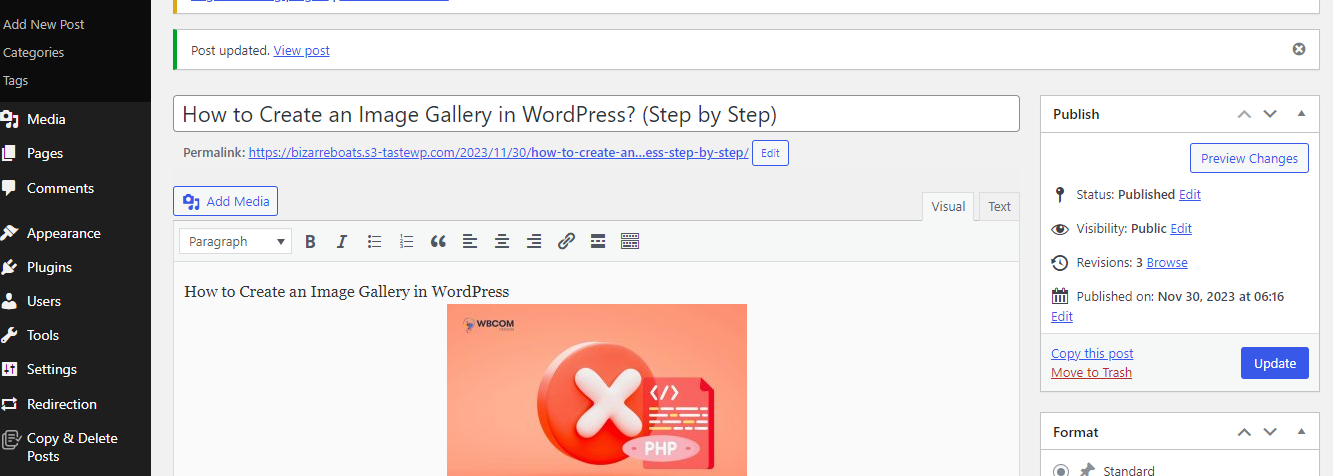
Click “Publish” or “Update” to make the gallery visible on your site.
Also Read: How to Enable Multilingual Functionality in WooCommerce Using Premier Plugins
Additional Tips:
- Consider using plugins like Envira Gallery or NextGEN Gallery for more advanced gallery features.
- Experiment with different gallery layouts and settings to find the style that best fits your website’s design.
Following these steps will help you create an image gallery in WordPress, allowing you to showcase your images attractively and effectively.
Interesting Reads:
How to Create a Multilingual Website in WordPress?

