3 min read
How To Create A Google Map Api Key

A Google Maps API key is a unique code that facilitates you to use Google Maps on your website. You get a free quota of Google Map searches with your API key. Any usage that exceeds your quota will be immediately invoiced to your Google account.
Why we use google Map Api key in BuddyPress Check Ins
A specific Google Maps API key is required to use Google Maps. You won’t be able to use BuddyPres Check Ins on your website until you have this key.
How can we get a google map Api key
Creating an API key is simple and takes only a few minutes. You’ll need to create or use an existing billing account for that. The steps outlined below will show you how.
Step 1: Visit your Google Map Platform
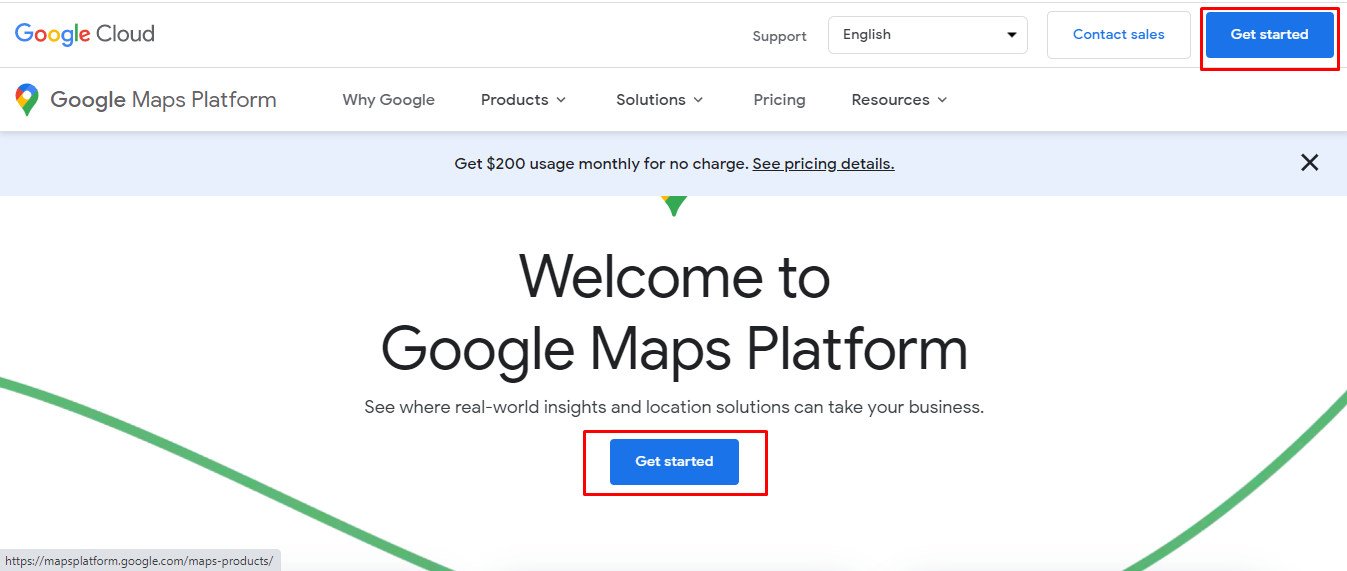
Press the get started button that will show on the middle of the screen or at the top right corner. Both buttons work in the same manner.
Note: Google Account is necessary to use these features.
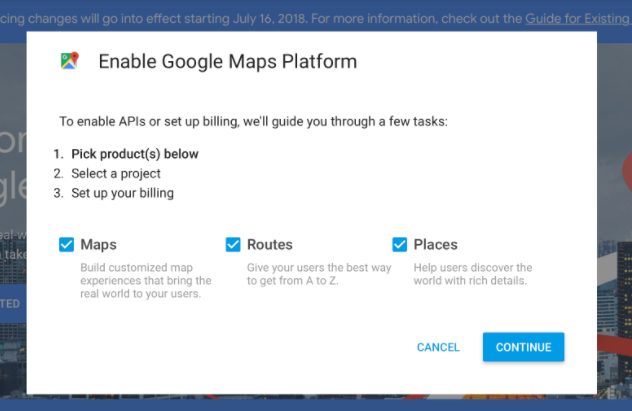
Step 2: Check the ‘Maps’, ‘Routes’ and ‘Places’ checkboxes and click Continue.
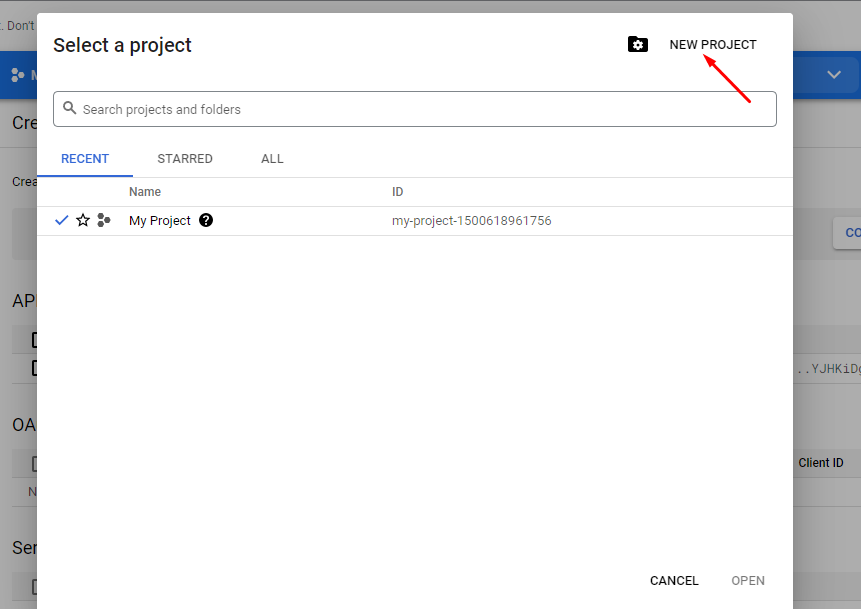
Step 3: Please choose an existing project from the list if you want to use it. If not, choose ‘Create a new project’ and give it a name.
Step 4: You need to ensure that your billing information is accurate. Your Google Maps will not work correctly if they are not.
If Billing information is not created, You need to create it.
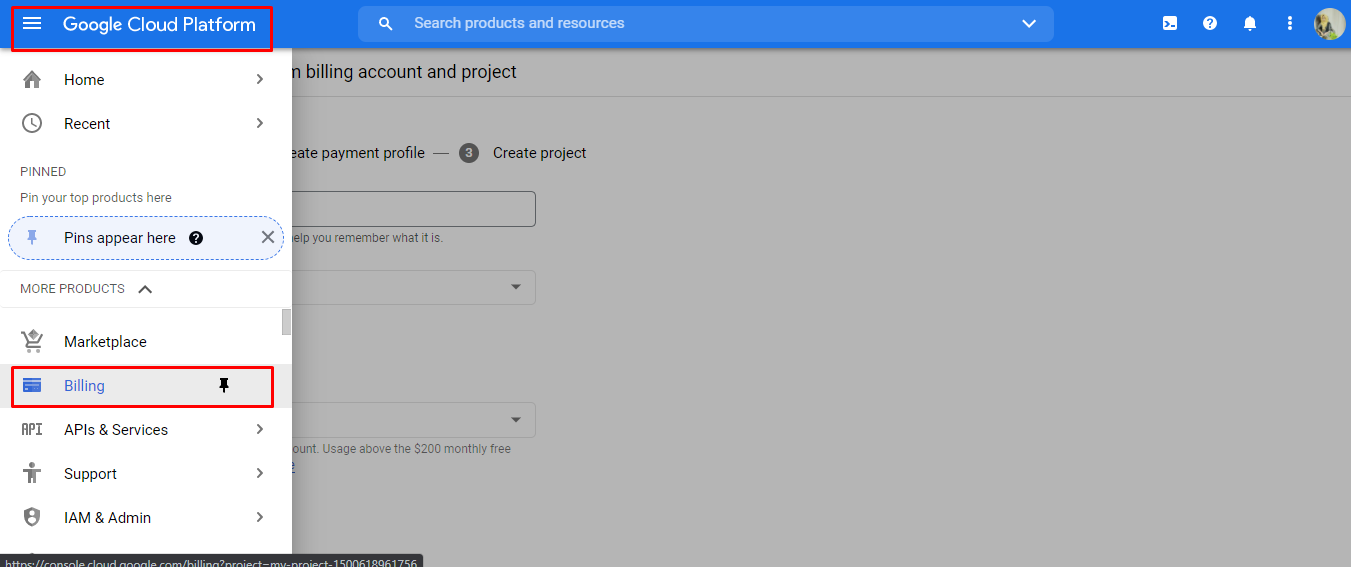
Navigate to Google Cloud Platform >> Billing


Step 5: Create your first API key
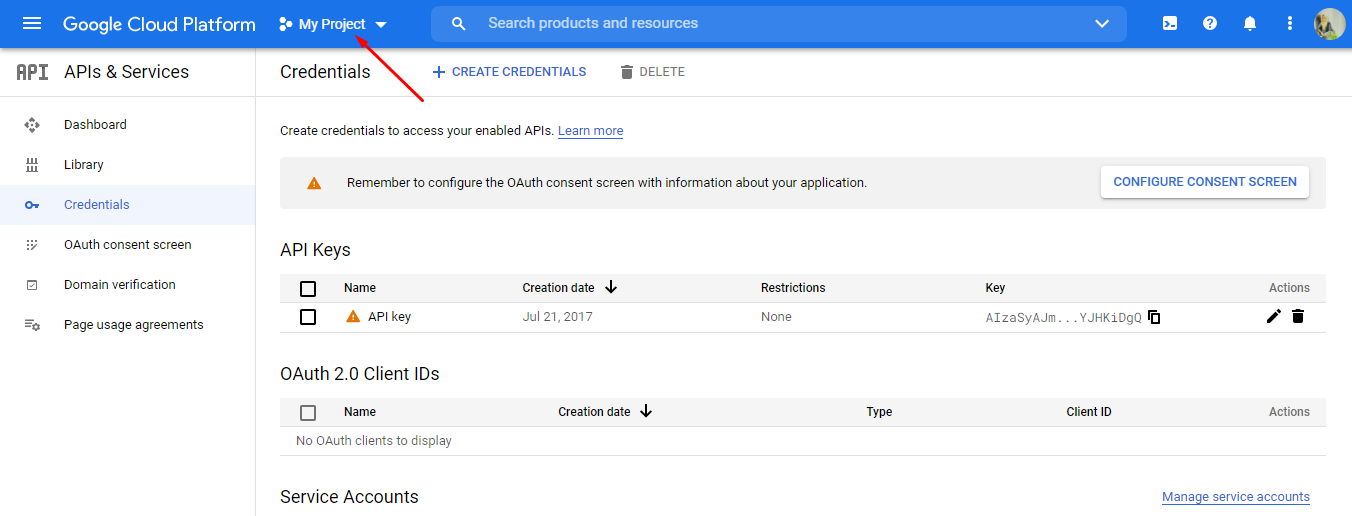
If your billing is already up-to-date, Click the Google Cloud Platform home available in the top left corner. Hover to APIs & Services and go to Credentials.

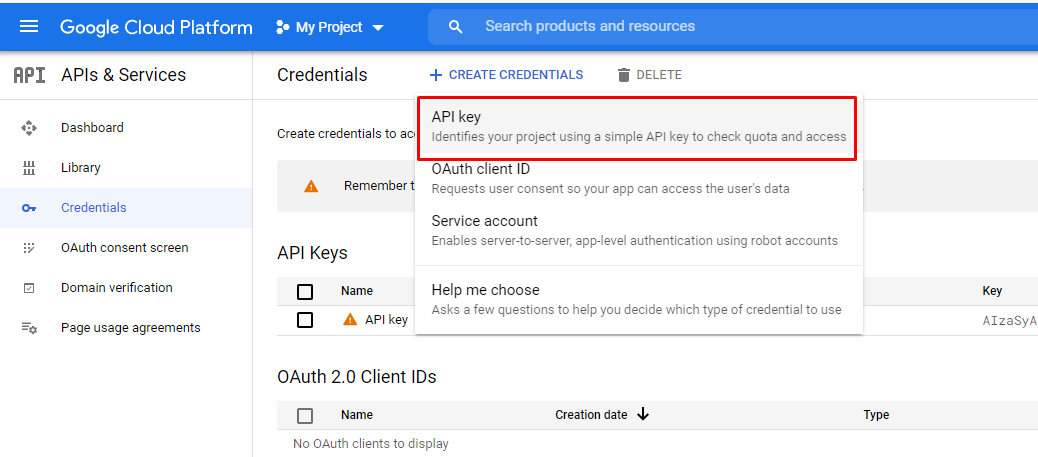
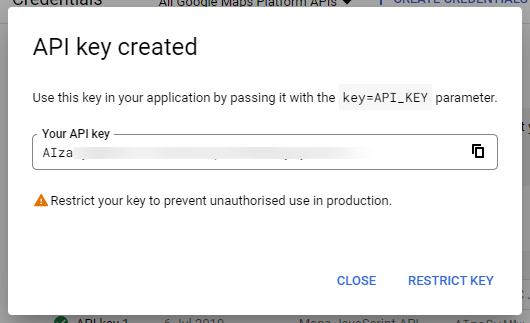
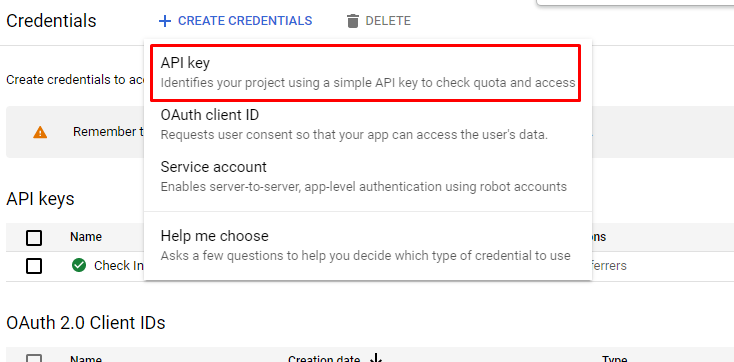
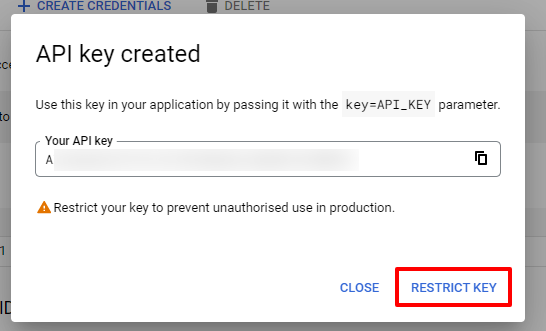
Step 6: Click Create credentials and select API key and a new dialogue box will display with the newly created API Key
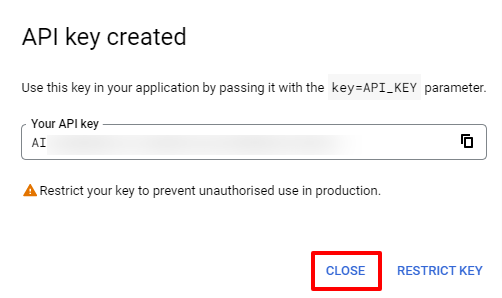
Step 7: Click the close button from the dialogue box, and check your credential page. Your API Key will be listed there under API keys.
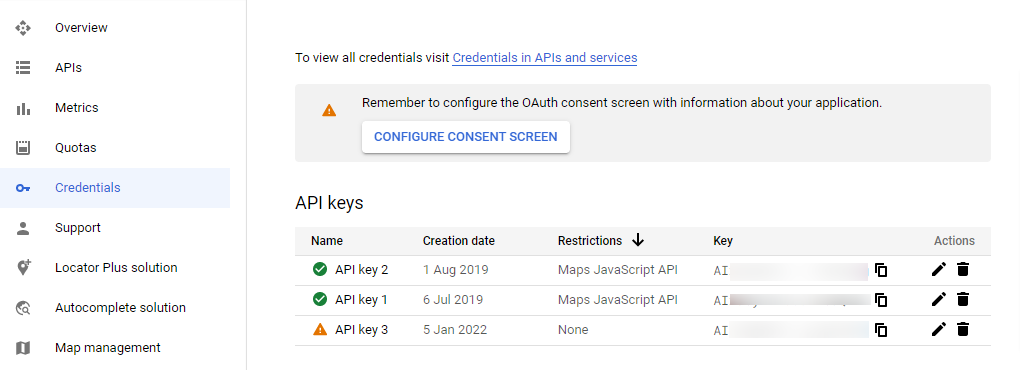
Step 8: To restrict your App’s security, click on Restrict Key

Step 9: Enter a name for this API key in the ‘Name’ input box. Since this will be your browser’s key, you can name it something like “API Key”.
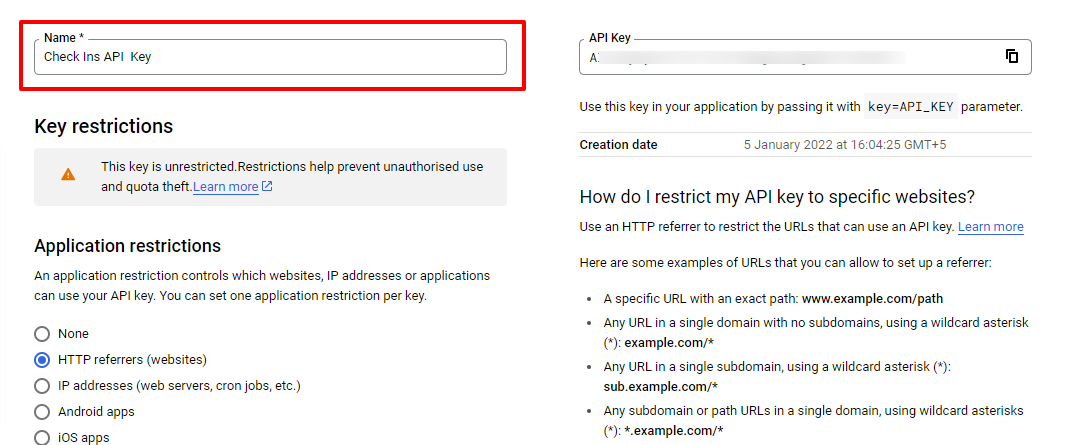
Step 10: Scroll down that same page. In Application Restriction select ‘HTTP Referrers’ and enter your website’s domain in the input box. For example, mysite.com/*. When you are done, click ‘Save’. You will then be redirected to the Credentials page where you will see your new API key.

Step 11: Now we need to create a server API key. In the Credentials page click ‘Create credentials’ then click ‘API Key’ from the list.
Step 12: You have now created a new API key. Click “Restrict Key” to set it up as a server key.
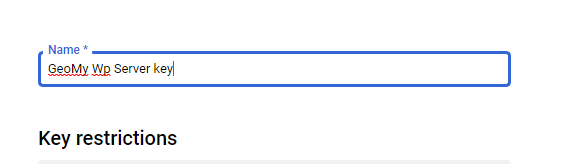
Step 13: Enter a name for this API key in the ‘Name’ input box. Since this will be your server key, you can name it something like “GEO my WP Server key”.
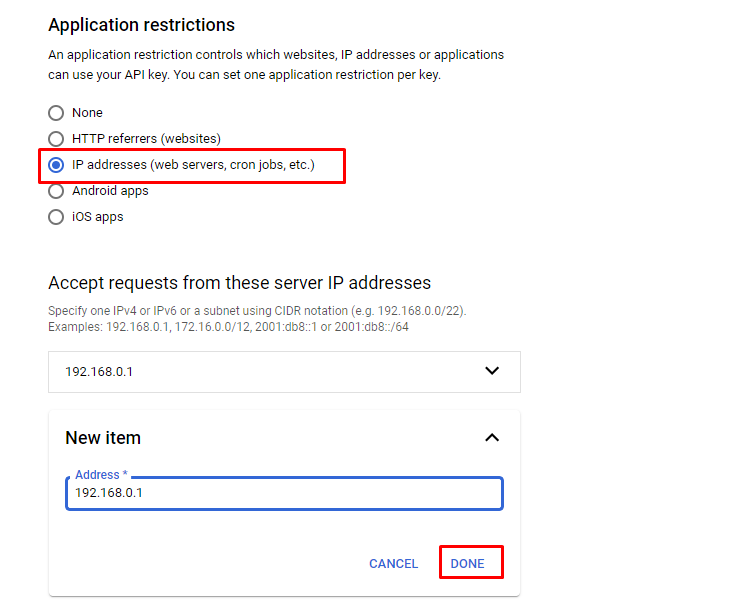
Step 14: Scroll down that same page. In Application Restriction select ‘IP addresses (web servers, cron jobs, etc.)’ then enter your server’s IP address in the input box. When you are done, click ‘Save’.

Step 15: Now we need to enable the required API services. Click ‘Dashboard’ on the menu to the left.
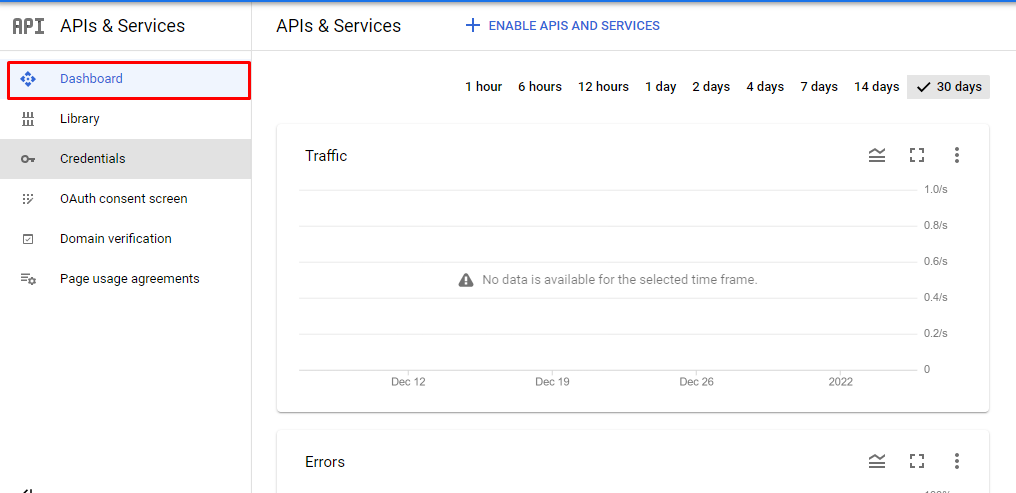
Step 16: Scroll down to check if all the required API services enabled. By default, all the Map API services should be enabled. The required API services you need to look for listed below:
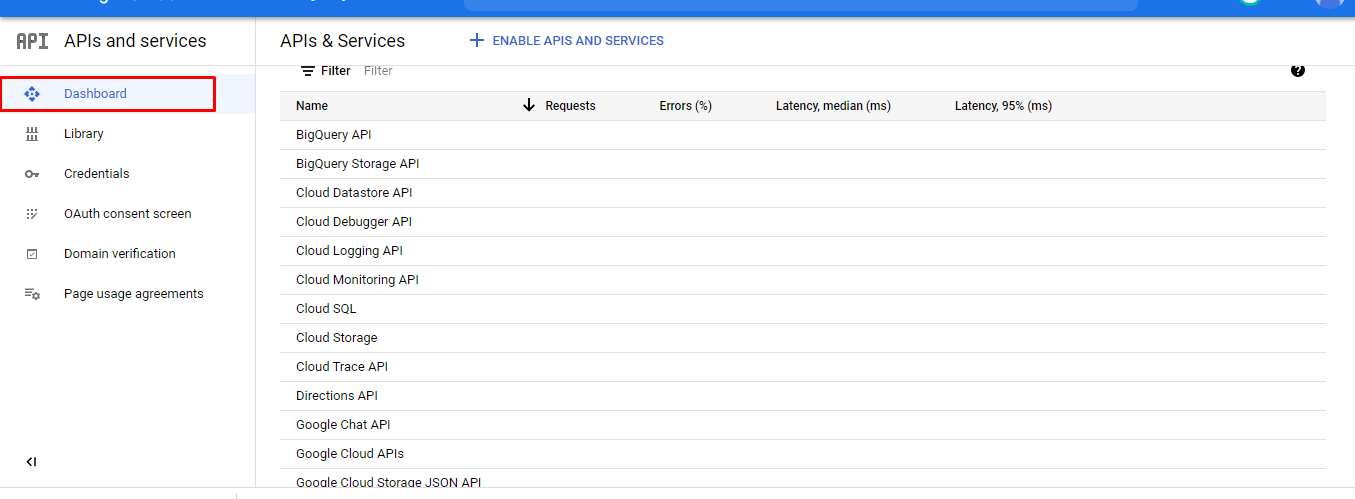
- Maps JavaScript API
- Directions API
- Distance Matrix API
- Geocoding API
- Geolocation API
- Places API
- Roads API
- Street View API
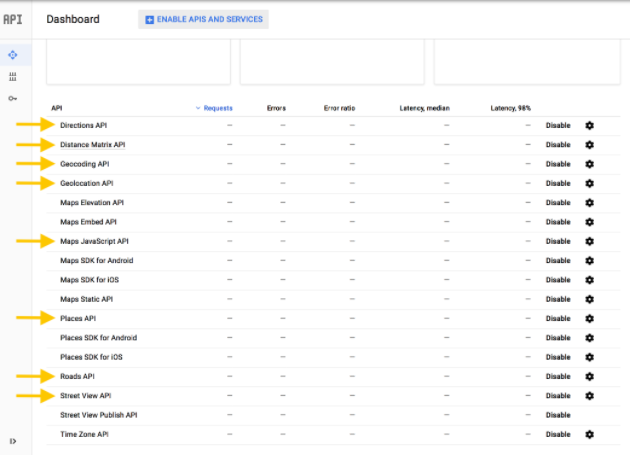
Step 17: If any of the API services are missing or disabled, you’ll need to enable them. To do so, click the ‘Enable APIs and services’ button.

Step 18: Search the API name and enable it.
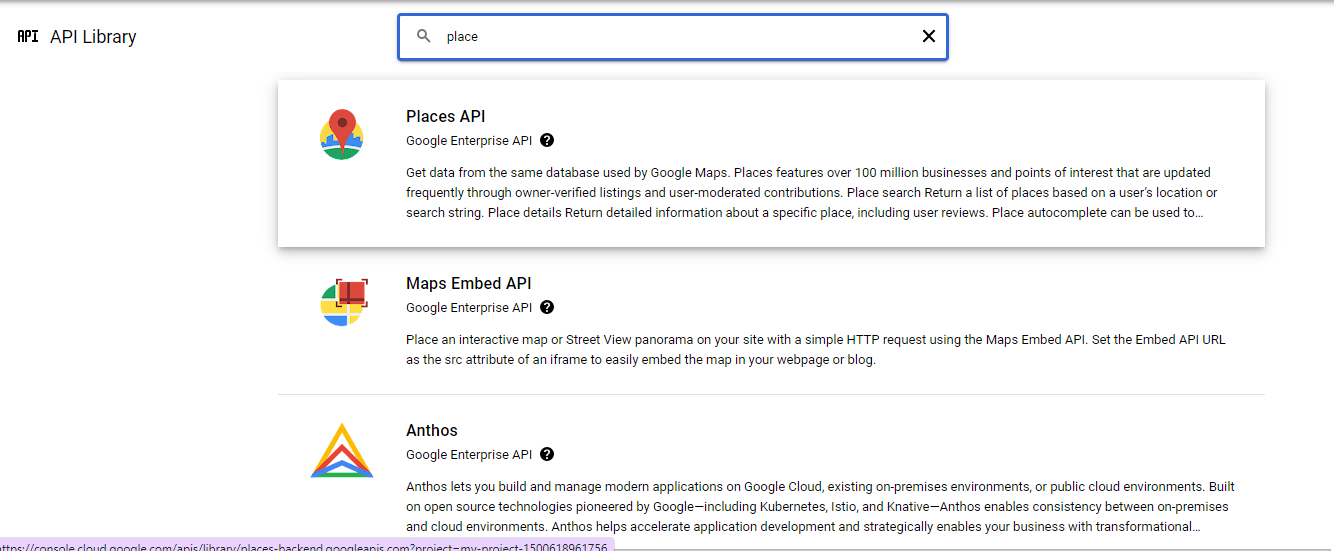
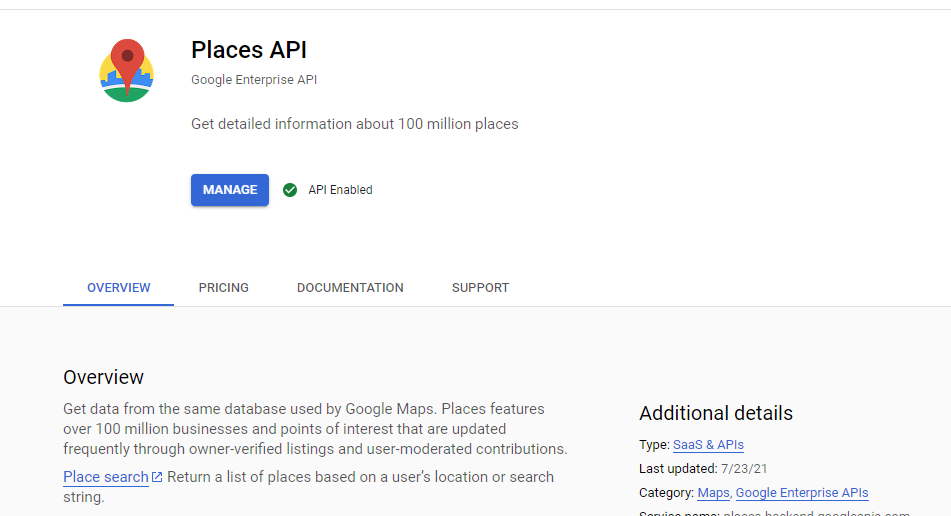
Repeat steps 17 to 18 to enable all the required API services that were mentioned in step 16.
Interesting Read:
10 Essential BuddyPress plugins For a Community Website
The Best Premium WordPress BuddyPress Themes
Useful Hacks And Customizations For Your BuddyPress Powered Website Via Reign Theme
Related reading