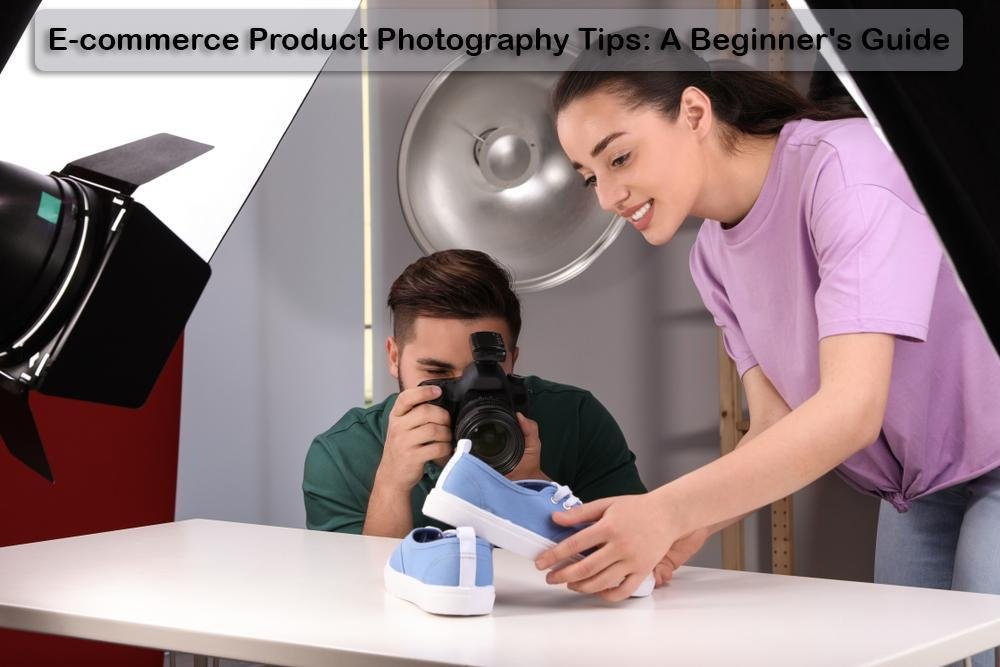
Nowadays with digitalization the number of e-commerce businesses increasing rapidly. Selling online means customers have no physical interaction with the product. They are highly dependent on the product image. So, the importance of a high-quality image is easily realized. In a study, 67% of customers rate product photos are more important than reviews or product descriptions.
Impress the customer with the appealing look of the product & make them hungry to buy. It is the main target of e-commerce Photography.
“A high-quality image is worth a thousand website visits”
The success rate is highly dependent on the image strategy. The aim of taking the picture is to don’t need to explain the feature with a word but rather the whole story in the image. Your product image must highlight its features or benefits from the buyer’s perspective.
But hiring a professional photographer is expensive. Moreover, each time you added a new item meant to call a photographer again to shoot. That is really a big hassle. So, it is better to learn how to capture product photos accurately.
Though product photography is not so simple, if you are optimistic & hardworking, then you must be a successful photographer. That saves you valuable time & money. You need some basic equipment & step to start with product photography. Don’t worry the list won’t be too big.
Here are easy tips about equipment & step list to shoot a product for e-commerce that definitely lead to e-commerce success. The beginner will be highly benefitted to follow my strategy. It will help you to grow your business larger.
CTA Hacks and Tips for Facebook for Driving E-Commerce Conversions
The equipment needs for Photography:
The basic equipment you need to get started with product photography is given below. Try to give a budget-friendly list that is highly beneficial for you.
Smartphone VS Camera:
The first & most needed tool for product photography is a good camera with a good lens. But the joyful news is that smartphones can really capture some iconic product images. So, if you have a budget problem you have an alternative option to using your smartphone’s camera. Whatever camera you choose before starting photography be familiar with it.
If you choose the camera you can go for Nikon D850, Canon EOS 7D, etc. For smartphones, you can pick iPhone 11pro, Samsung Galaxy S10, Huawei p30 pro, etc.
Tripod:
Secondly, you need a Tripod. Tripod help to protect you from hand-shaking & camera movement. You need to work for a long time. So a tripod is a must to give you a stable experience. You can select a traditional, extendable tripod stand. Moreover, make sure the tripod is flexible enough to turn to achieve the right angle.
Backgrounds Prop:
A classy background is a pre-condition of e-commerce Photography. Most product photos enlighten on pure white backgrounds so that the clients attract to the product & not the background elements. So, to maintain a white background use a sheet of white paper, white fabric, or poster board. You need something that can flex so you don’t have a fold behind the product.
You can purchase a special-made background prop like a studio but creating your own by using paper or fabric can exactly work perfectly.
White Bounce Cards:
Bounce cards help you to protect shadows on your product. It is one kind of surface that reflects light to get rid of the shadow on the product.
You can buy bounce cards or use foam boards from the craft store. Foam boards are the cheaper option. If your product is mostly white, you need to use a black bounce card to create contrast.
Others:
You also need a table, some taps & the right room.
E-commerce product photography tips:

Arrange Your Table:
Now it’s the correct time to plan your shooting area. Try to select a place as close to the window. You will place the table there without intersecting the shadow from the window side. My suggestion is to start with 90 degrees to the right or left from the window. If you place the table closer to the window, the light will be softened. Direct sunlight is not good for your product look. It can whiten the product or can harm the product sparkling. So, using this technique you can avoid direct sunlight.
Ensure Proper Lighting:
Lighting is a very vital issue for photography. Without proper lighting bad snaps are arises. Light changes the complete look of the product. You will get softer light if you ensure a wide light source. But if the light source is narrower then you will get harder light. Light rays can hit your product from different directions depending on the immense light source. Hence, you must keep concentration on proper lighting.
Top 5 WordPress Coupon Plugins for your E-commerce Store
Set Background prop & White Bounce Cards:
Background prop means creating a clean background. Set up your background prop so that it hangs vertically. Let it cover all the edges of the table. Therefore, here create a smooth transition from vertical to horizontal coverage. Simply tape the prop to a wall. You can notice there is no crease in the background.
To create a box in the space set white bounce cards to the side of the background prop. Test with different locations & angles until finding the appropriate place where it can minimize the shadow.
Set Up your Camera:
Use Your Tripod. Place the camera or smartphone on the tripod & fix the position. Follow some steps before start capturing images.
- Keep the flash OFF.
- Turn your white balance to auto.
- To reduce noise set ISO to 100.
- Turn the high-quality image on.
- Adjust the exposure settings.
But to test your luck you can give a try on default mode too.
Capture Lot of Photos:
Finally, start the shooting. You must snap a lot of pictures for one product. When engaging in capturing notice some pre-condition, they are given below.
- The product color: Try to bring the exact color.
- The shadows: Try to focus a light shadow that gives a realistic, vibrant look in your photo.
- Anything else: Without product, if anything enters in your frame, remove it. Any sport or edges of bounds cards are in the frame? Try to avoid all these things.
Focus on Features:
Try to show off the variety of features & potential uses of your product. That will make the customer tempted to buy the product though they don’t have the plan to purchase. Include every color & style it can give.
If you capture images focusing on the feature it definitely helps you to increase customer engagement.
Try Different Angles:
To represent the product in a variety of ways, try to capture the image from different angles. You can try close-up shots for items like jewelry or makeup kit or food products. Experiment with shots that are stylish products like Shoes, T-shirts, etc.
Try from each side of the product. You can take an upper view also. Think of a creative way to capture the product beautifully.
Product Photo Editing:

After all this hard effort still, the product images have some imperfections. Without proper photoshop editing, you will fail to attract the target audience. The first impression is a major chance for your business. So, don’t spoil the opportunity with dull, ordinary images. Rather use an eye-catching image that brings a good reputation for your business. Perfect editing can only give you that eye-grabbing image. Moreover, photos that have low resolution, bad lighting, distraction, reflection, and color problem totally fails to convince customers. It is dangerous for your business.
That’s why photo editing is a must to enhance your business. Without the proper editing knowledge, you can’t edit your images perfectly. If you can’t achieve the high-quality look you want after editing them yourself, you should consider using a professional retouching company to help. There are many available, most of which can be found online. You can try the Clipping path center. They have skilled photo retouchers who can bring appeal to your product. I am impressed with their photo retouching services. They provide color correction, re-shaping products, removing distractions everything in their product photo Retouching services. Sometimes the background still looks grey so you feel the emergency to remove it. They have the best clipping path expert to remove your background efficiently. In a word, they have all the complex editing services to remove imperfections from your image. Moreover, the service charge is quite low that is affordable for a beginner businessman. A little investment in editing will bring a positive flow to your business. So, edit your product photo by any professional photo editing service provider. It must be beneficial for your business.
Advanced Tricks To Generate Revenue Through Your Blogs
Get Started:
I have given proper guidelines on where to start & how to start product photography. So, What are you waiting for? Get started with snapping. May your first shoot can be rough but keep practicing. Practice & hard work will develop your skills gradually.
————————————————————————
Author Bio:
Salim Ahmed is the founder of Clipping Path Center Inc., an offshore graphic house for Image Clipping Path Services. Besides, he is a Photographer and Blogger. He likes to share tips and tricks on photography, photo editing, and graphic design!
Interesting Read
Why You Shouldn’t Sell A Free Community?
6 Secrets to Building a Thriving Membership Community 2022
10 Tips For Starting Your WordPress Blog In 2022
Why does an ideal Online Learning Platform need Informative Student Dashboards?

