Moving a Facebook group can be difficult, but sometimes it’s the best option. If your group is no longer active or unhappy with how Facebook handles it, you may want to consider deleting it and replacing it with a private online community website.
There are many benefits to using a community website instead of a Facebook group. For one, you have more control over the content and moderation of your community. You can also customize the look and feel of your website to match your brand. And, because community websites are not subject to the same privacy concerns as Facebook, you can be sure that your members’ data is safe.
If you’re thinking about moving your Facebook group, here are five steps to help you get started:
- Understand why you’re moving the Facebook group
- Generate concurrence for moving your Facebook Group
- Choose a way to create a community website
- Promote your community website on the Facebook group
- Move and delete your Facebook group
Deleting a Facebook group can be a big decision and an excellent opportunity to create a more vibrant and engaged community. Following these five steps, you can make the transition to a community website as smooth as possible.
Try Reign Theme DemoBuy Reign BuddyPress Theme and Reign addons bundle add-onto create a highly engaging Community Platform Today!
Table of Contents
ToggleShould you move your community off Facebook groups?
When deciding whether or not to move your Facebook group off of the platform and onto a private community website, there are several things to consider. While the idea of having a more secure environment may be appealing, it’s important to think through both the pros and cons before making the transition.
On the positive side, a private community website offers greater control over data privacy and security, more customization options, better moderation capabilities, and more. On the other hand, leaving Facebook means losing the existing user base and having to start from scratch with a much smaller user base.
Ultimately, the decision of whether or not to move your community off Facebook depends on your individual needs and goals. If you decide that a private community website is right for you, following the five steps outlined above will help you make a successful transition.
Take these 5 strong steps to delete your Facebook page
Suppose the whole thing was about deleting your personal Facebook page, you could have possibly done that in mere seconds. But this decision is tough; there are a lot of things you need to consider before deciding on something this important. However, worry not. We are providing you with the best steps to safely delete your Facebook page and move your audience to a much better platform where you can achieve your dream of creating a beautiful community website.
Understand why you’re moving the Facebook group
If you are planning on moving a Facebook group to a private community website, it is important to understand why you are doing so. There could be various reasons, such as wanting more control over the content shared within the group or needing increased privacy for the members.
The first step in transitioning your Facebook group to a private community website is understanding why you want to do so and what goals you hope to achieve.
Generate concurrence for moving your Facebook Group
Before you can move your group, you will need to get the members’ agreement. Make sure to explain why you are making the transition and what benefits they will receive from the new platform. Ask for their input and feedback as well, which can help ensure that your new website is something they can get behind and enjoy.
Choose a way to create a community website
Unlike in the past, there are multiple ways available in which you can build an online community website. One of the most prominent ways to achieve is by building a website with WordPress and then using multiple plugins to set up a complete WordPress-based private community website.
To get ahead, you need to buy hosting services and a domain name. Once you’re done with that, you will be required to install WordPress on your host. After finishing the installation process, you will be required to install the BuddyPress plugin. It is a community feature plugin which allows you have to groups and social network-like features.
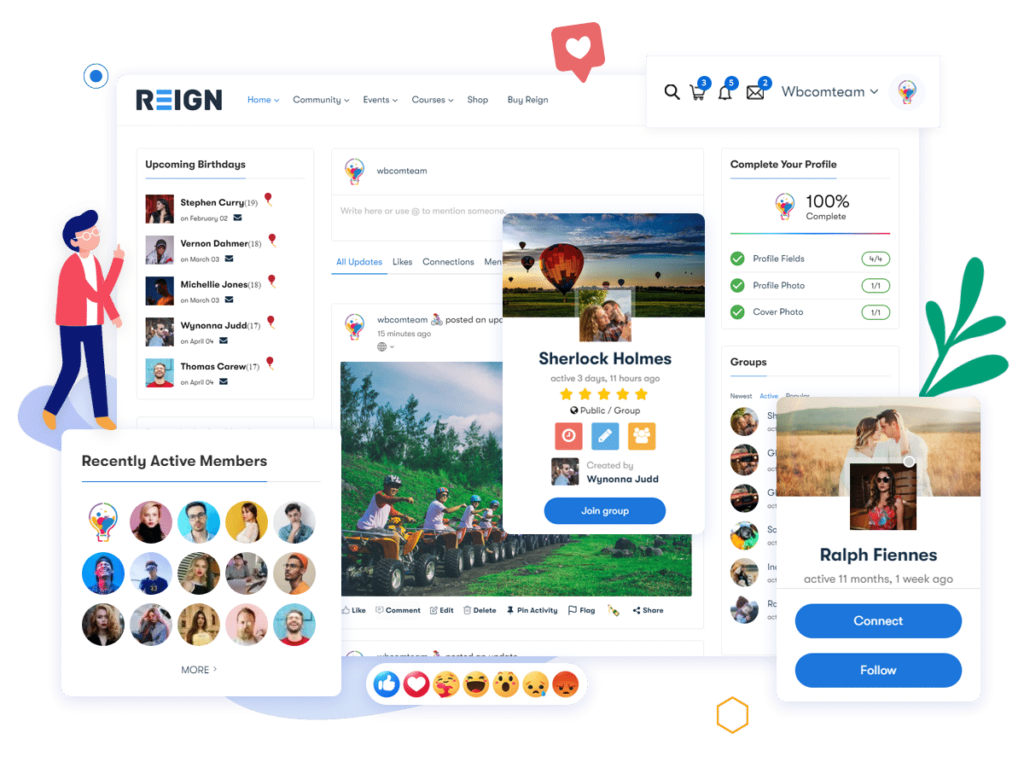
Although the BuddyPress plugin comes with a default theme, that would be a bit bland for building your dream community website. We recommend you to go with either Reign and BuddyX or the BuddyX Pro theme. These are one of the most elegant themes for building a community of customers.
Further, you can get many other BuddyPress addon plugins to make your website lively, from polls to gamification and much more. Additionally, if you miss the concept of Facebook groups a lot, so we have a Facebook-group-like plugin that you can include in your community website itself!
Promote your community website on the Facebook group
Once you have set up your new community website, it’s time to start making the transition. To do this, you will need to promote your new website within the Facebook group and let members know that they will be moving in a few days.
Make sure to explain why the move is happening and what benefits they can expect from the new platform. Encourage members to join and provide instructions on how to register.
Move and Delete the Facebook group
When you’re ready to make the transition, it’s time to delete your Facebook group. Before doing this, make sure that all members have been given enough time to join and are aware of the transition. Once you have deleted the page, your website will be the new home for your community. You can also choose not to delete the Facebook group because it may come in handy in some way or another. However, ensuring that your audience moves is also a must. So take your time to decide on things. Nevertheless, here is how you can delete the Facebook group.
Wrapping Up Words
Moving your Facebook group to a private community website can seem like a daunting task, but with the right tools and guidance, it’s actually quite simple. By following the steps outlined in this article, you can successfully migrate your group to a new platform and enjoy greater control over your community. Remember to communicate with your members throughout the process, and be patient as you navigate any potential challenges. With a little bit of effort and dedication, you can create a thriving online community that fosters engagement, connection, and growth.


