Do you want to create an online membership community with WordPress? A membership site is a website where you can offer exclusive content, services, or products to your members. You can also create a social network where your members can interact with each other and with you. A membership site can help you build trust, loyalty, and engagement with your audience, as well as generate recurring revenue for your business.
In this blog post, I will show you how to create an online membership community with WordPress using three powerful tools: BuddyPress, BuddyX theme, and Paid Memberships Pro plugin. These tools will allow you to create a fully functional and attractive membership site with ease and flexibility.
Create a Community Website for Members to Join Today
Checkout BuddyX Theme Demos
Buy BuddyX Pro theme and Community Bundle Addons and create a highly engaging community platform Today !
What is BuddyPress?
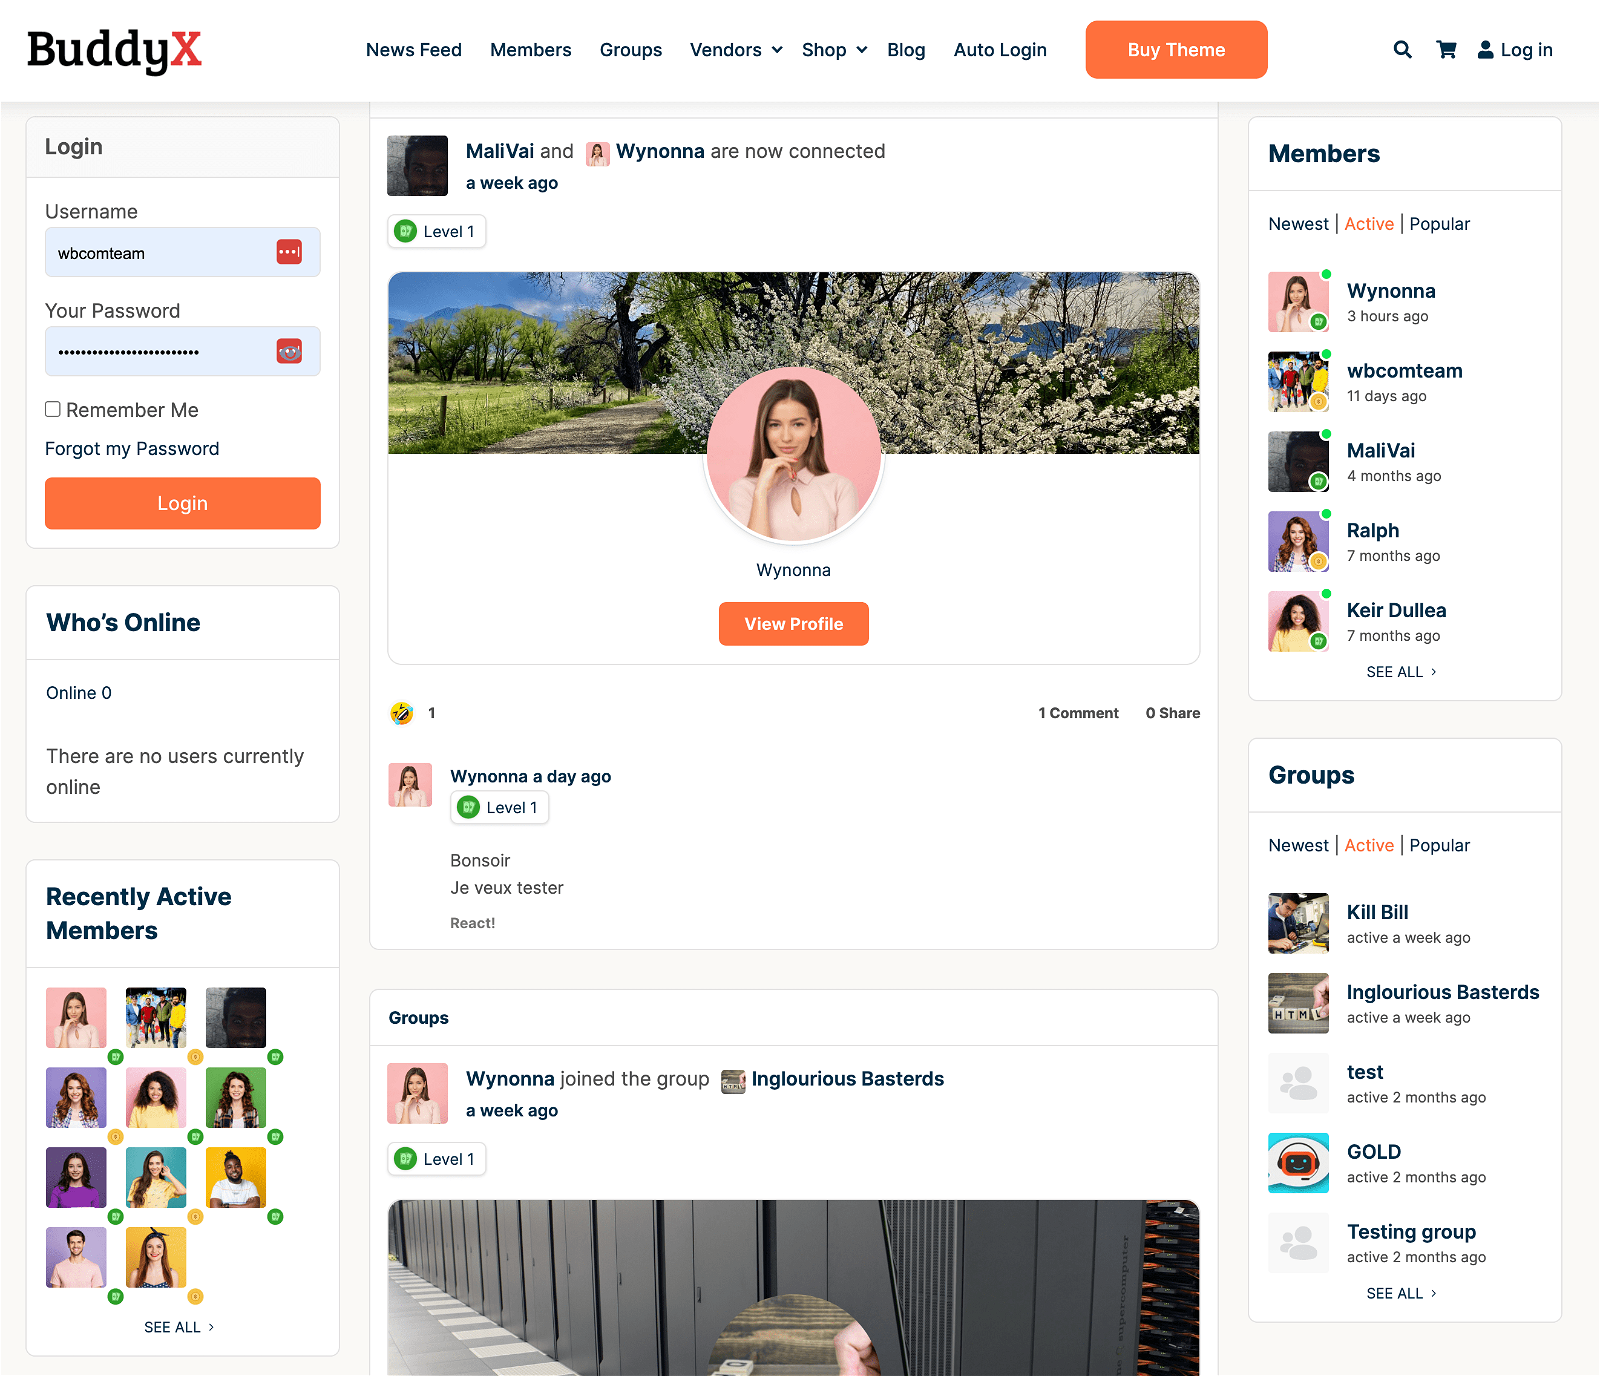
BuddyPress is a free plugin that adds social networking features to your WordPress site. With BuddyPress, you can create user profiles, groups, activity streams, private messaging, friend connections, and more.
Some of its features include:
- Create user profiles with custom fields and cover images
- Create groups with different types, settings, and roles
- Create activity streams with comments, likes, and mentions
- Create friendships and private messages between users
- Create email notifications and settings for users
What is BuddyX theme?
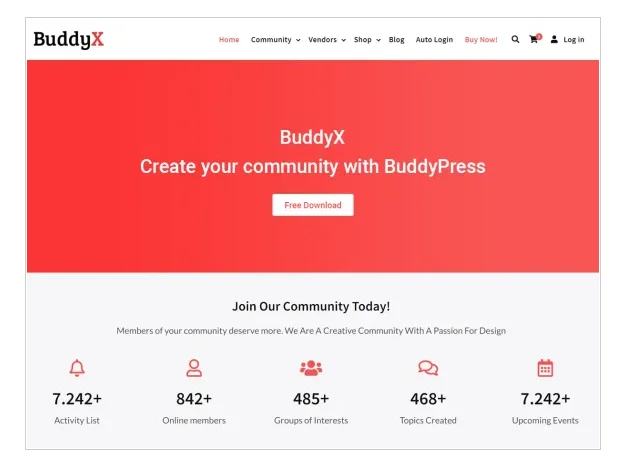
BuddyX is a free theme that enhances the appearance and functionality of your BuddyPress site. BuddyX is designed to be fast, responsive, and user-friendly. It has many features that make it suitable for creating a social network or a membership site, such as:
- Customizable header and footer
- Multiple layout options
- Dark mode and light mode
- WooCommerce integration
- LMS integration
- Gamification integration
- Social media integration
- And more
If you want to add more features to your community try BuddyX Pro
What is Paid Memberships Pro plugin?
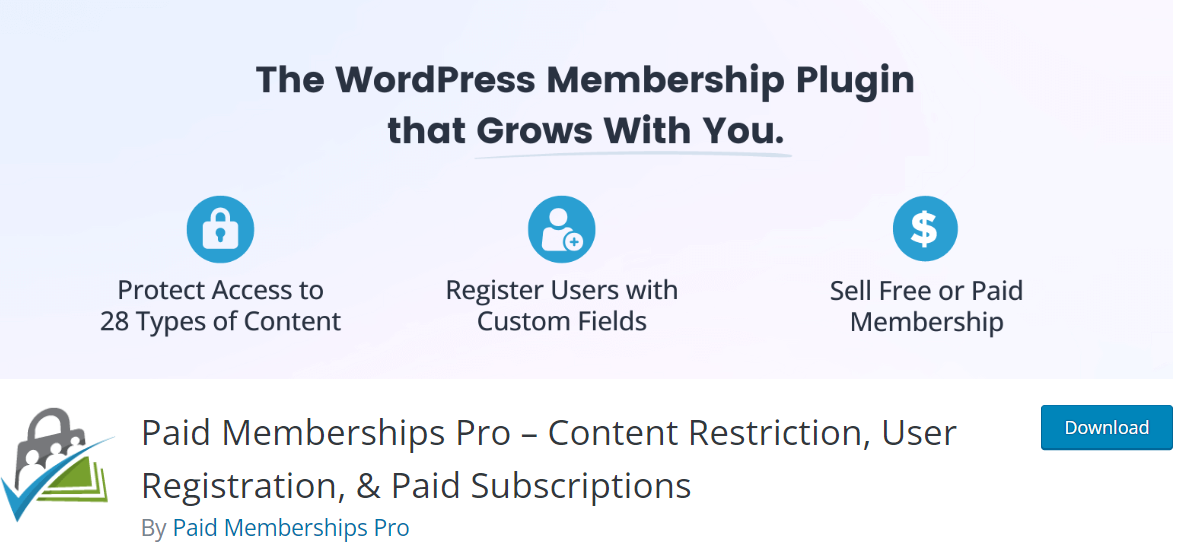
Paid Memberships Pro is a free plugin that allows you to create a paid membership site with WordPress. With Paid Memberships Pro, you can:
- Create unlimited membership levels
- Restrict access to content based on membership level
- Accept payments from multiple gateways
- Offer free trials and coupons
- Manage subscriptions and cancellations
- Generate reports and invoices
- And more
Paid Memberships Pro also has many add-ons that extend its functionality, such as:
- Paid Memberships Pro BuddyPress: This add-on integrates Paid Memberships Pro with BuddyPress, allowing you to restrict access to BuddyPress features based on membership level.
- Paid Memberships Pro bbPress: This add-on integrates Paid Memberships Pro with bbPress, allowing you to restrict access to forum discussions based on membership level.
How to create your online membership community with WordPress?
To create your online membership community with WordPress, you will need to install and activate these three plugins: BuddyPress, BuddyX theme, and Paid Memberships Pro. Then, you will need to configure them according to your needs and preferences. Here are some basic steps to get you started:
Step 1: Install and activate BuddyPress
Go to your WordPress dashboard and navigate to Plugins > Add New. Search for BuddyPress and install and activate it.
Step 2: Install and activate BuddyX theme
Go to Appearance > Themes > Add New. Search for BuddyX and install and activate it.
Step 3: Install and activate Paid Memberships Pro plugin
Go to Plugins > Add New. Search for Paid Memberships Pro and install and activate it.
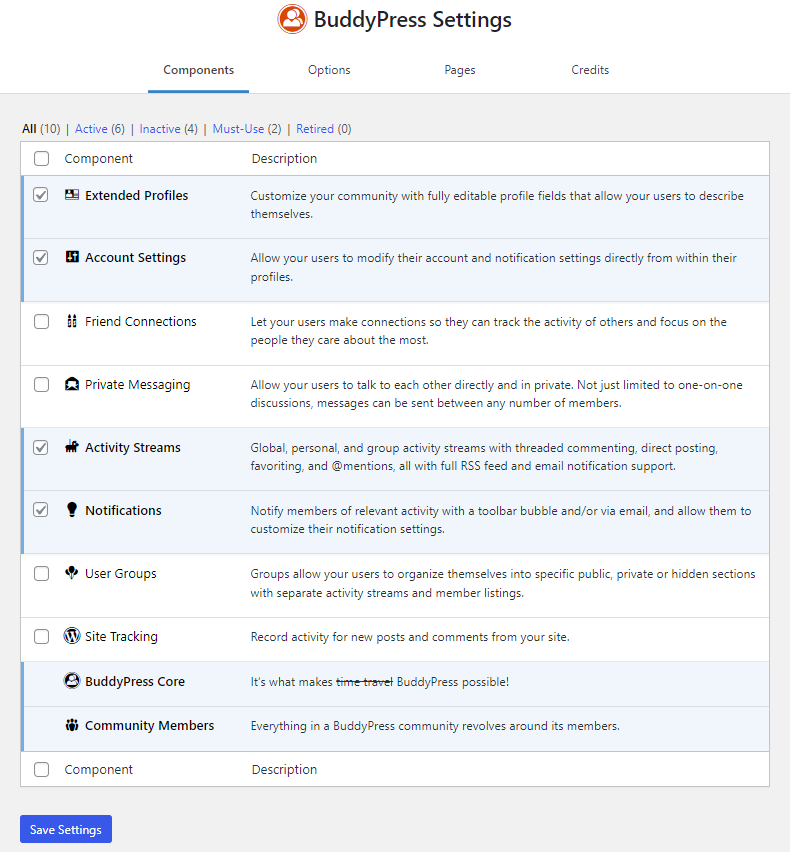
Step 4: Configure BuddyPress settings
Go to Settings > BuddyPress and adjust the settings for your social network. You can enable or disable the components you want, such as profiles, groups, messages, etc.
Step 5: Customize BuddyX theme options
Go to Appearance > Customize and customize the look and feel of your site using the options provided by the BuddyX theme.
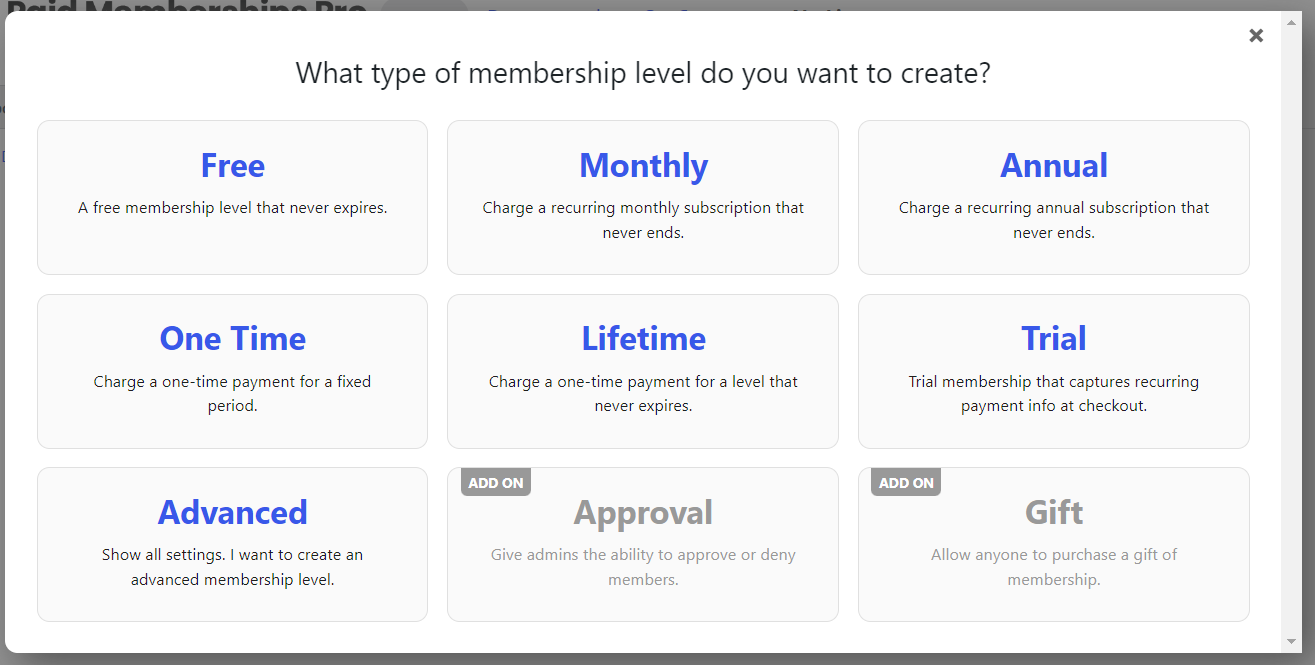
Step 6: Create membership levels with Paid Memberships Pro plugin
Go to Memberships > Membership Levels and create the membership levels you want for your site. You can set the name, description, price, billing cycle, access duration, etc.
Step 7: Set up membership pages
Go to Memberships > Page Settings and set up the pages for your membership site, such as registration, account, checkout, etc.
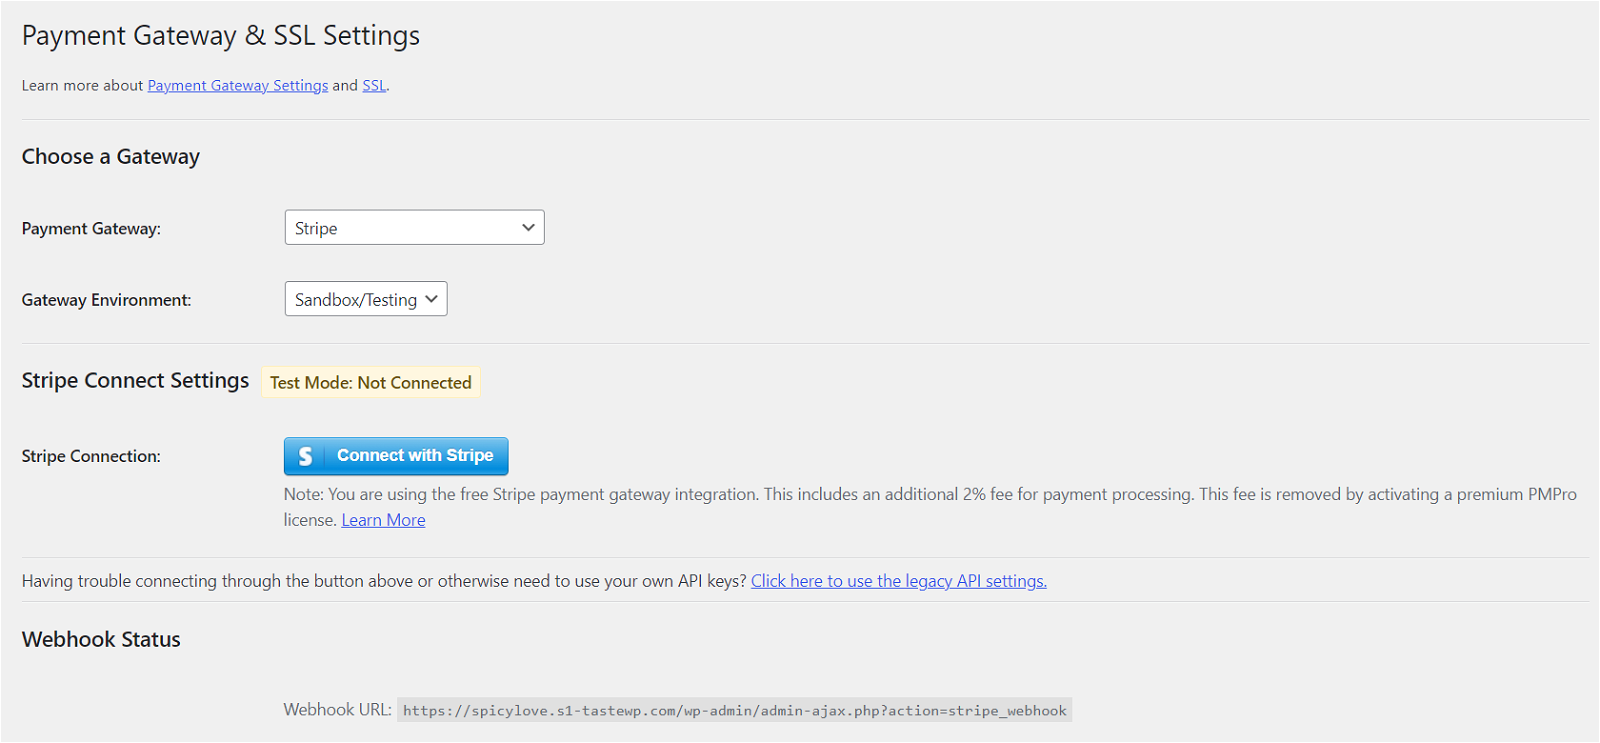
Step 8: Choose payment gateway
Go to Memberships > Payment Settings and choose the payment gateway you want to use for your site. You can use PayPal, Stripe, Authorize.net, or other gateways supported by Paid Memberships Pro.
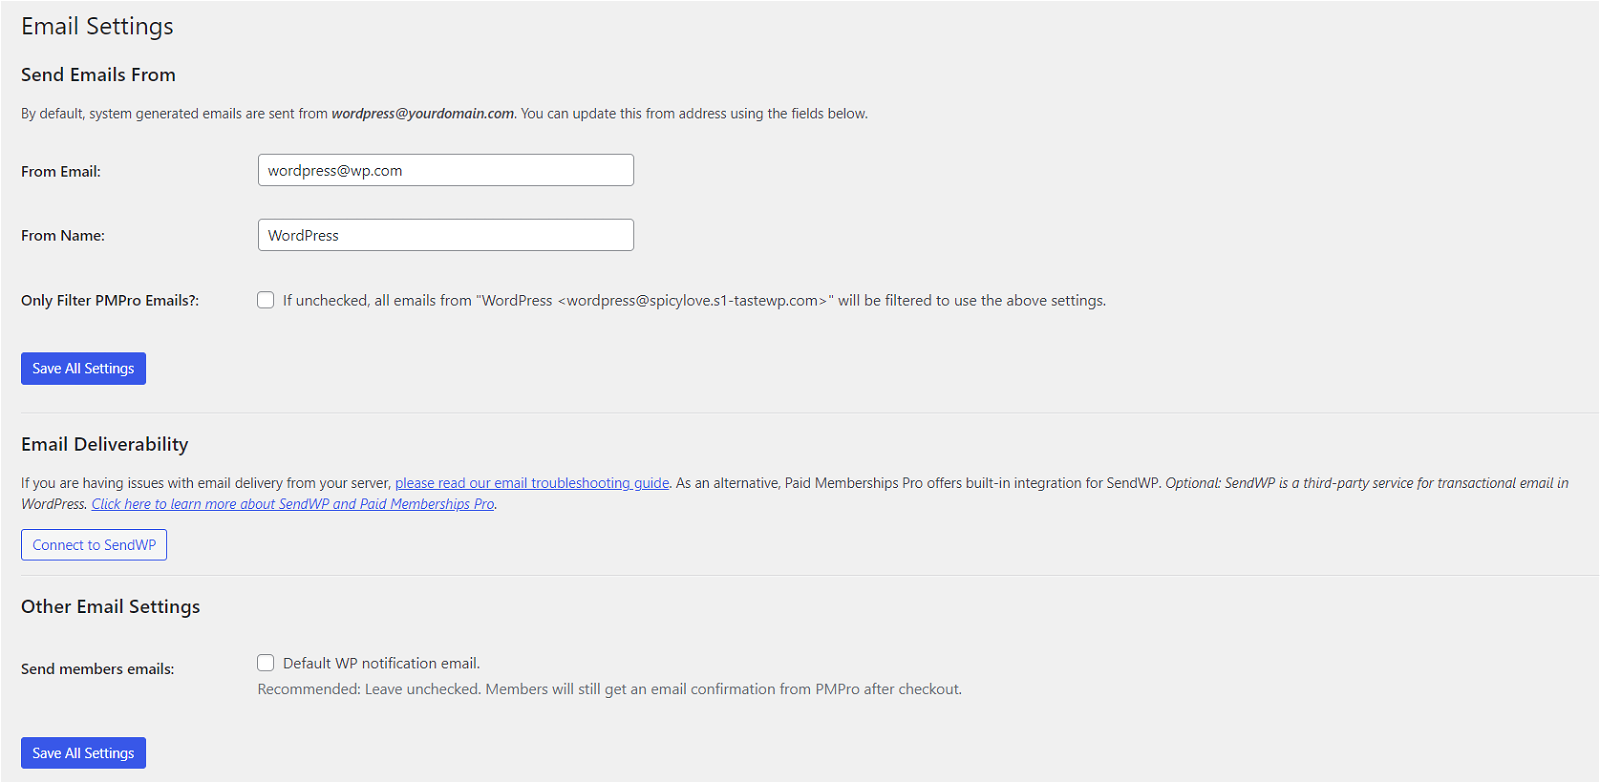
Step 9: Customize email notifications
Go to Memberships > Email Settings and customize the email notifications that are sent to your members.
Step 10: Install and activate Paid Memberships Pro BuddyPress Integration plugin
Go to Plugins > Add New. Search for Paid Memberships Pro BuddyPress integration plugin then install and activate it. It creates a members-only private community in your WordPress site. This plugin enables secure, private messaging, groups, member directories, and private profiles for members of your free or paid community.

Step 11: Configure advanced settings
Go to Memberships > Advanced Settings and configure other options for your membership site, such as content restriction rules, email confirmation, reCAPTCHA, etc.
That’s it! You have created your online membership community with WordPress using BuddyPress, BuddyX theme, and Paid Memberships Pro plugin. Now you can start inviting members to join your site and enjoy the benefits of your community.
Conclusion
Creating an online membership community with WordPress is not difficult if you use the right tools. BuddyPress, BuddyX theme, and Paid Memberships Pro are three of the best tools that can help you create a stunning and powerful membership site with WordPress. They are easy to use, flexible, and compatible with each other. You can create a membership site that suits your niche, audience, and goals.
I hope this blog post was helpful for you. If you have any questions or feedback, please leave a comment below or contact me through my website. Thank you for reading! 😊

