5 min read
How to Add Tax to WooCommerce: A Step-by-Step Guide

If you are running an online store with WooCommerce, you need to know how to add tax to your products and services. Tax laws vary depending on your location, your customer’s location, and the type of products or services you sell. That’s why WooCommerce gives you the flexibility to set up taxes according to your needs.
In this guide, we will show you how to add tax to WooCommerce in a few simple steps. We will also explain how to use automated taxes if you want to save time and hassle.
Steps to Add Tax to WooCommerce
Step 1: Enable Taxes and Tax Calculations
The first thing you need to do is to enable taxes and tax calculations in your WooCommerce settings. To do this, go to WooCommerce > Settings > General and check the box that says Enable taxes and tax calculations. Then click Save Changes.

Step 2: Choose How to Enter Prices
The next thing you need to decide is how to enter prices for your products or services. You can either enter prices inclusive of tax or exclusive of tax. This option affects how WooCommerce calculates and displays taxes in your store.
If you choose to enter prices inclusive of tax, it means that the prices you enter in your product settings already include the tax amount. For example, if you enter a price of $10 for a product and the tax rate is 10%, it means that the product price is $9.09 without tax and $0.91 is the tax amount.
If you choose to enter prices exclusive of tax, it means that the prices you enter in your product settings do not include the tax amount. For example, if you enter a price of $10 for a product and the tax rate is 10%, it means that the product price is $10 without tax and $1 is the tax amount.
To choose how to enter prices, go to WooCommerce > Settings > Tax and select either Yes, I will enter prices inclusive of tax or No, I will enter prices exclusive of tax under the Prices entered with tax option. Then click Save Changes.

Step 3: Choose How to Display Prices
The next thing you need to decide is how to display prices in your shop and catalog pages. You can either display prices including or excluding tax. This option affects how your customers see the prices before they go to checkout.
If you choose to display prices including tax, it means that the prices shown in your shop and catalog pages already include the tax amount. For example, if the product price is $10 with 10% tax, your customers will see $10 as the price.
If you choose to display prices excluding tax, it means that the prices shown in your shop and catalog pages do not include the tax amount. For example, if the product price is $10 with 10% tax, your customers will see $9 as the price.
To choose how to display prices, go to WooCommerce > Settings > Tax and select either Including tax or Excluding tax under the Display prices in the shop option. Then click Save changes.
Step 4: Set Up Tax Rates
The last thing you need to do is to set up tax rates for different regions or products. You can use the tax classes and tax rates settings in WooCommerce to do this.
Tax classes are used to group products or services that have similar tax rates. For example, you can create a tax class for digital goods or reduced rate goods. By default, WooCommerce has two tax classes: Standard and Reduced Rate. You can add more tax classes if you need them.
Tax rates are used to define the percentage of tax that applies to a specific region or product. For example, you can create a tax rate for California or for digital goods. You can add as many tax rates as you need for each tax class.
To set up tax rates, go to WooCommerce > Settings > Tax and click on the Standard rates or Reduced rate rates tab under the Tax rates section. Then click on Insert row to add a new tax rate. You need to fill in the following fields:

- Country code: The two-letter country code for the region where the tax rate applies.
- State code: The two-letter state code for the region where the tax rate applies.
- ZIP/Postcode: The ZIP or postcode range for the region where the tax rate applies.
- City: The city name for the region where the tax rate applies.
- Rate %: The percentage of tax that applies to this region or product.
- Tax name: The name of the tax that will be shown on invoices and reports.
- Priority: The priority of this tax rate when multiple tax rates apply to the same region or product.
- Compound: Whether this tax rate is applied on top of other taxes or not.
- Shipping: Whether this tax rate also applies to shipping costs or not.
After filling in the fields, click on Save changes. You can repeat this process for each tax rate you need to add.
Want to Add more features to WooCommerce Store?
If you are looking for a WordPress development expert that can offer you a range of WooCommerce addons to enhance your online store, look no further than wbcom designs. You can find various addons that will help you add functionality like product previews, service selling, pin code checking, custom fields, social media integration, and more.
Here are some of the WooCommerce addons from wbcom designs that you can use:
Woo Audio Preview Pro: This addon lets your customers listen to music or audio files before they buy them.
Woo Document Preview Pro: This addon shows a document preview feature on the single product page and supports all the popular multi-vendor plugins.
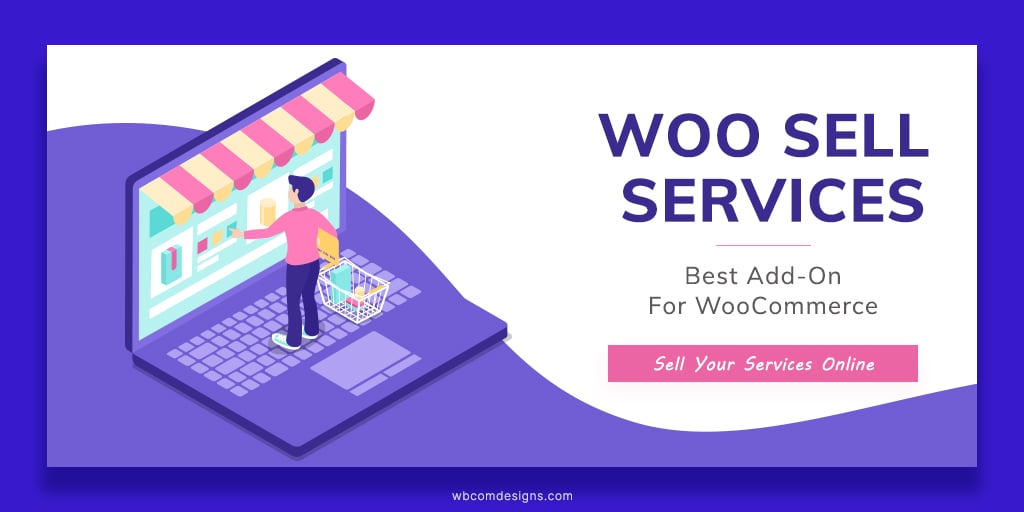
Woo Sell Services: This addon allows you to sell services as products and manage orders, communication, ratings and reviews.
Woo Pincode Checker: This addon enables you to add the pin code availability feature on your site and restrict shipping or COD based on pin codes.
WooCommerce Custom My Account Page: This addon helps you customize the My Account page and tabs for WooCommerce with ease.
Wbcom designs WooCommerce addons are up to date with the latest version of WordPress and WooCommerce, and work seamlessly with any theme or plugin. They are also fully responsive, translation-ready, and GDPR-compliant.
Don’t wait any longer! Check out the amazing WooCommerce addons from Wbcom designs now and boost your online store!
Summary
Adding tax to WooCommerce is not as complicated as it may seem. You just need to follow a few simple steps and choose the options that suit your needs. We hope this guide has helped you learn how to add tax to WooCommerce. If you have any questions or feedback, please let us know in the comments below.
Interesting Reads:
WooCommerce vs Easy Digital Downloads
Related reading